Vegan Gift Idea
published on
Sooo, I know this isn’t a popular opinion, but I’m not the hugest fan of Christmas. The consumerism surrounding the holiday kinda freaks me out, and of course, there are some animal-based traditions that I’m not a fan of, like eating dead birds and gifting your children baby animals that may later end up in shelters.
This is one of the many reasons my family celebrates winter solstice instead (yes, it also may have something to do with the fact that my parents are buddhist hippies). I usually spend a lot of time planning my new years eve, so between all of the great reasons to celebrate this time of year, who has time for christmas?! For solstice, we give each other handmade gifts, tell stories in front of the fire, and eat a healthy hearty vegan solstice dinner.
This year, my solstice presents include shower fizzies (also called shower bombs and shower steamers, these are like bath bombs, but for showers), hickory-smoked sea salt, dried rosemary, sauerkraut, and these macaroni and cheese kits. If you’re interested in making these kits for someone you know who doesn’t like to cook from scratch or likes to make single serving meals that are easy, just follow the instructions below. If you like making vegan gifts for friends and family, you might also like my pumpkin muffin mix and my cookie kits.
This tutorial makes 5 vegan shells and cheese kits. You can double it if you have more friends and family to make for (I doubled it).
Step 1: Mix the Vegan Cheese Powder
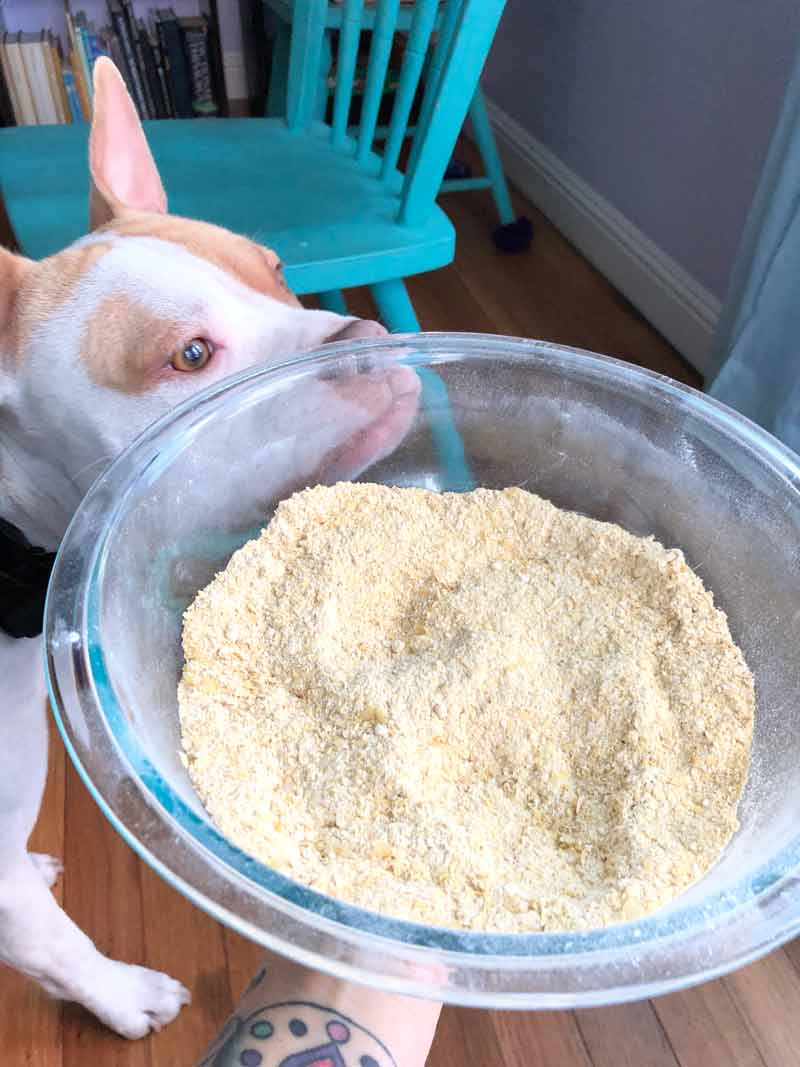
Whisk together the following ingredients in a large bowl.
- 1 ¼ teaspoons onion powder
- 1 ¼ teaspoons garlic powder
- 1 ¼ teaspoons turmeric
- 1 ½ teaspoons salt
- ½ teaspoon pepper
- ⅔ cup nutritional yeast
- 2 tablespoons flour
- 2 tablespoons tapioca flour
- 2 tablespoons almond flour
- 2 tablespoons soymilk powder (if you avoid soy, you can use coconut milk powder)
Step 2: Divide up the Cheese Powder
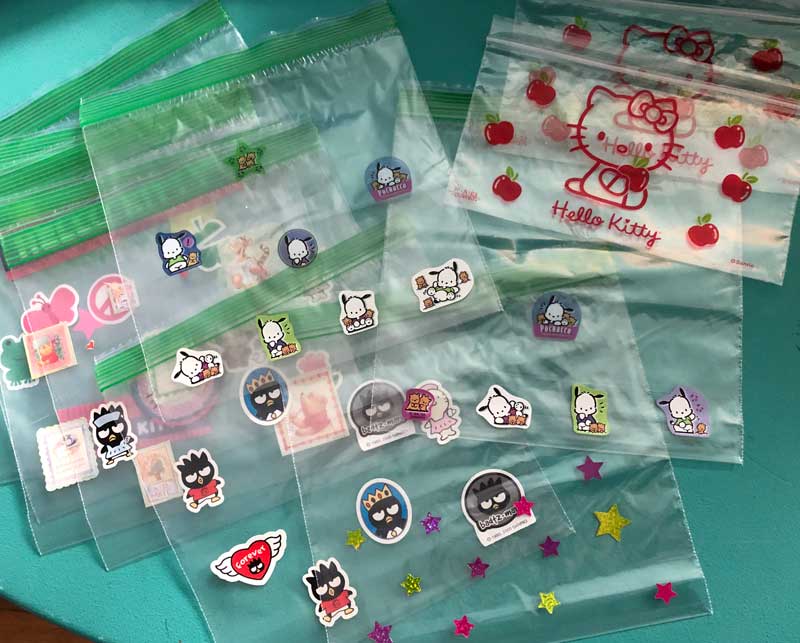
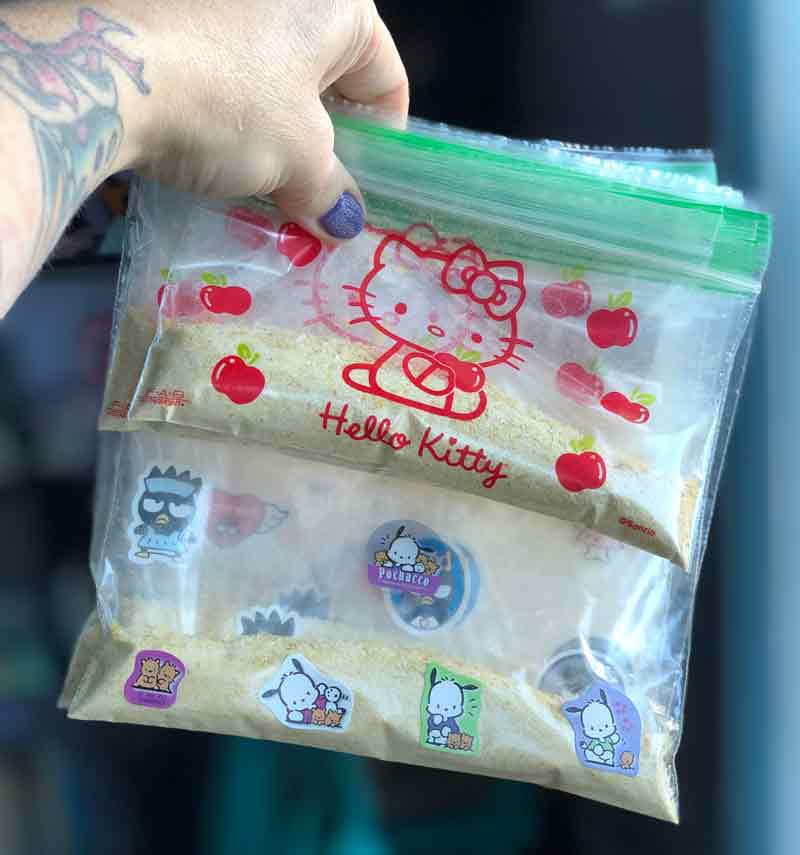
This recipe makes 5 kits, so, you want to measure out your cheese powder, either using a kitchen scale or measuring cups. First find out how much cheese powder you have, and then divide that by 5 to divide it up evenly for each mac n cheese kit. I used ziplock baggies for my cheese powder, but you can use anything you’d like. Just make sure it won’t spill out of whatever vessel you select. You can either get cute baggies at stores like Daiso or you can get boring compostable ziplock baggies and decorate them yourself with stickers from your never-ending sticker collection (or is that just me that has that?).
Step 3: Divide up the Pasta
Each pound of pasta makes 5 kits. So, you want to measure out your bag of pasta either using a kitchen scale or measuring cups. First find out how much pasta you have and then divide that by 5 to divide it up for each macaroni n cheese kit. You can even just estimate by setting 5 bowls side by side on the counter and pouring pasta into each bowl until they look about the same. I used ziplock baggies for my pasta, but you can use anything you’d like.
Step 4: The Instructions
Write or type out the following instructions to accompany the mac and cheese kits. If you want, you can also print out the same one I made by right clicking on the photo below and saving it to your computer.
Directions: Whisk the powder into 1 ½ cups of water in a medium-sized pot over high heat. Put on the lid, and bring to a boil. Add the pasta and stir. Reduce the heat to medium, and put the lid on. Remove the lid to stir it every couple of minutes, and put the lid back on. After 15 minutes, turn off the heat and serve.
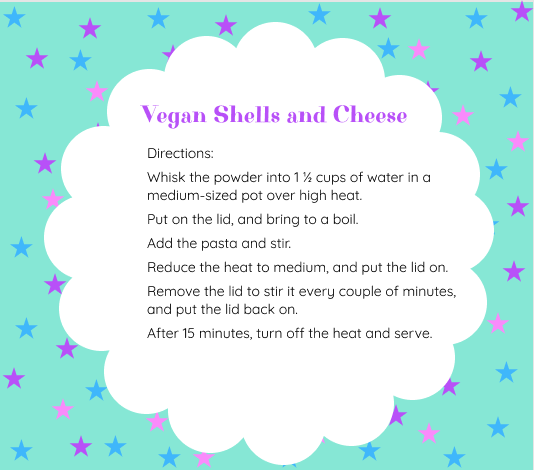
I printed 10 copies on regular printer paper (because I doubled the recipe and made 10 of these mac n cheese kits instead of 5). Then I cut them so none of the white paper was showing and glued them to a piece of cardboard that I cut to the same size. You don’t have to glue yours to cardboard if you plan to just stick the pasta, powder, and instructions into a gift bag, but I’m wrapping mine with furoshikis, so I want to have a solid base. For my cardboard, I just used cut up old food boxes (cereal, crackers, dog treats, frozen pizza, etc.).
Step 5: Wrapping the Mac and Cheeze Kits
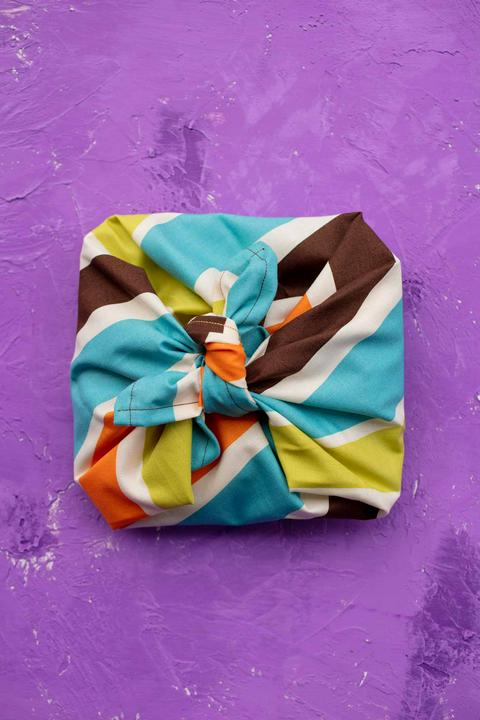
You can use gift bags or cigar boxes, or anything you’d like for wrapping up your kits. I chose to wrap mine in furoshikis, not just because I’m obsessed with everything japanese, but also because then, the wrapping can also be reused as a teacloth / kitchen towel / tofu-squeezing towel, and I like the idea of less waste. (Also, I miiiiight have a little fabric hoarding problem that needs to be dealt with.)
If you decide to try the furoshiki wrapping, just cut a 2 foot square piece of fabric, and serge or hem the edges. (I hemmed mine because I was too lazy to get my serger out.) Then set your cardboard instructions on the bottom in the center of the fabric. Set the cheese powder and the pasta on top, and wrap the furoshiki. If you’ve never wrapped a furoshiki before, you can find lots of tutorials online, or you can watch my video below to see how I did it.
☆☆☆☆☆☆☆☆☆☆
