How to Create Your Own Cruelty Free Hunting Trophy
published on
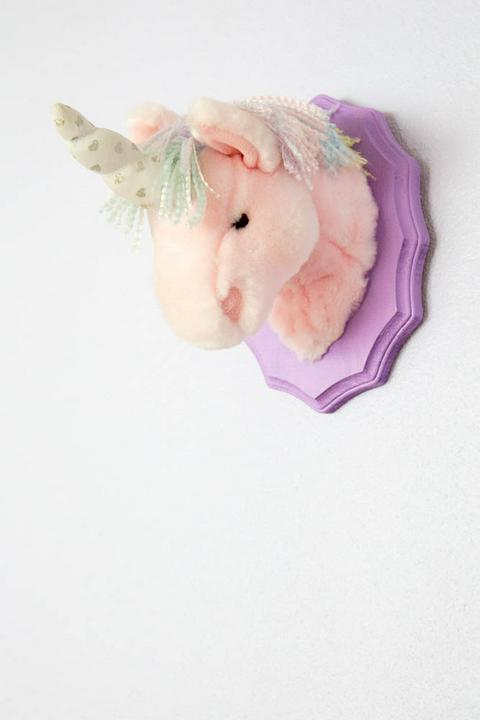
I’ve wanted a mounted unicorn head in my kawaii vegan dollhouse for so long. I wanted one way before I made my stuffed dog skin rug, way before Little Pine opened (they have a wooden deer head inside), and way before discovering Stitch of Whimsy on the internet. I’m happy to report that thanks to Josipa throwing a bring-your-own-craft housewarming party, I’ve finally created the vegan hunting trophy of my dreams. These instructions will teach you how to mount a stuffed animal head of your choosing. It doesn’t have to be a unicorn of course.
If you’re not crafty, but you’ve been wanting one of these kawaii sculptures forever too, I recommend contacting stitch of whimsy through her etsy store and ask if she can make you a custom vegan one. Hers are wayyyyyy cuter than mine, but I know she uses wool in some of them, so make sure to let her know you prefer man-made materials. However, if you like doing arts and crafts, and you’re into cute kawaii home decor, then read on and see how easy it is to make your own diy vegan hunting trophy.
This tutorial should show you how I made my unicorn art project.
Step 1: Gather craft supplies
Here’s a list of the arts and crafts supplies I used.
- 1 stuffed animal
- 1 wooden plaque board (I bought mine at Michael’s craft store)
- 2 hot glue gun sticks (hot glue is almost always vegan)
- acrylic paint: I used Liquitex brand paint because it’s vegan. Their ivory black color is their only color that is NOT vegan, but they have another black that is, so just pay attention to the color names. For more ideas, check out my list of vegan paints.
- paint brush: if you don’t already have a paint brush, make sure you buy one with synthetic hair, like this set of vegan paint brushes
- foam
- pencil or pen
- scissors
- x-acto knife

Step 2: Paint board
This step is optional, but you can choose any color, so it doesn’t have to be pastel.

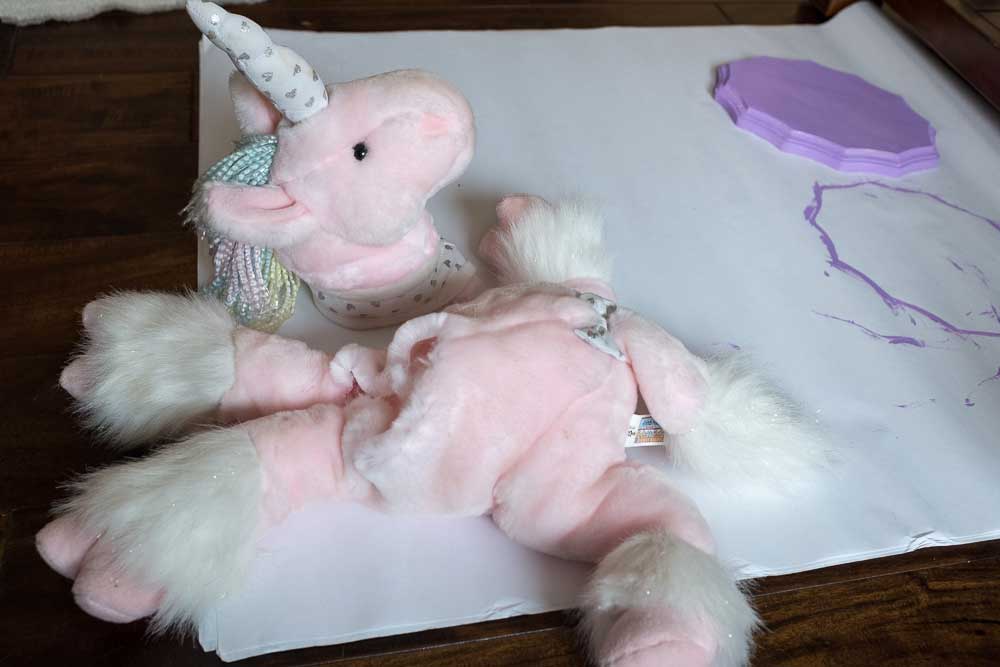
Step 3: Decapitate the stuffed animal
I realize this seems morbid, but after the first couple stuffies you hunt and kill, it gets easier, haha. Sorry, bad vegan joke. I recommend using a stuffed animal that was gifted to you by an ex, because then when you cut its head off, it feels realllly good.
Before you make the cut, think about the angle you want it to be on the wall, so that your cut is at the correct angle. You also want to cut an extra half an inch all the way around for wrapping around the foam board.
Step 4: Cut the foam board
Set your stuffed animal head on the board and trace around the neck with the pencil or pen. Then, using the X-acto knife, you’ll want to cut on the lines you drew. It took me 2 tries to cut all the way through, and I was using quarter-inch board, so if yours is thicker, it may take you a few cuts to make it through.
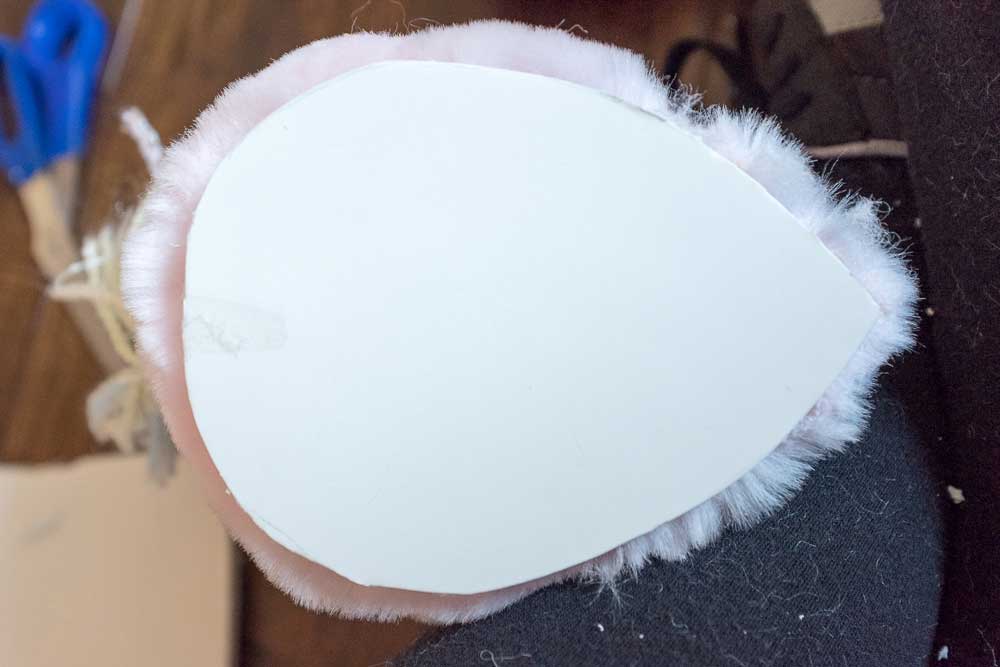
Try to stick the piece of foam board into the neck of the stuffy. If it doesn’t fit, figure out where you need to trim, and cut off some of the edges until it fits.
Step 5: Hot glue the foam board
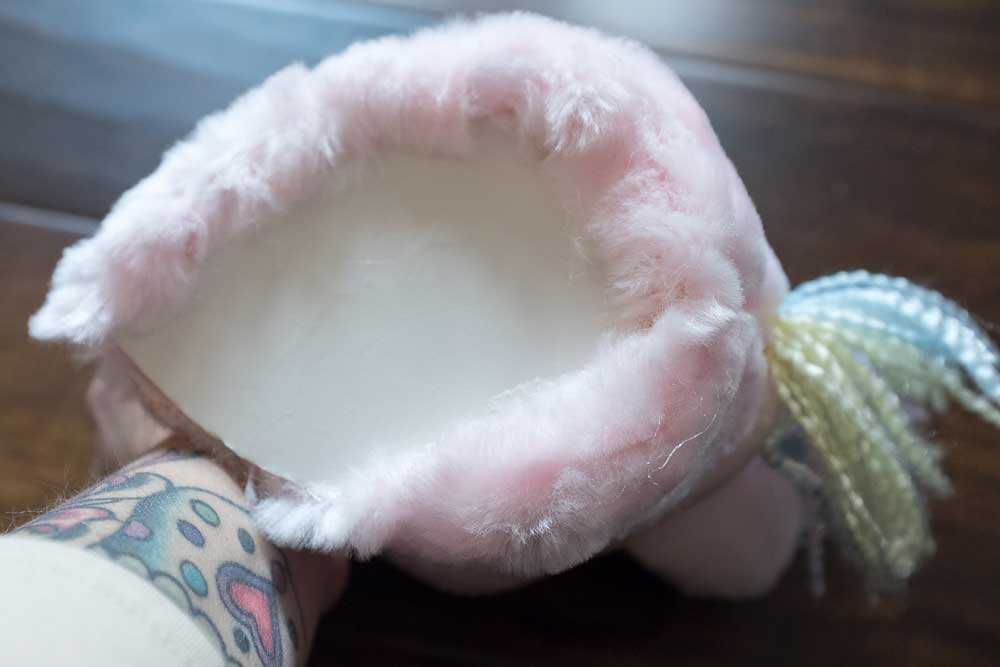
Before starting to glue the foam board into the neck, I took some extra stuffing out of the unicorn body and shoved it into the head. I wanted to make sure the head was nice and stiff and wouldn’t try to flop over. Once the head and neck were filled tightly with stuffing, I shoved the piece of foam board into the neck and made sure that there was enough neck fabric to wrap around the edges of the foam board (around a half an inch is a good amount). Then I started gluing that half inch to the foam board.
Step 6: Hot glue the head to the plaque
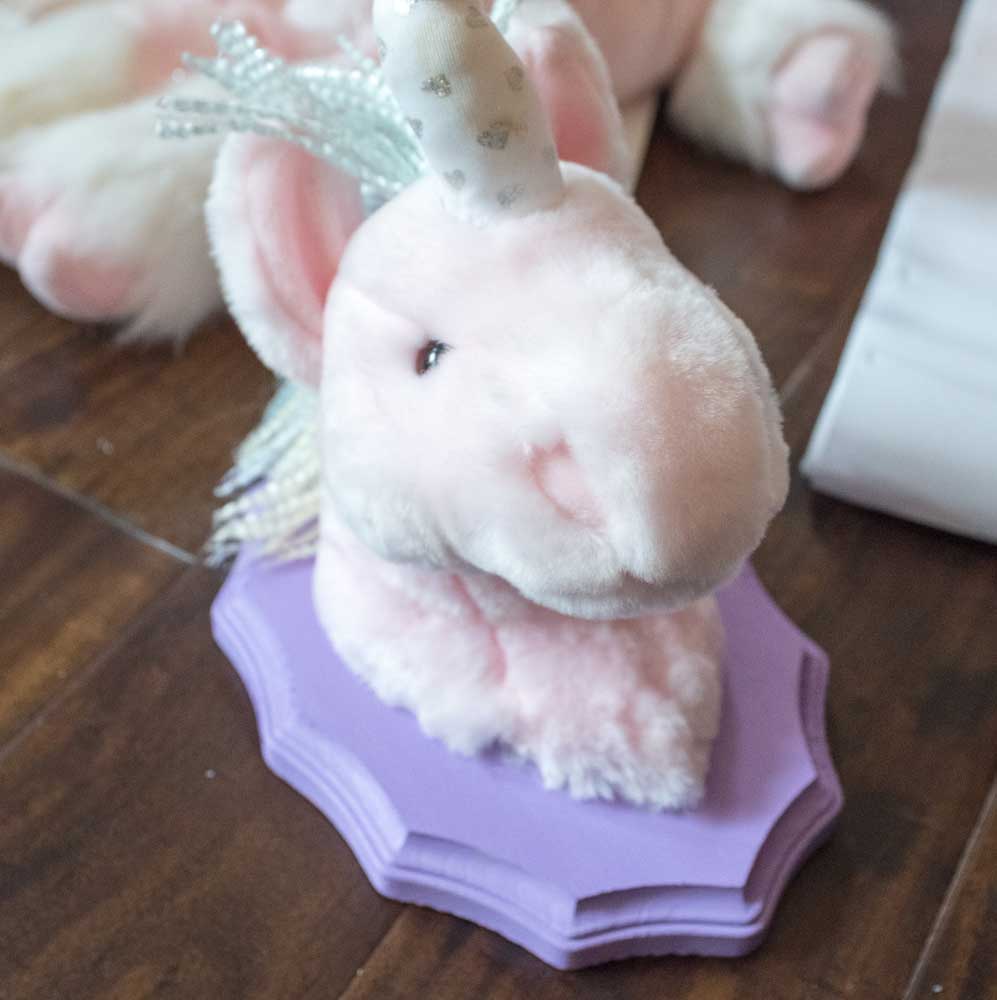
The plaque you painted should be dry by this point, and you can now glue the head to the board. Set the head on the board to decide where you want it, and then just squeeze a bunch of hot glue onto the foam board end of the neck and press it into the plaque. Do this quickly so the hot glue won’t dry prematurely.
Step 7: Hang it on the wall
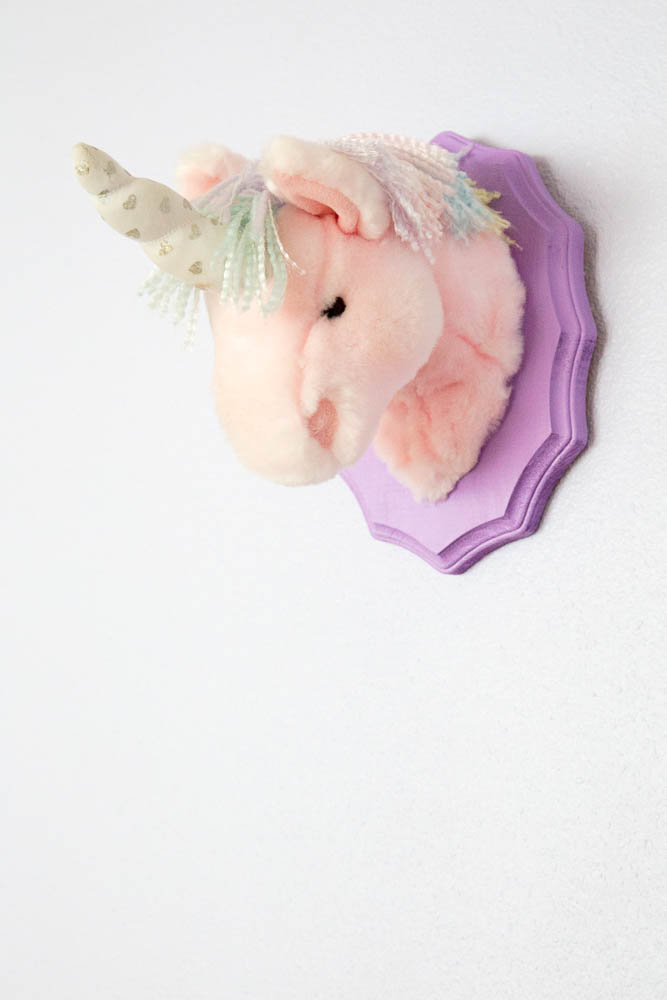
My plaque I bought didn’t have anything on the back to hang it on the wall with, so I used a staple gun to add a staple to the back of the wood (to use as a hanger). You can also buy frame hanging hardware, but I don’t like buying things unless I have to. I’m a minimalist packrat. That’s a thing, right?
If you’re into diy craft projects, you might want to check out how I dyed my sofa purple and how I made a hat out of a stuffed bear.
☆☆☆☆☆☆☆☆☆☆