Build a Lazy Susan
modified on , first published on

When you can’t find the perfect lazy susan to fit your aesthetic, sometimes it’s just easier to make your own. This vegan craft project only requires 3 items, and costs under $10 to make. This tutorial, with video, shows you how to make a cute kawaii DIY lazy susan with pom poms and other vegan supplies in only 15 minutes (5 minutes if you don’t add pompoms).
Table of Contents
(click the links below to skip to the section you’re looking for)
- Supplies You Need
- How To Make A Lazy Susan
- Frequently Asked Questions
- Video
- Contact Me with Questions
- Other Craft Projects
♫ Listening to ♫
Hero by CAPSULE
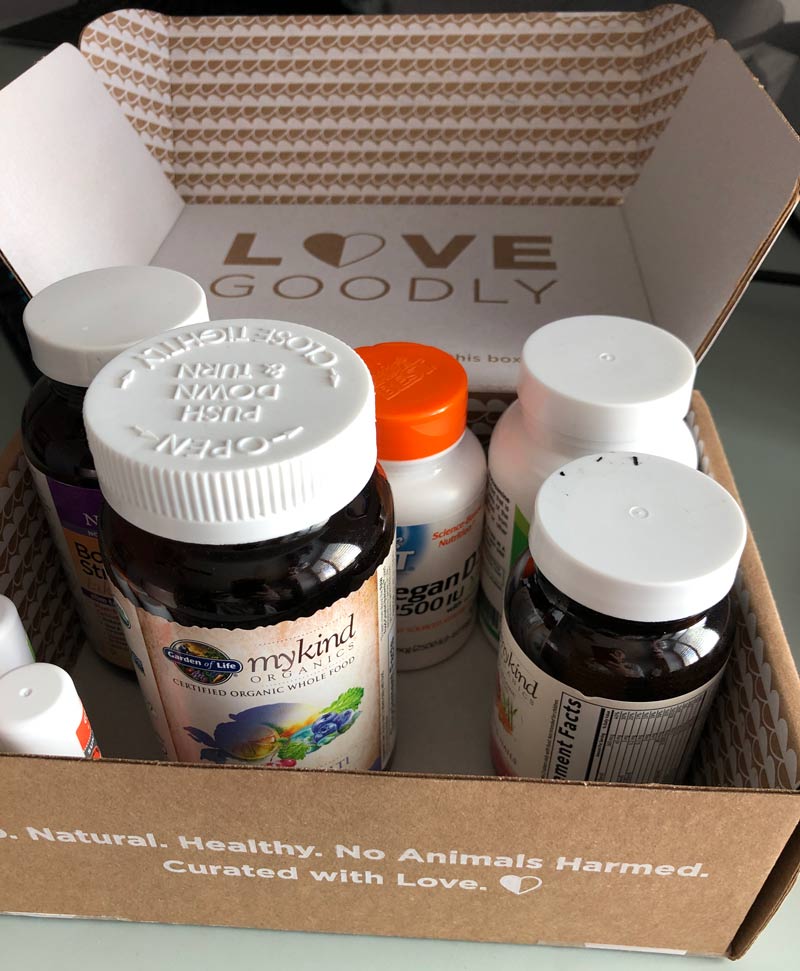
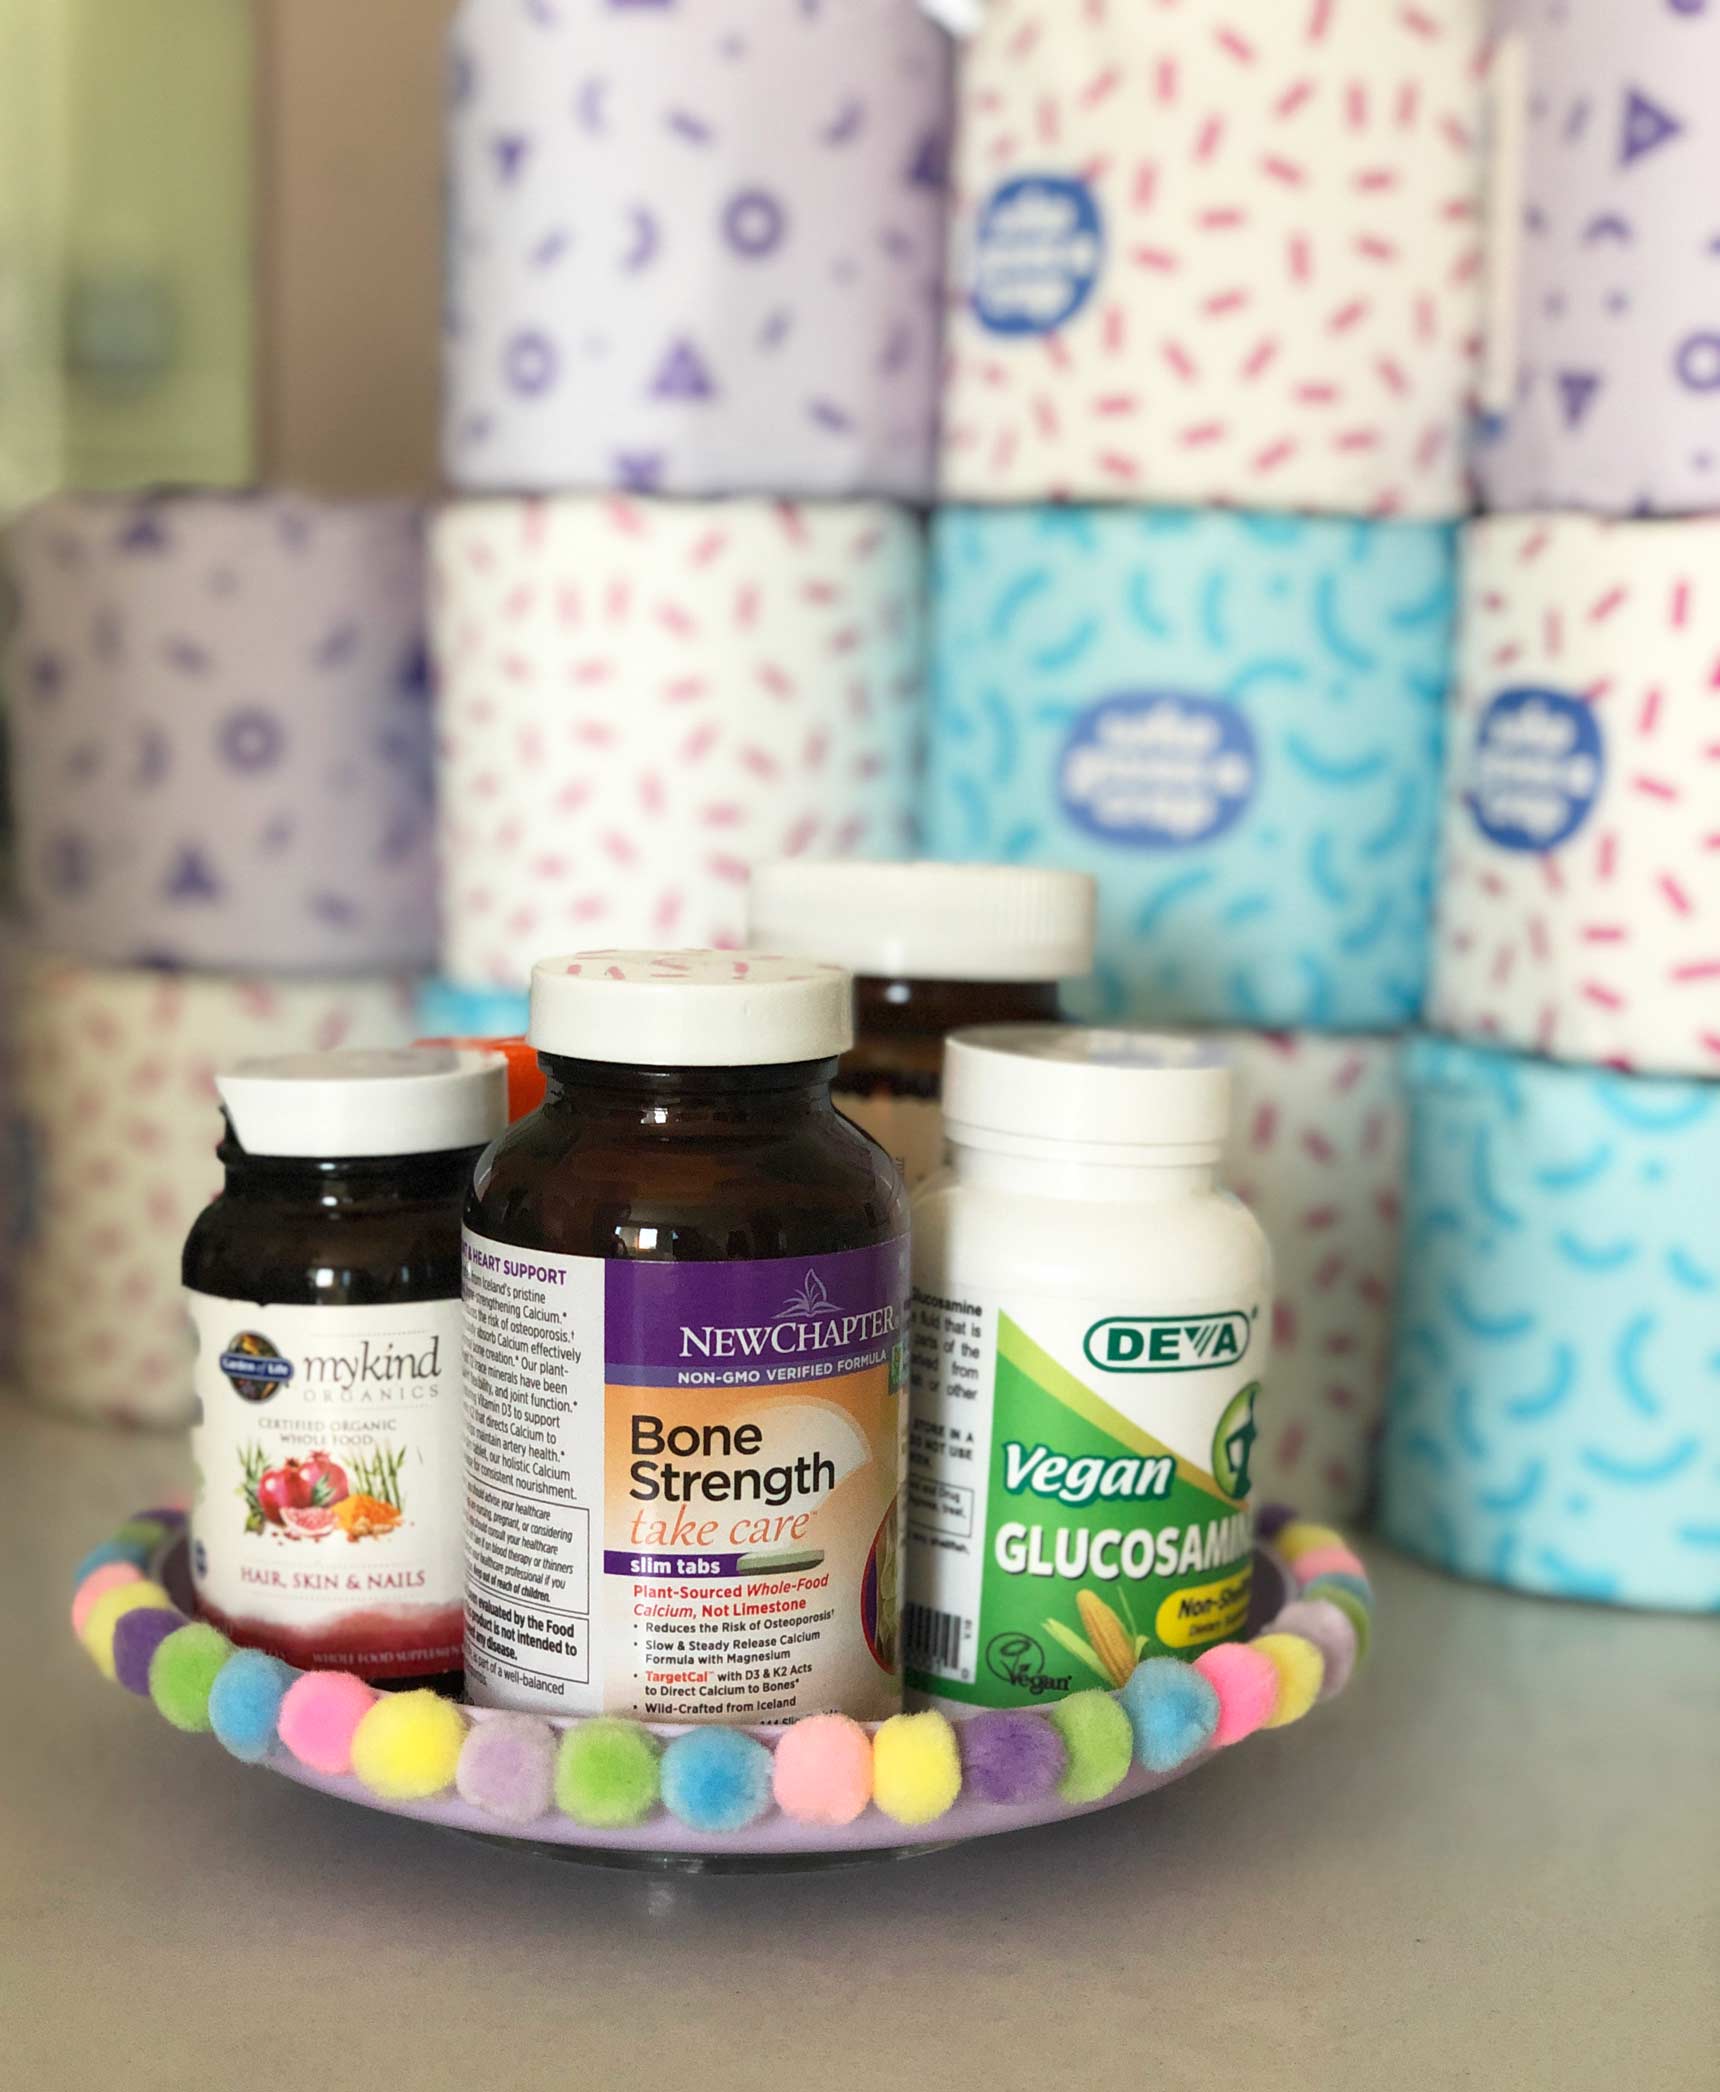
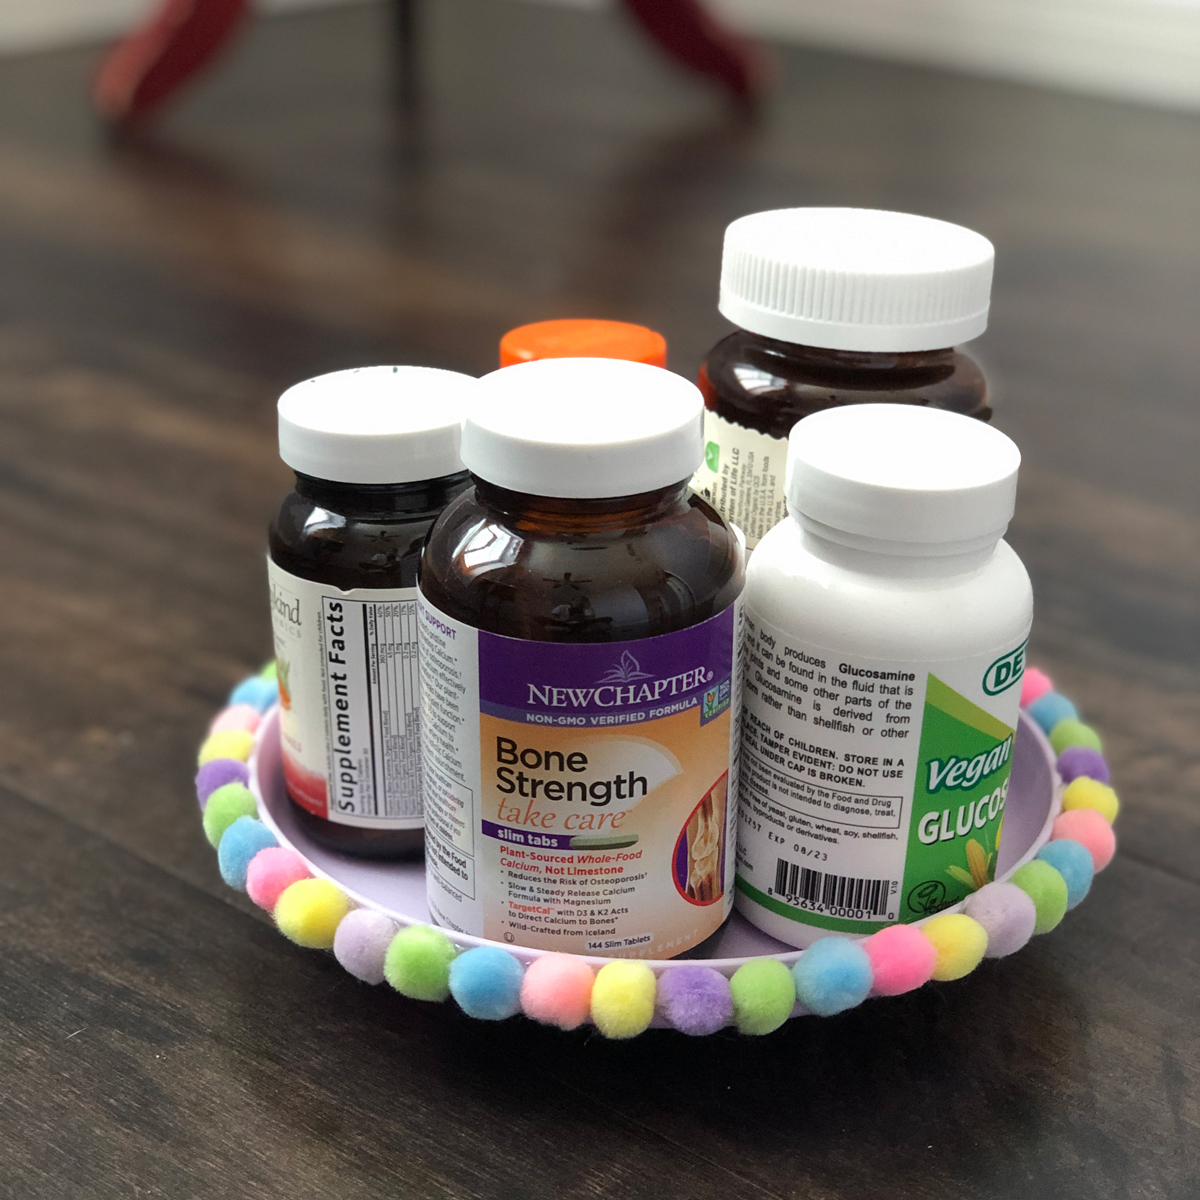
Does anyone else ever forget to take vitamins? I used to remember when it was a habit to take them with my smoothie every morning, but I got out of the habit, and just sort of stopped taking vitamins altogether. So, I decided the only way I would remember to take them is if I actually visually see them every day. For months, I had them in a box in my bathroom near where I keep my toothbrush, so that when I went to brush my teeth at night, I would see them and take them. In case you’re wondering how terrible this looked, here’s a visual.
As someone who appreciates cute things, this was obviously making me cringe regularly. So, I finally searched etsy for a cute lazy susan or a kawaii lazy susan or a pastel lazy susan. Oddly, I was unable to find any. I’m being facetious. This is not odd. This is normal for me. It’s because I have the style preference of a toddler, and I guess there’s not a huge demand for toddler organizational devices (if only all toddlers were like Briana when she was a toddler).
However, my etsy search was rewarding in that it gave me the idea to make my own! It was in one of these dead-end etsy searches where I found the hardware needed to make your own diy lazy susan.
Supplies Needed to Build A Lazy Susan
All you need to make a lazy susan are 3 things.
-
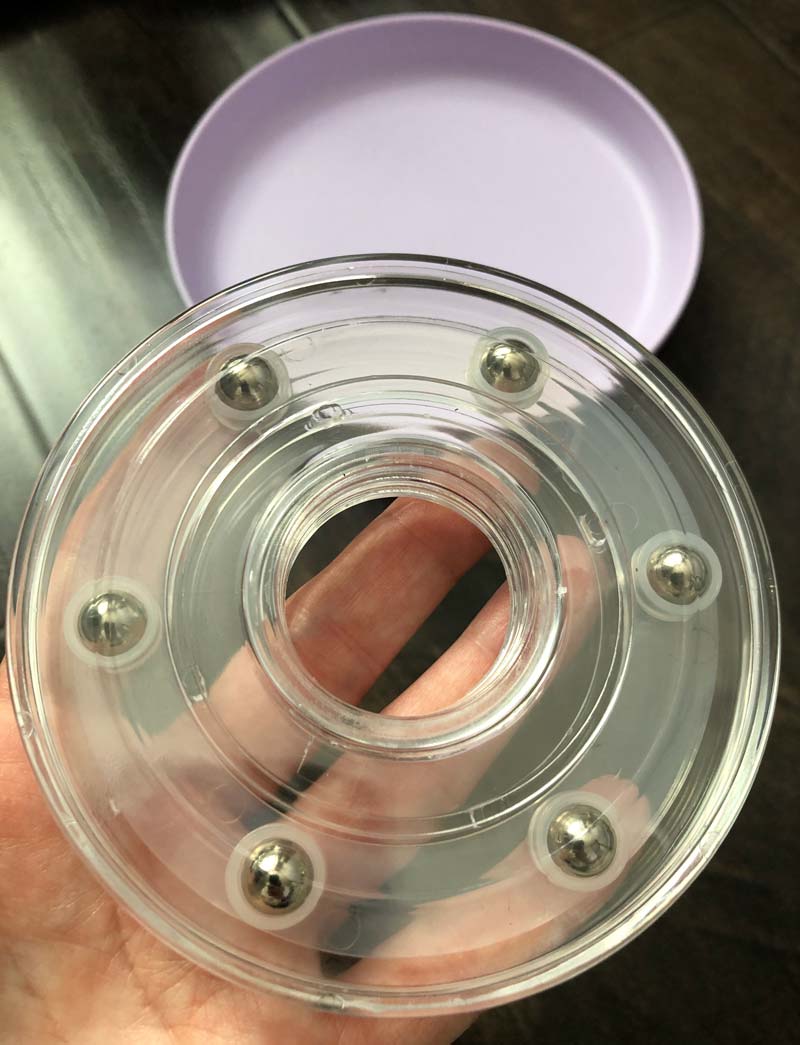
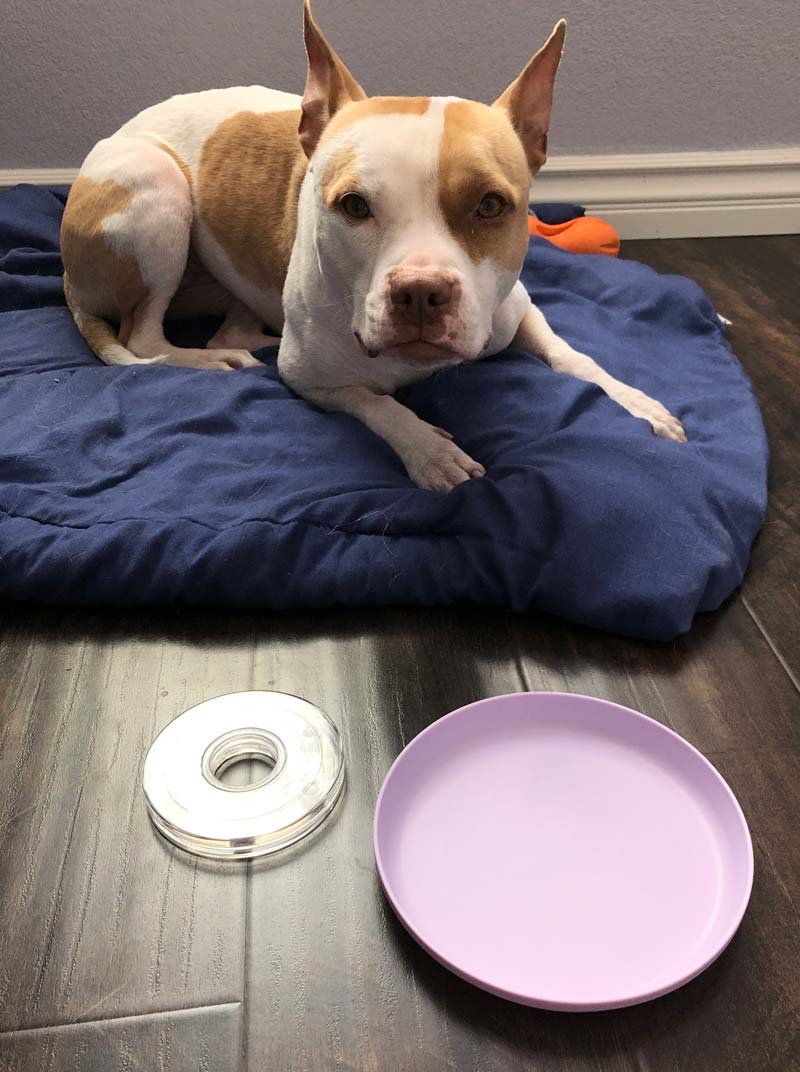
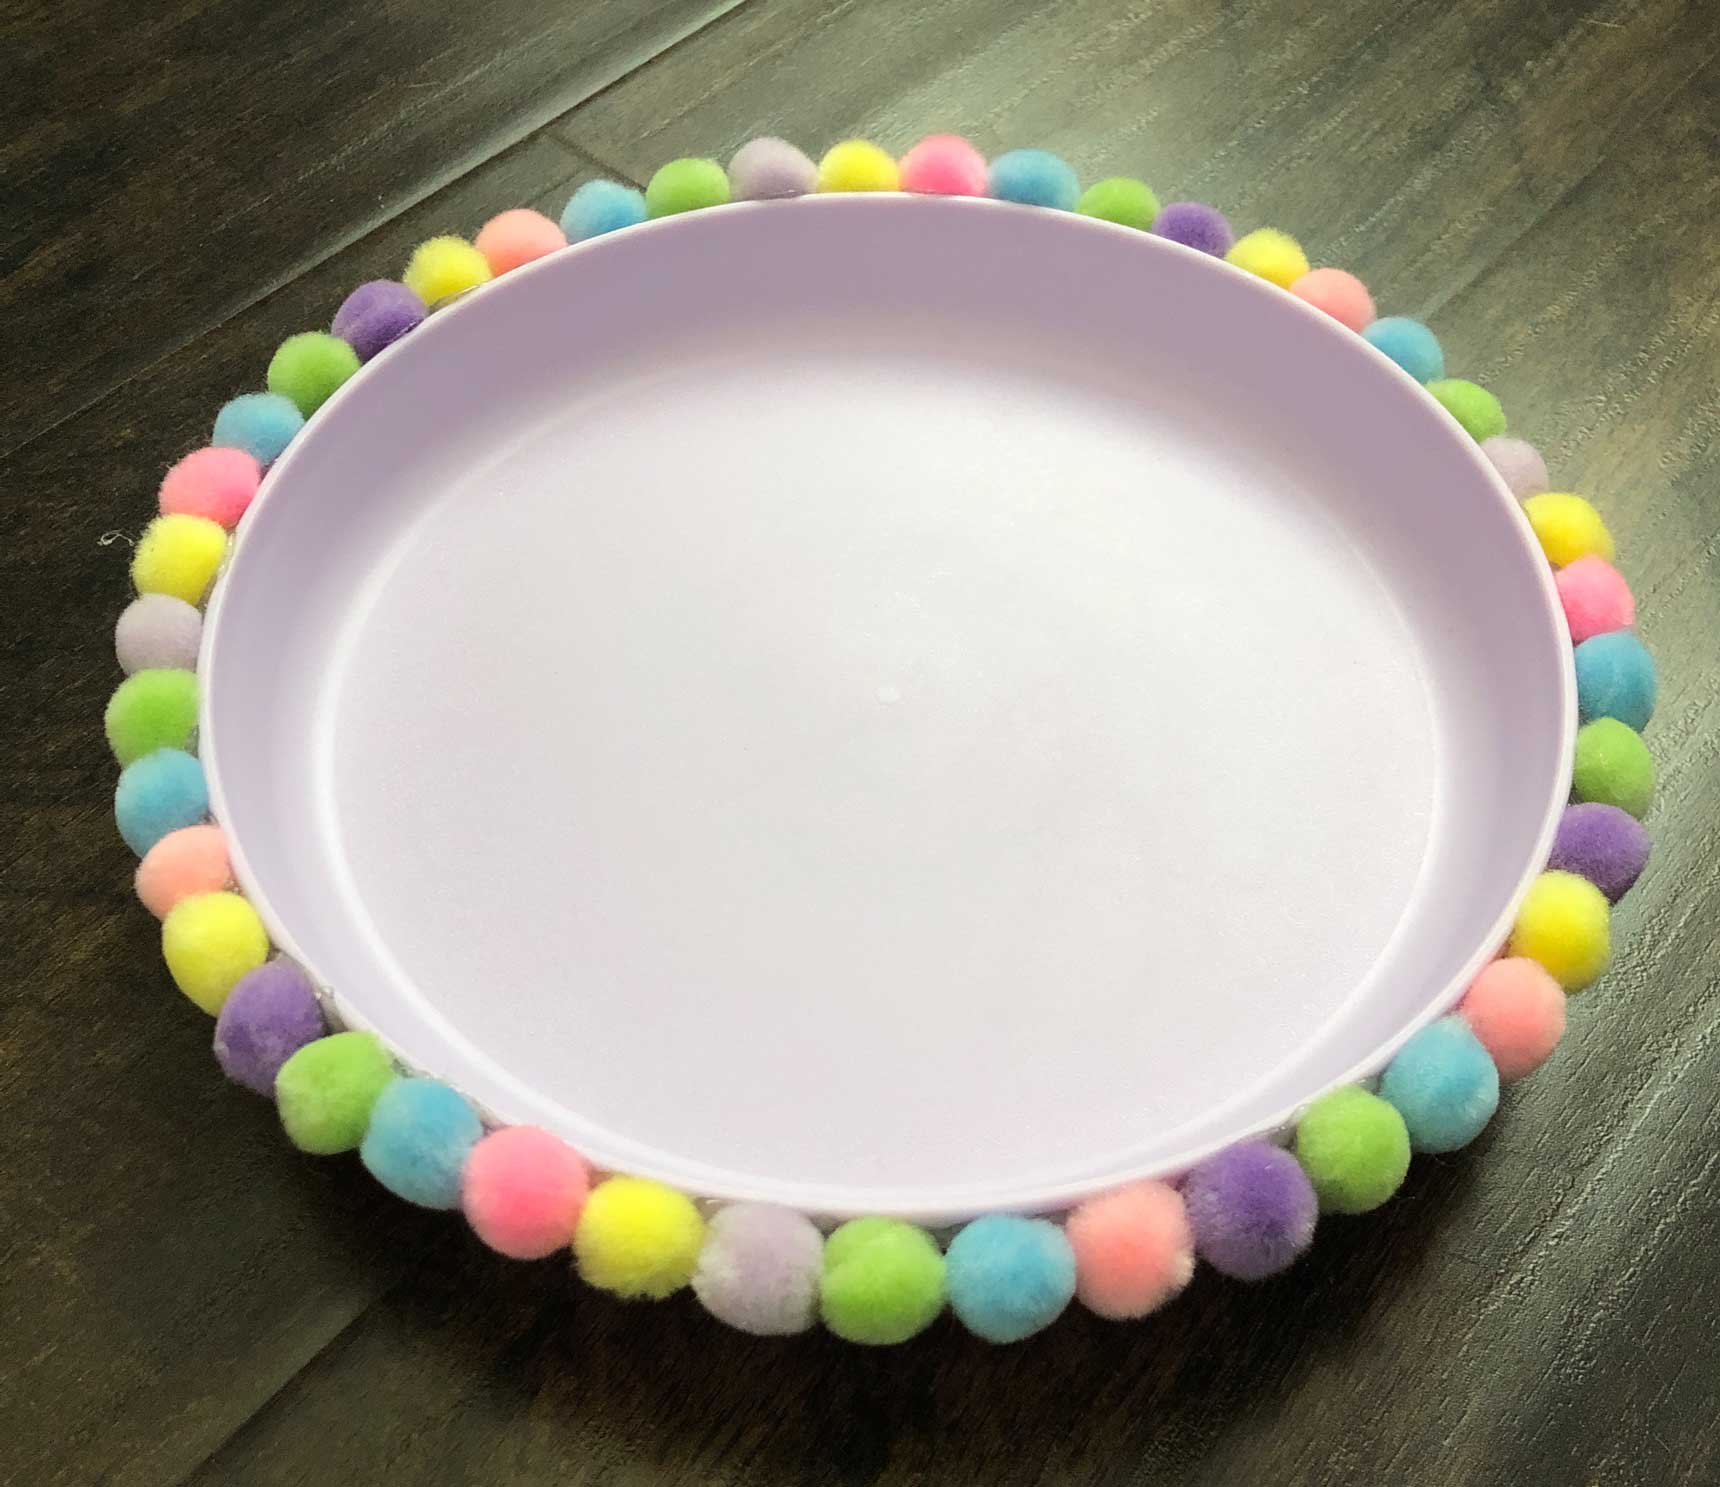
A plate. I recommend getting one that has a lip so that when you spin your lazy susan, your vitamins (or spices or hair products or whatever you decide to keep on yours) don’t fly off (like that time I flew off the merry-go-round as a child). I used this one from target.
-
Lazy susan hardware. I bought this lazy susan hardware from etsy, but you can also buy a 4-pack of lazy susan hardware from amazon if you need faster shipping.
-
Glue. I used hot glue because I know it’s vegan.
How to Make Your Own Lazy Susan
Squeeze a ring of hot glue around the center of the hardware ring. Err on the side of adding the glue closer to the outer edge, rather than the inner edge so you don’t accidentally get glue in the mechanism that makes it spin. (Trust me, I speak from experience. Luckily, pulling hot glue off of ball bearings is relatively easy.)
Quickly press the glued side of the hardware onto the bottom of your plate IN THE CENTER. Hot glue is fabulous because it dries quickly, but this can also be stressful because you have to move fast. Pretend you’re a cheetah…who likes to craft. It’s super important to make sure it’s in the center of the plate, otherwise when you spin it, it will look a little wonky.
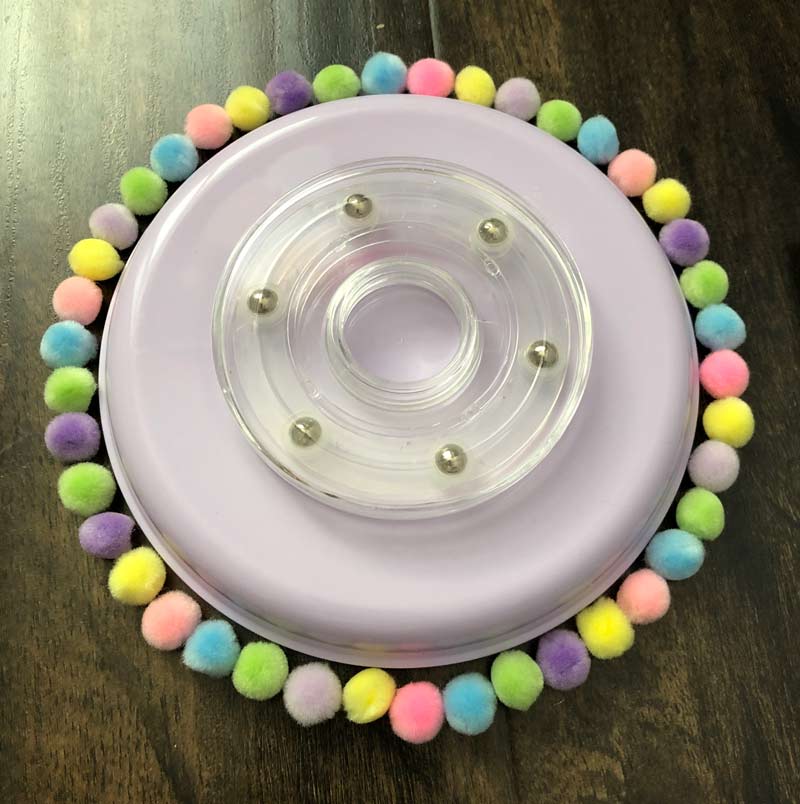
Optional: Decorate it if you want. Since my hot glue gun was already warmed up and ready for action, I opted to glue a ring of pom poms around the perimeter of mine. You can glue lace, bows, ribbon, beads, jewels, spikes, or anything you like. I happen to have a pom pom problem. If you’ve seen my pom pom scarf I made, you may already know about this shortcoming of mine.
Put your vitamins on it, and take them for a whirl.
Frequently Asked Questions
Can I make a homemade lazy susan bearing?
There are probably a lot of tutorials for making your own lazy susan bearing from scratch, but they look pretty complicated. This tutorial takes only 5-15 minutes for a reason: because it uses store-bought hardware for your lazy susan.
How do I clean this homemade lazy susan?
Because this lazy susan uses hot glue, it is not dishwasher safe. To clean it, just use a disinfectant spray and a clean rag (or paper towel if you hate the environment, haha).
Can I make my lazy susan bigger?
You can definitely use a larger plate than the one I used if you want a larger lazy susan.
Video
Here’s a quick video of me making this lazy susan.
Comments or Questions?
If you make this lazy susan, snap a pic, post to instagram, and tag me @vegandollhouse. I love to see your creations!
Please message me (instagram or email) if you have any questions or feedback about the project.
Other Craft Projects
If you like crafting, you might also like these other colorful craft projects.
- I made a vegan hunting trophy out of an old stuffed animal.
- I upcycled an old IKEA sofa by dying it and converting it into a purple couch.
☆☆☆☆☆☆☆☆☆☆
This post links to items I used when I made this project. If you click on the link, you will go to a website (like Amazon or Etsy) where you can buy the same product I used. Sometimes, the store you purchase from (Amazon, Etsy, etc.) will pay me for referring you. This costs you nothing extra, and I would never recommend a product that I don’t use. These affiliate programs help me run this website. Read more about this in my privacy policy.
☆☆☆☆☆☆☆☆☆☆