Nutella Cake
published on
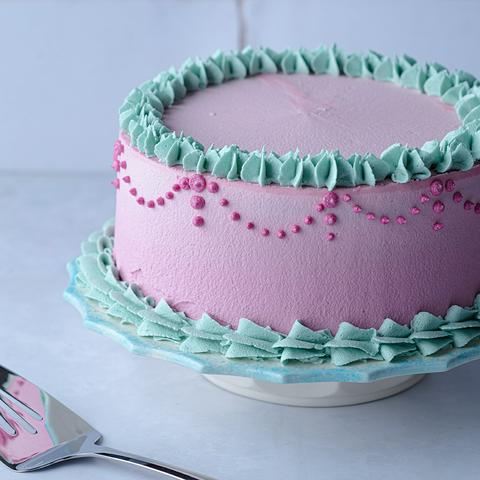
Do you want to make a special cake for a chocoholic in your life? This nutella cake will impress anyone who tries it, and nobody will guess it’s vegan.
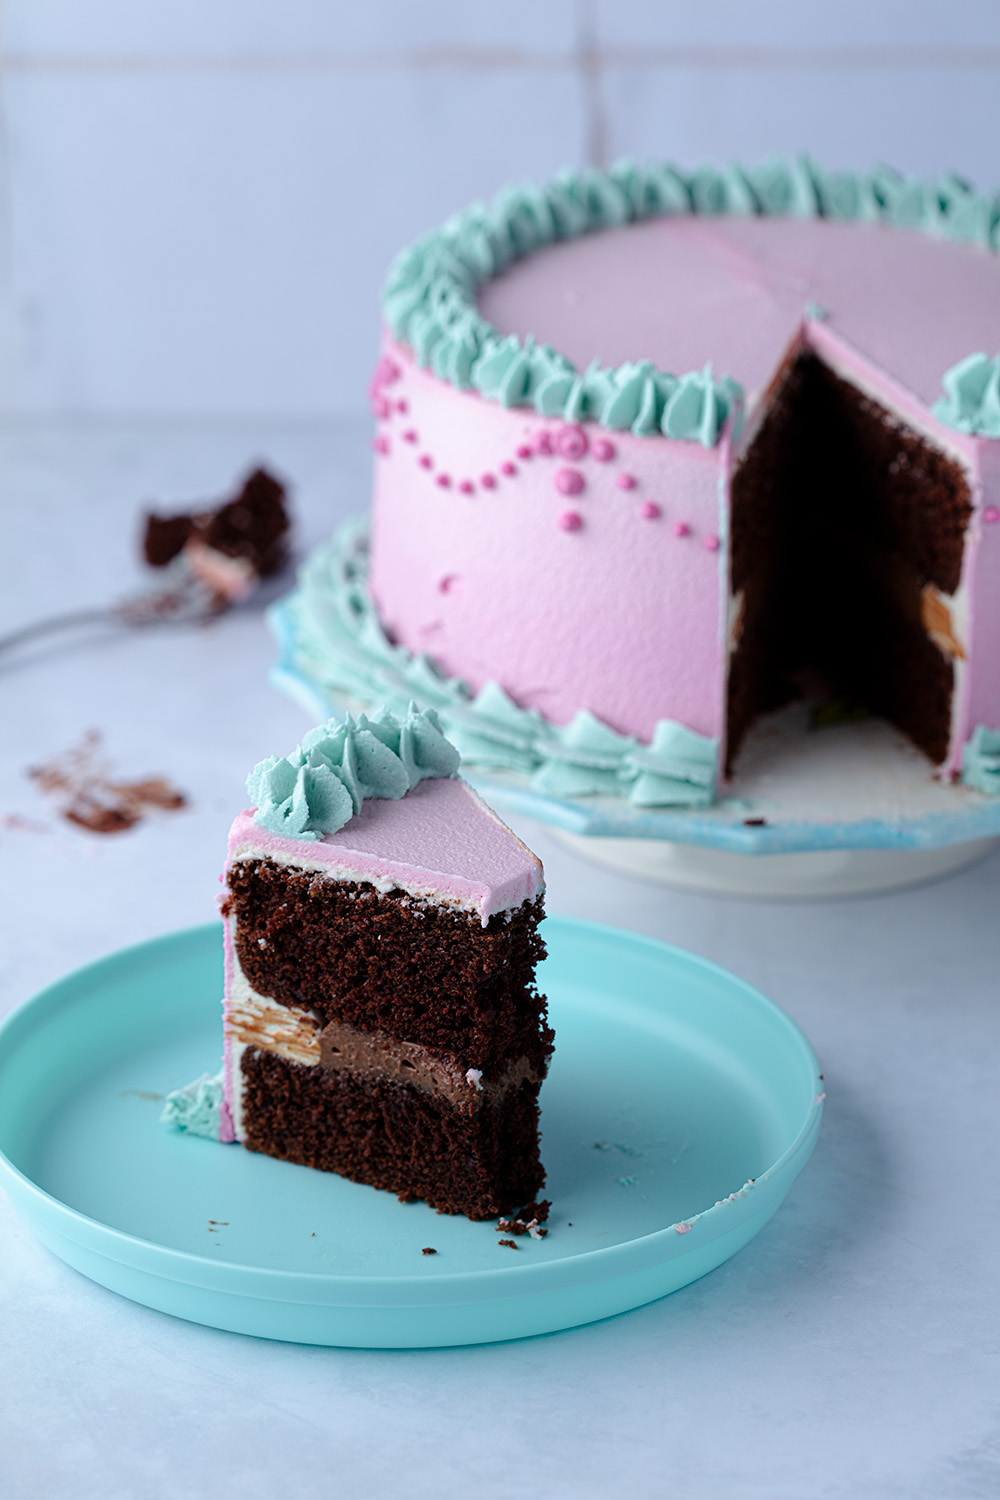
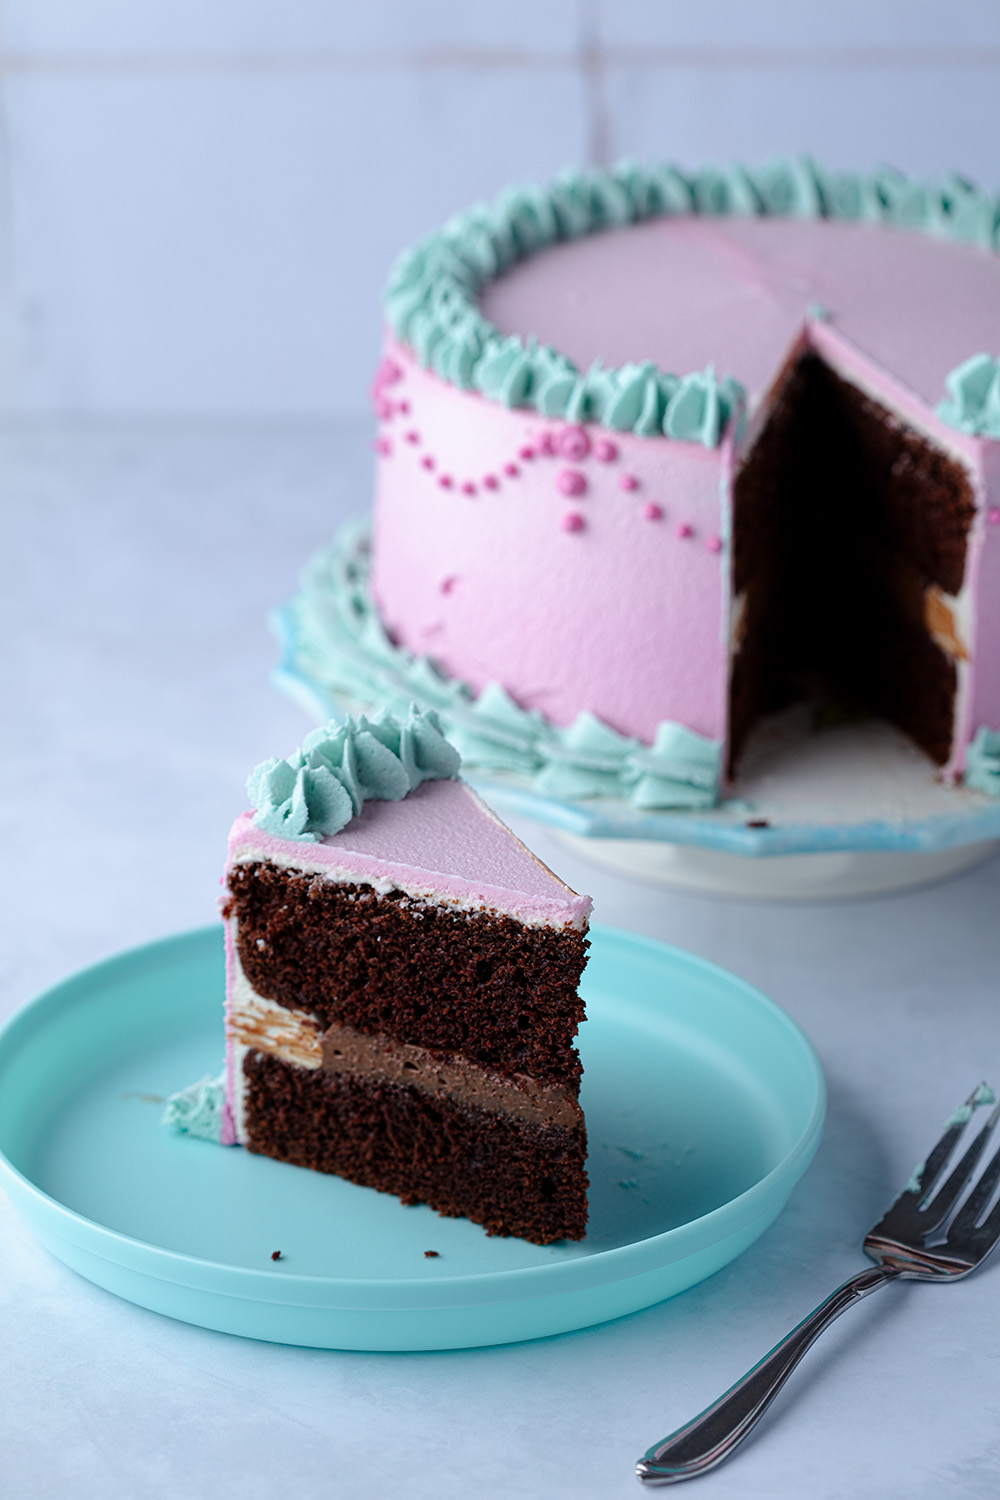
This recipe makes a vegan nutella cake with 2 layers of fluffy chocolate cake separated by a layer of nutella mousse filling. This cake is so decadent that it might just be your new favorite flavor.
This nutella cake recipe makes a two-layer 8-inch cake or 9-inch cake (12-16 slices).
Table of Contents
(click the links below to skip to the section you’re looking for)
- Vegan Chocolate Cake
- Vegan Frosting
- Vegan Nutella Filling
- Cake Assembly and Decor
- Tips and FAQ
- Ingredient Substitutions
- Video
- Contact Me with Questions
- Similar Recipes
♫ Listening to ♫
Cutie by COIN
In addition to the chocolate cake and nutella filling, there’s a recipe and instructions for making an organic vegan vanilla buttercream frosting to decorate the nutella cake. I tend to make cakes to celebrate a special occasion. If you do want to decorate it, I recommend setting aside 6 hours to make this cake. I know that might seem excessive, but less than 2 hours is actual work. The rest of that time is waiting for the cake to cool after baking or to chill in the freezer in between assembly steps. If you’re like me, you can do other things in the downtime, like dishes, texting, eating, checking emails, or annoying your dog by touching her paws and lips.
Before starting, I also recommend clearing a spot in your freezer big enough for a cake. This can be a challenge (especially if you’re a food hoarder like me), but it will make the process so much quicker and easier. Ice packs and ice trays are an easy thing to take out for the day. If you’re making an everyday cake (not to call your event unspecial), see the FAQ section to transform this recipe into an easy nutella sheet cake.
Ingredients You’ll Need for your Chocolate Cake
(jump to the substitutions section to see ingredient details and suggestions for substitutions)
- ¾ cup (54g) cocoa powder
- ½ cup (110g) hot water or hot coffee
- ⅔ cup (135g) safflower oil
- 1 ½ cups (355ml/365g) nondairy milk
- 1 ⅓ cups (300g) organic, raw, or vegan sugar
- 2 teaspoons (8g) vanilla extract
- 3 cups (390g) flour
- 1 ½ teaspoon (9-10g) baking soda
- ½ teaspoon (2-3g) baking powder
- 3 pinches of salt (optional)
- 3 tablespoons (45g) lemon juice
How to Make Chocolate Cake
Prep time: 27 minutes | Bake time: 40 minutes
Dollhouse Shortcut
Bake the cakes ahead of time and wrap them well in cling wrap once they’ve cooled completely. Leave them in the fridge for up to 3 days or put the wrapped cakes into a freezer ziplock bag and freeze for up to 3 months.
Cut two circles out of parchment paper and set them in the bottoms of each of the 8" or 9" round cake pans. I have a template made out of cardstock* that I use whenever I have to cut out parchment paper circles for my cake pans. It saves time, and it’s a lot cheaper to cut your own than to buy the precut circles.
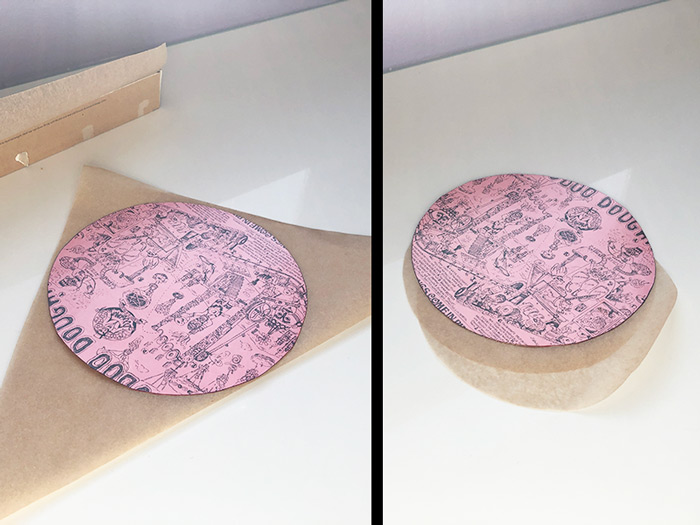
* Okayyyyyy, it’s actually from an upcycled doughnut box. If you’re new here, this is the moment you realize that I have a sweet tooth the size of Mount Everest.
Preheat the oven to 335ºF (170ºC).
Stir ¾ cup (54g) cocoa powder (try to buy fair trade, if possible) with ½ cup (110g) hot water or hot coffee. It should be thick like chocolate ganache or melted chocolate chips. Tell the child in you not to taste it, even though it smells good. I still remember the first time I tasted vanilla extract and felt betrayed.
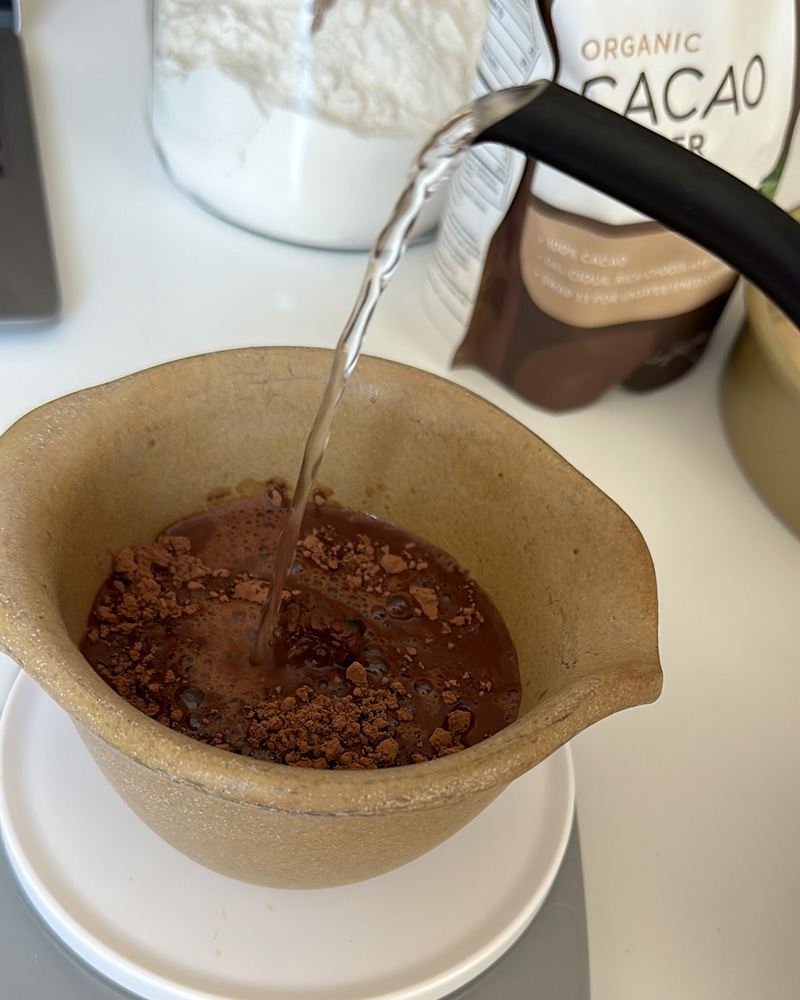
Set the bloomed cocoa aside for now.
Mix the following wet ingredients in the mixing bowl of a stand mixer fitted with a paddle attachment: ⅔ cup (135g) safflower oil, 1 ½ cups (355ml/365g) nondairy milk, 1 ⅓ cup (300g) sugar, and 2 teaspoons (8g) vanilla extract. You can use a handheld electric mixer if you don’t have a stand mixer (or mix by hand if you don’t have either).
Sift the following dry ingredients into the wet ingredients: 3 cups (390g) all-purpose flour, 1 ½ teaspoon (9-10g) baking soda, ½ teaspoon (2-3g) baking powder (I use the non-aluminum kind, because I need all the brain cells I have left), and 3 pinches of salt (salt is optional).
Mix the wet ingredients and the dry ingredients until you can no longer see any dry ingredients.
Stop the stand mixer at least once to scrape down the sides and bottom of the bowl (and even the paddle). Use a baking spatula and make sure no dry ingredients remain unspatulad (it’s the past tense for the verb, to spatula, and I stand by it).
Mix the bloomed cocoa powder into the batter (remember that chocolate mixture you made at the beginning?). Stir on low until it’s all one color.
Check the oven to make sure it’s heated to 335º before this next step. If it’s not, wait for it to beep before starting the next step.
Add the 3 tablespoons (45g) of lemon juice to the batter, and stir it gently until it’s mixed in.
Pour half of the chocolate cake batter into each of the parchment-lined 9" round cake pans (they don’t have to be perfectly even; just eyeball it). Shake the cake pans a little to get the batter to spread evenly on the bottom of each pan. Use a silicone spatula to make sure you get all the batter and don’t waste any.
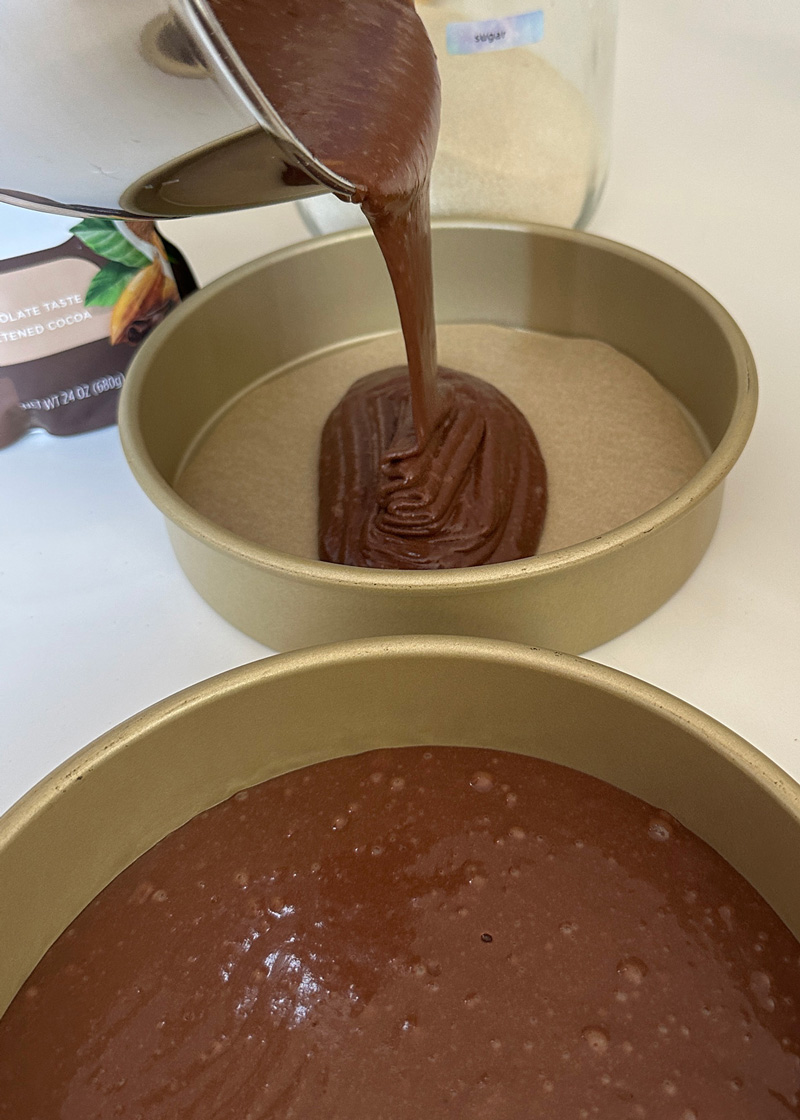
Set both cake pans on the same rack in the oven (the rack that’s most in the middle). This will help them bake at the same rate.
Bake at 335ºF (170ºC) for 38-43 minutes, or until you can stick a toothpick in the center of the cakes and it comes out clean. I baked mine for 38 minutes, but my oven runs hot.
Remove the cakes from the oven and set them on cooling racks.
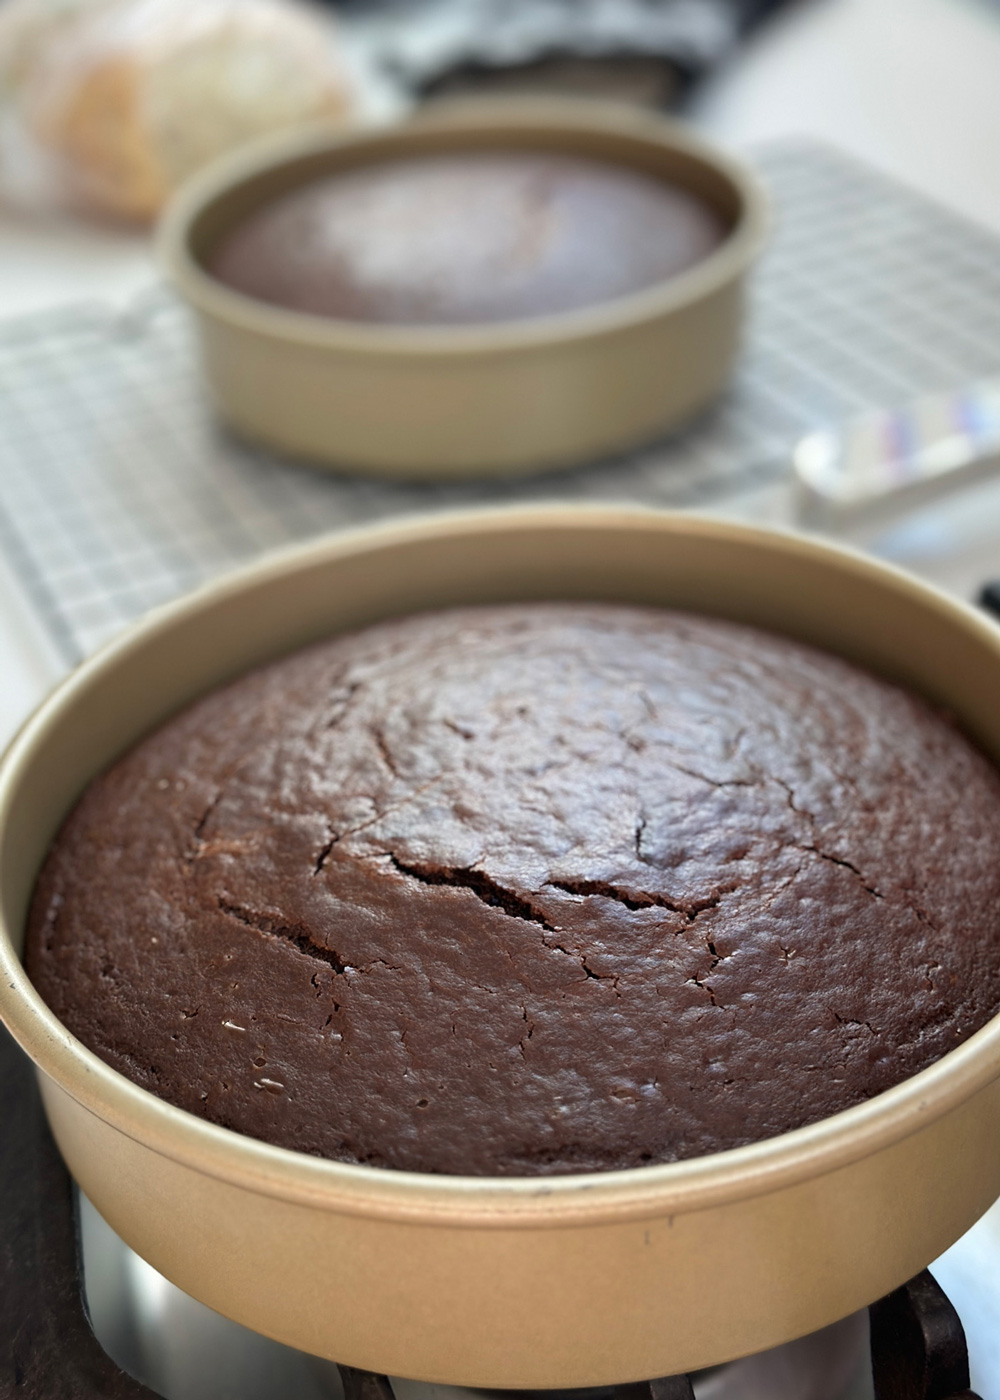
Cool the cakes on cooling racks for 10 minutes.
Flip the cake pans and set them upside down on the cooling racks to cool the rest of the way. If your cake pans are high quality, your cakes may fall out of the cake pans when you flip them. If that happens, go ahead and remove the cake pans and soak them or wash them right away.
Cool the cakes the rest of the way. It usually takes around an hour for cakes to cool, but it could take longer. You want to cool them until when you touch them, they no longer feel warm. If you don’t have that kind of time, stick them in the freezer, and they’ll cool much faster.
Remove cooled cakes from pans (if they haven’t fallen out on their own) by shimmying a baking spatula around the edges of the cake pans.
Wrap each layer of vegan chocolate cake in cling wrap if you’re baking these cakes in advance of when you plan to assemble and decorate the cake. Leave them in the fridge or freezer until cake decorating day. Place the cakes into a ziplock freezer bag after wrapping them in cling wrap if they’ll be in the freezer for more than a couple of days.
Ingredients for the Nutella Cake Frosting
(jump to the substitutions section to see ingredient details and suggestions for substitutions)
- 2 teaspoons (8g) vanilla extract
- 1 cup (176g) vegan butter or margarine
- ¾ cup (144g) organic palm shortening
- 5 cups (600g) organic powdered sugar
- 2-3 teaspoons nondairy milk or creamer, room temp (optional, if using powdered food coloring)
How to Make the Frosting for the Vegan Nutella Cake
prep time: 15min
Whisk ¾ cup (144g) organic palm shortening and 1 cup (176g) vegan butter or margarine for 3-5 minutes, using a handheld electric mixer or a stand mixer with the whisk attachment.
Scrape the sides with a baking spatula.
Mix for another minute. You want it to look light and fluffy (like the picture below) before you stop mixing.
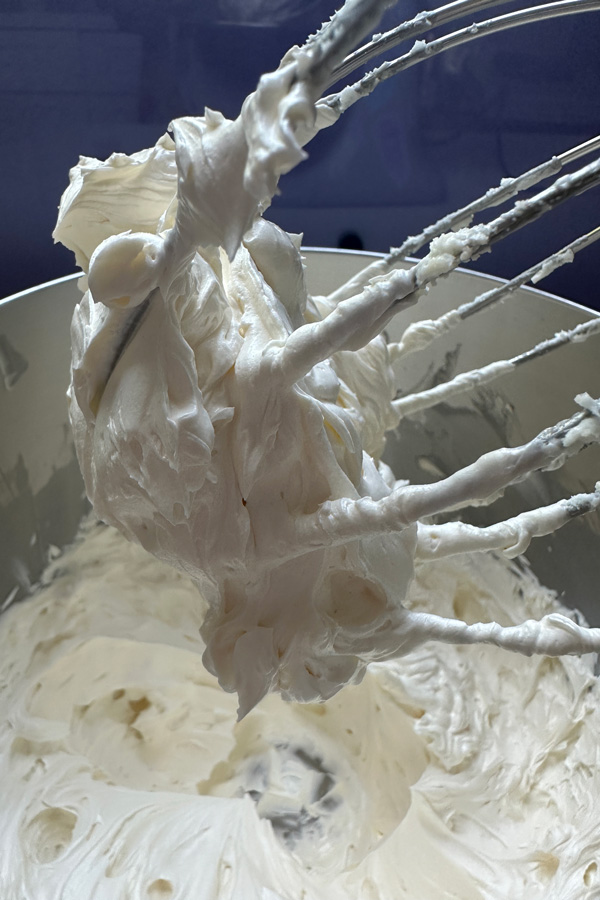
Add 2 teaspoons (8g) vanilla extract, and mix for another minute.
Sift 5 cups (600g) organic powdered sugar into the whipped butter, one cup at a time, mixing between each new addition.
Scrape the sides of the bowl with a baking spatula and mix again. You’ll notice the consistency of the frosting goes from creamy to less creamy when you add the last cup of powdered sugar. This is okay because you’ll add vegan creamer or vegan milk later to get it creamy again.
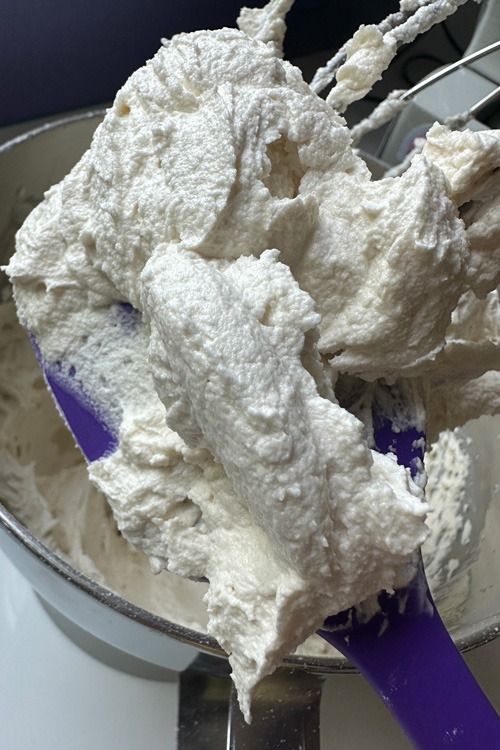
Decide how many colors of frosting you want, and divide the frosting into that many bowls. I used 3 bowls: teal, dark pink, and light pink. But since my light pink and dark pink just merged together, if I did it again, I would just make 2 colors.
I used Exberry powdered colors, but you can check out my list of vegan food colors for other options. When using powdered food coloring, you want to turn it into a paste or gel consistency before adding it to your frosting. Add a tiny amount of room temperature nondairy milk or creamer to a small bowl or ramekin and mix with the powdered food coloring. Then add that to the frosting. If you add powdered food coloring straight to frosting, it won’t always blend well.
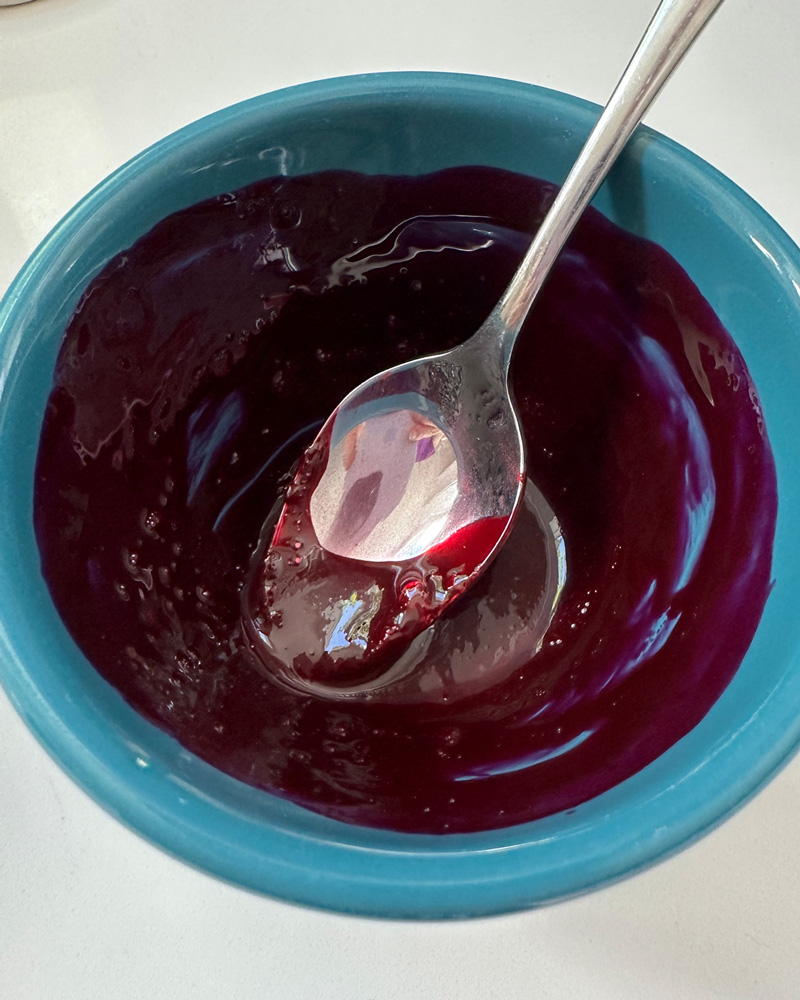
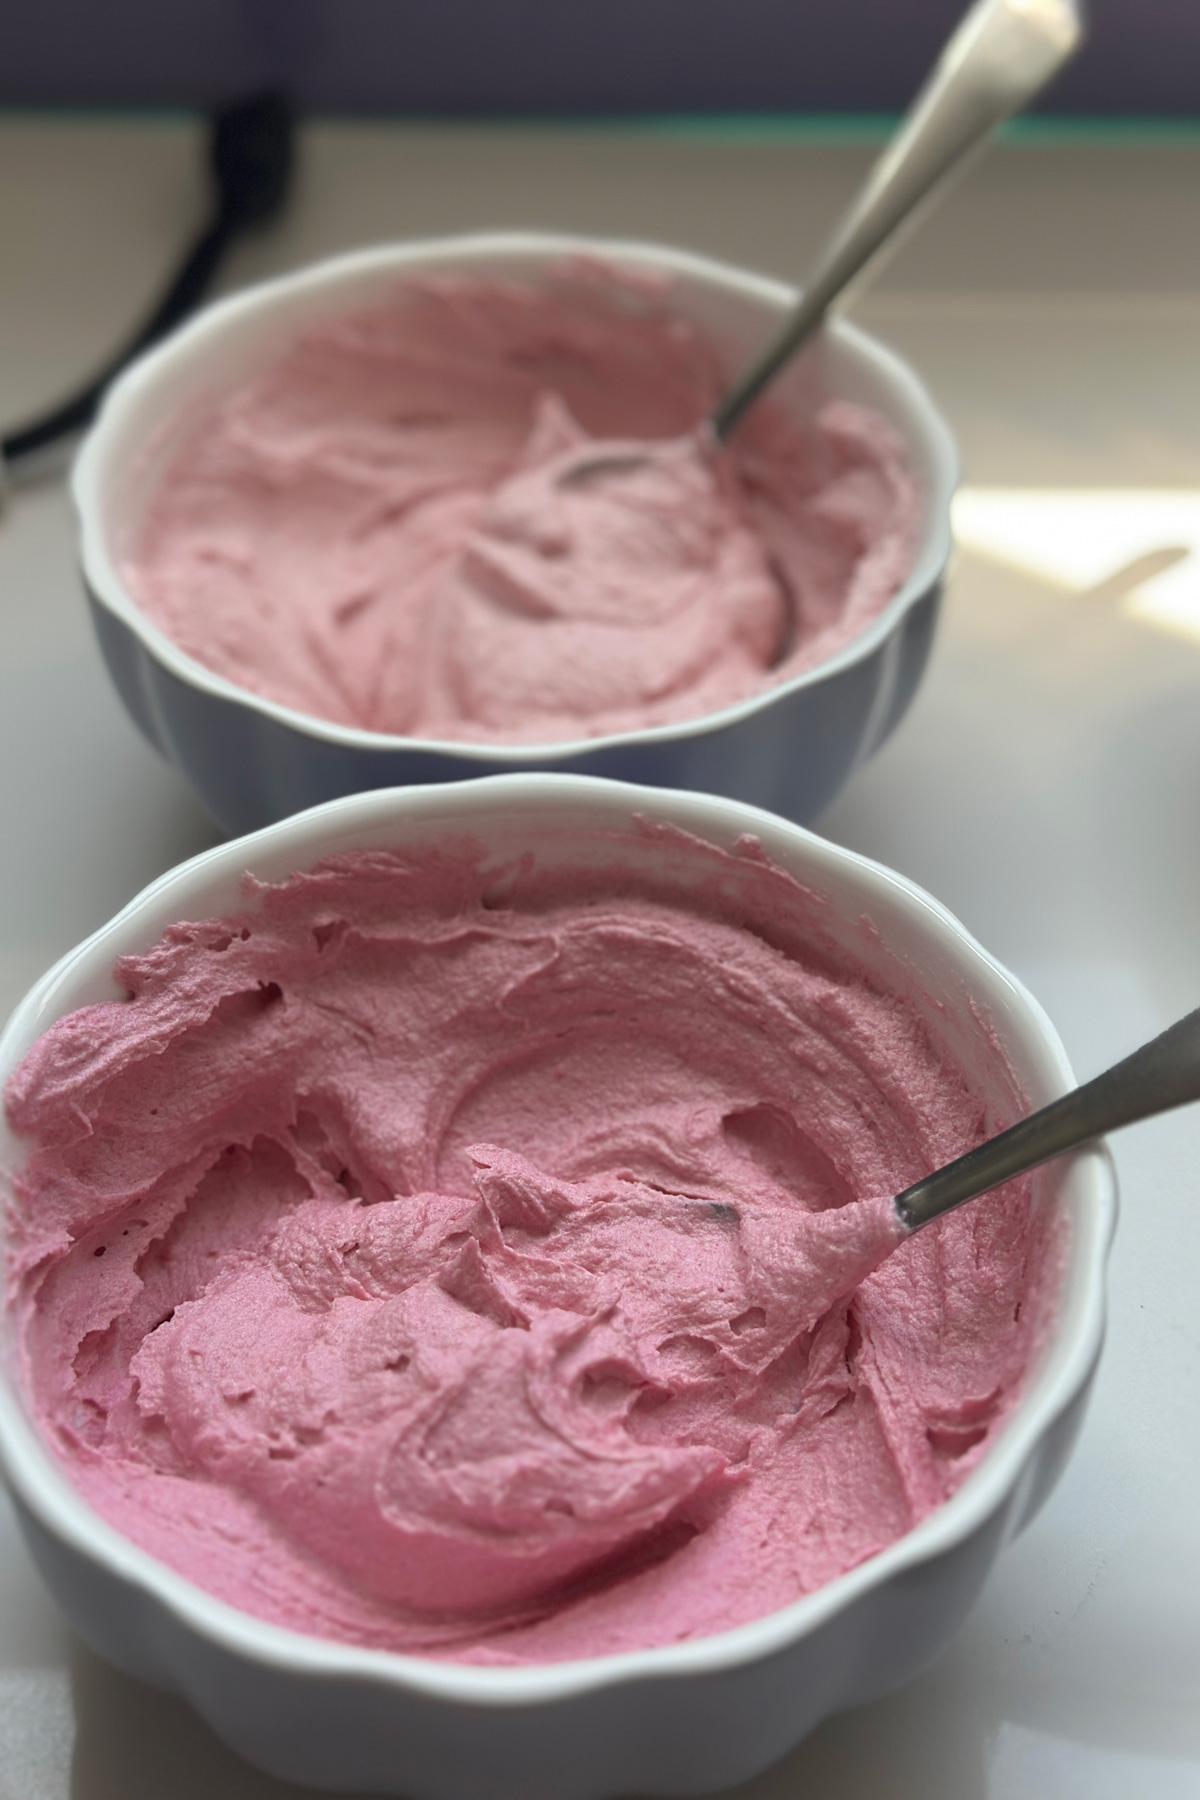
Fill a piping bag fitted with wilton tip 1A with some or all of the frosting. If you don’t have these items, you can use a ziplock bag or even just a produce bag from the store. If you reuse a produce bag, just make sure you wash and dry it first because you don’t want pieces of broccoli in your cake (we’re not that vegan).
Ingredients for the Nutella Filling
(jump to the substitutions section to see ingredient details and suggestions for substitutions)
- 6 oz (170g) silken tofu
- ⅓ cup (92g) chocolate hazelnut butter
- ¼ cup (55g) vegan, raw, or organic sugar
- 3 tablespoons (44g) non dairy milk
- ½ cup (3oz/85g) vegan chocolate chips
How to Make the Filling for the Vegan Nutella Cake
prep time: 10min
Dollhouse Shortcut
Use the microwave to melt the vegan chocolate chips to save time. Microwave in two 30-second increments, stirring after each.
Blend the following: 6 oz (170g) organic silken tofu, ⅓ cup (92g) vegan nutella, and ¼ cup (55g) vegan sugar until it’s smooth and creamy.
Melt ½ cup (3oz/85g) vegan chocolate chips and 3 tablespoons (44g) nondairy milk in a small saucepan on low heat or in a double boiler, stirring until smooth.
Add the melted chocolate to the blender, scrape the sides, and blend again until it’s smooth and creamy.
Assembling and Decorating the Nutella Cake
prep time: 1 hour | chill time: 40min
Cut the tops of the round cakes to make them flat (this step is optional, but I did need to trim a very thin layer from both cakes). And then I had to eat the tops. Life is so hard.
Set the bottom cake layer onto your cake plate or cake board.
Pipe a ring of frosting around the perimeter of the bottom cake layer, using the piping bag you prepped earlier. Don’t mind the wrinkled cake. That’s because I baked it the day before and wrapped it in cling wrap to keep it fresh.
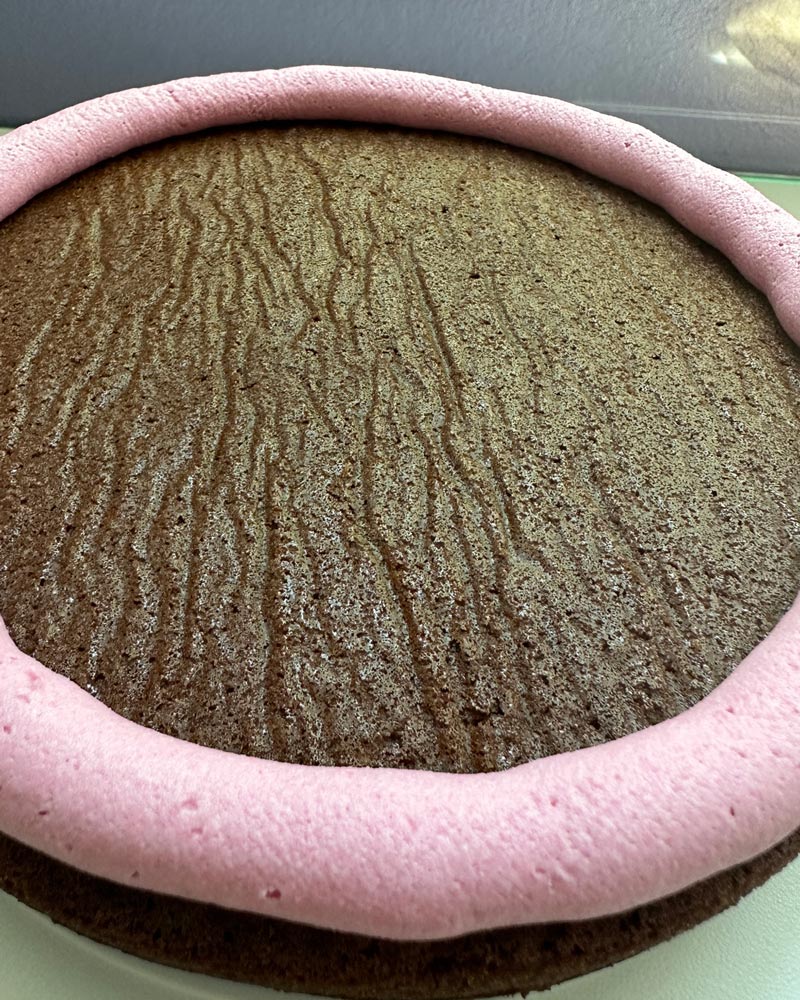
Scoop the blended nutella filling into the frosting ring. Don’t overfill it. If your cake pans are 8-inch pans, you might have a little leftover filling that won’t fit. Just pour any leftover filling into a small dish and chill it in the fridge for later. It’s a delicious dessert all by itself.
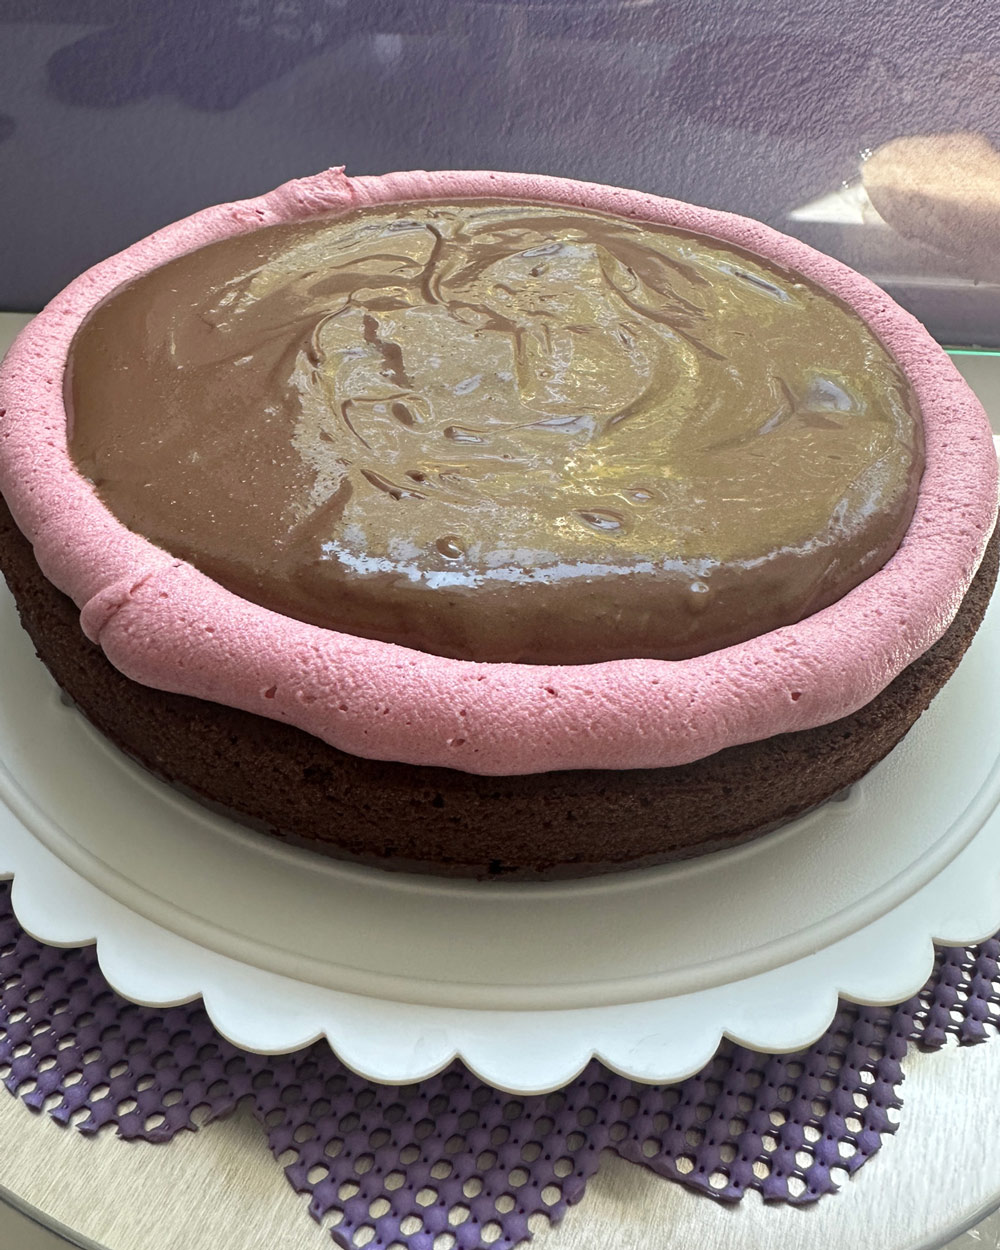
Chill the cake in the freezer for 30 minutes. You can leave it in longer if you’re busy doing other things, but this is the minimum amount of time you should chill it for. If there’s no way in hell you can clear space in your freezer, chill it in the fridge for 2 hours instead. While it chills, you can start to color the rest of your frosting.
Rewhip or mix your white frosting. At this point in the process, your frosting has been sitting for a while, so whisk it to get it nice and fluffy again.
Color the remaining white frosting using a contrasting color. Use any vegan food coloring you prefer. I used two Exberry all natural powdered colors for mine: blue and yellow. Like with the pink, I used nondairy creamer as my mixing agent.
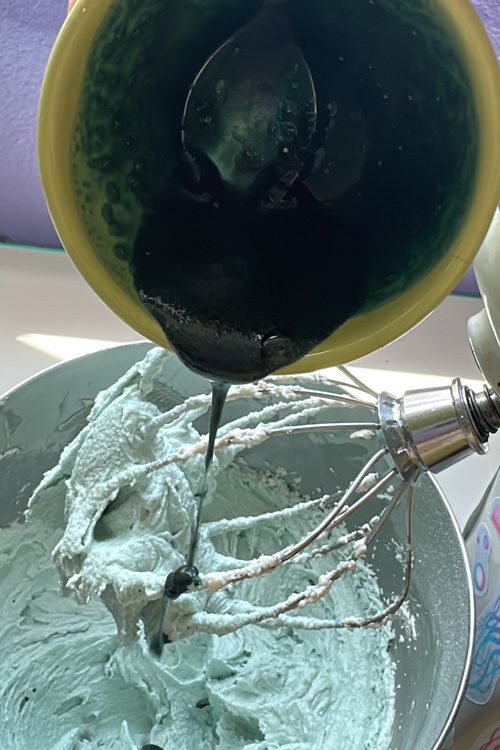
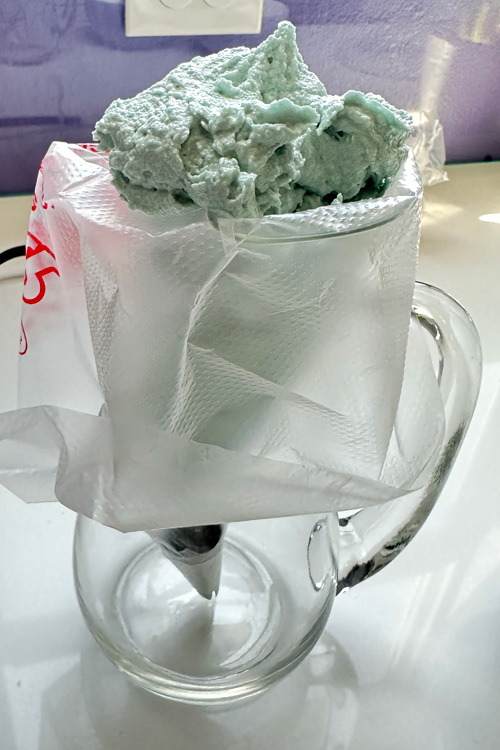
Fill a piping bag with wilton tip 1M with the new color you made. This is easiest if you have a helper to hold the bag open for you. If you don’t have that luxury, I recommend this system of using a vase, glass, jar, or pitcher. Use anything you can set your piping bag in that has an opening the right size to fold the edges of the piping bag over to hold it open while you fill it.
Remove the filled cake from the freezer or fridge and set it on a cake turntable to start the crumb coat.
Set the top cake layer on top.
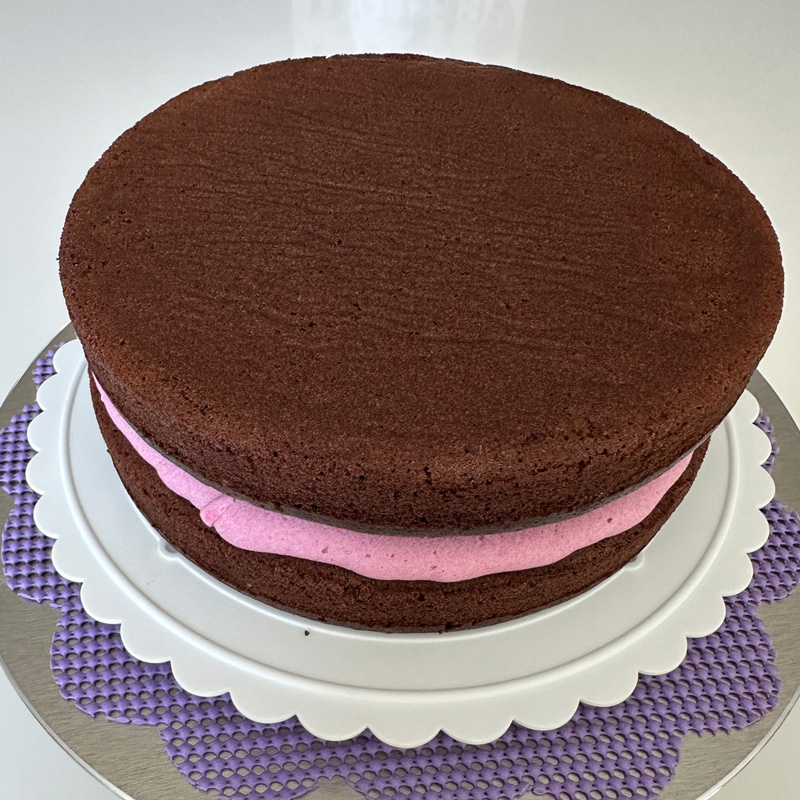
Fill in the gaps on the sides between the 2 cake layers with the piping bag you filled earlier with your first color.
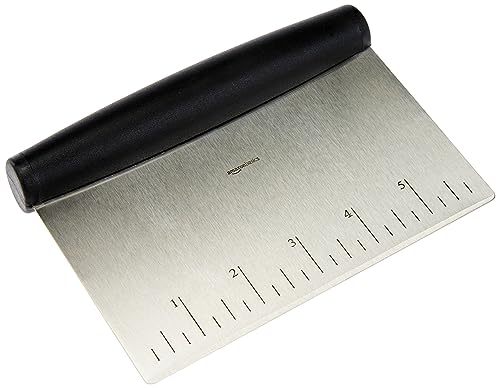
Smooth the sides using an offset spatula or a bench scraper.
Cover the entire cake in a thin layer of frosting, called the crumb coat. If it gets crumbs in it, it’s ok because you’ll cover the crumb coat with the final coat. Filling in the sides and doing the crumb coat took me 6 minutes.
Chill the cake with the crumb coat for at least 15 minutes in the freezer, or until you’re ready to decorate it.
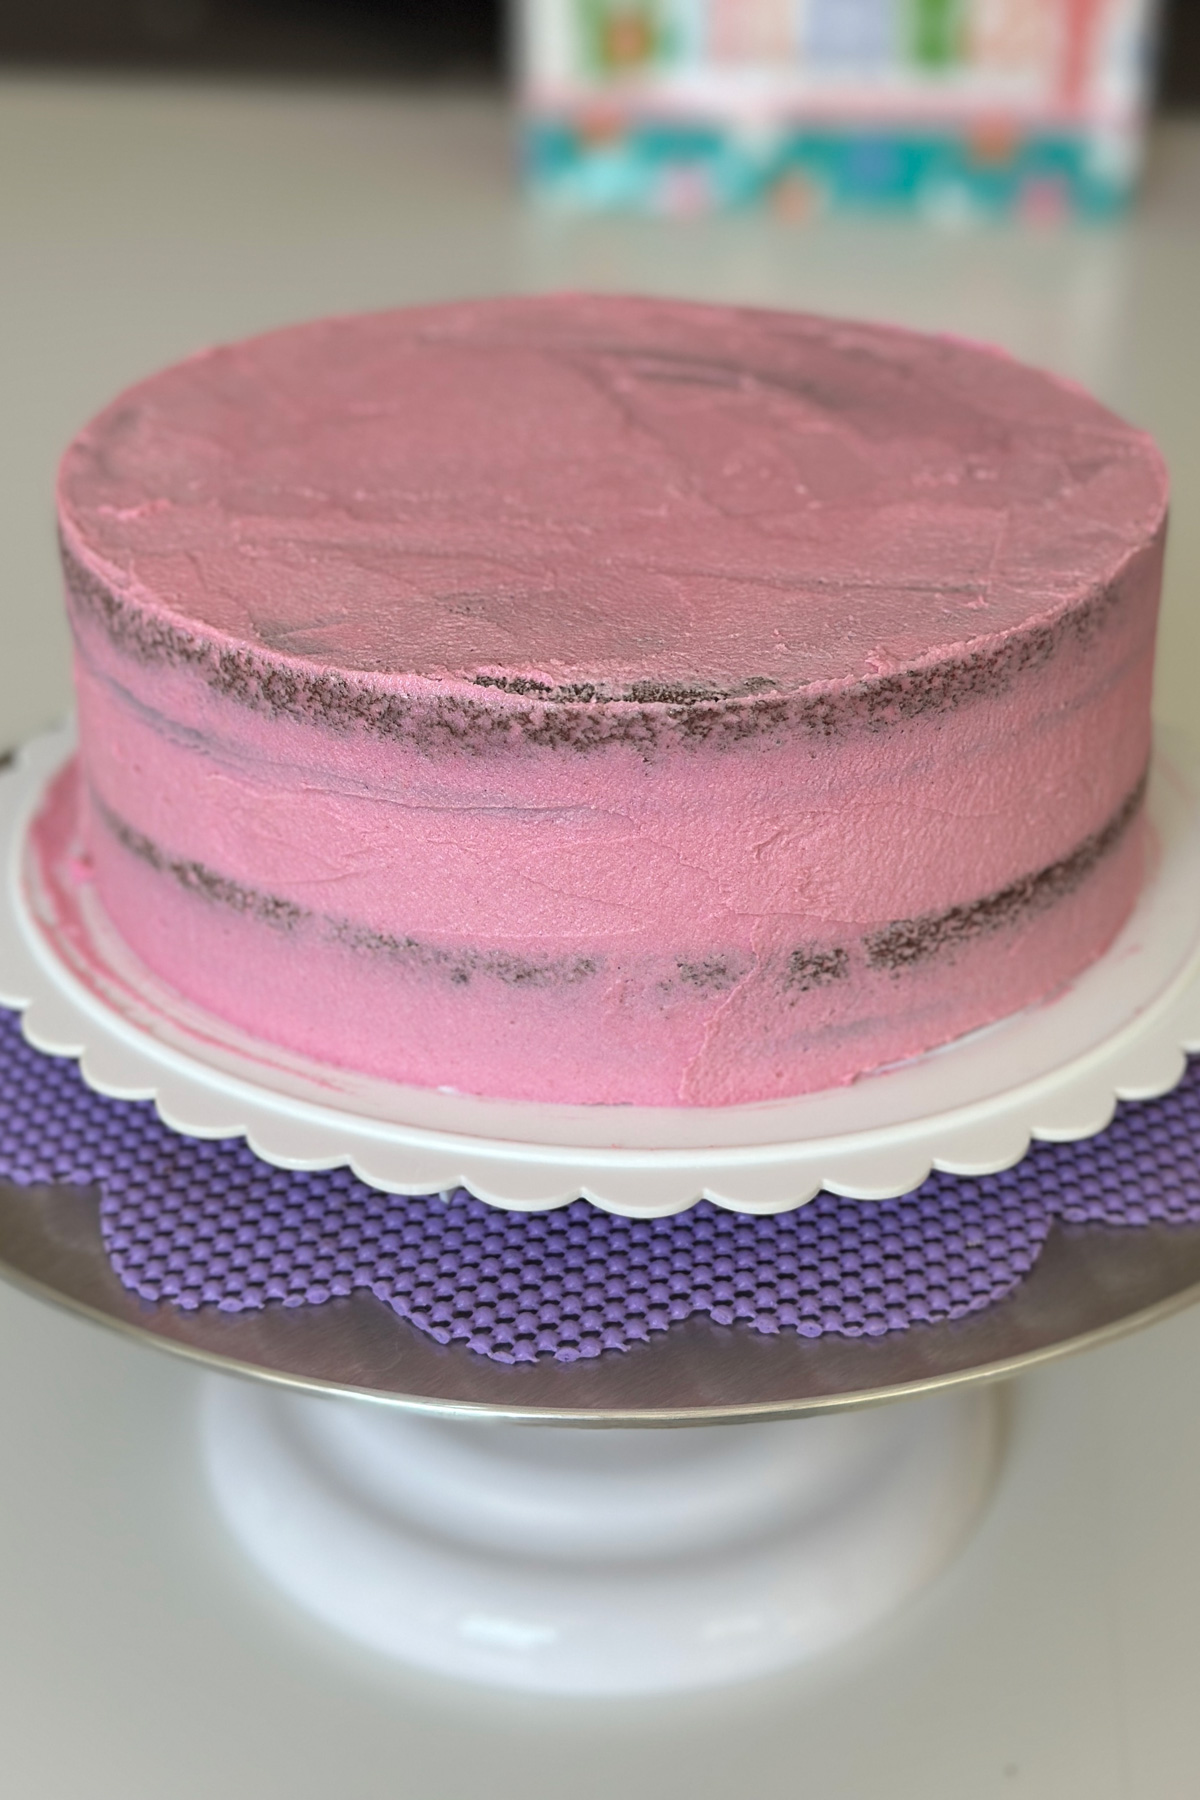
Remove the cake from the freezer once the crumb coat is hard to the touch.
Cover the cake in the frosting you colored first. If you’re doing an ombre, do the darker color at the bottom and the lighter color at the top.
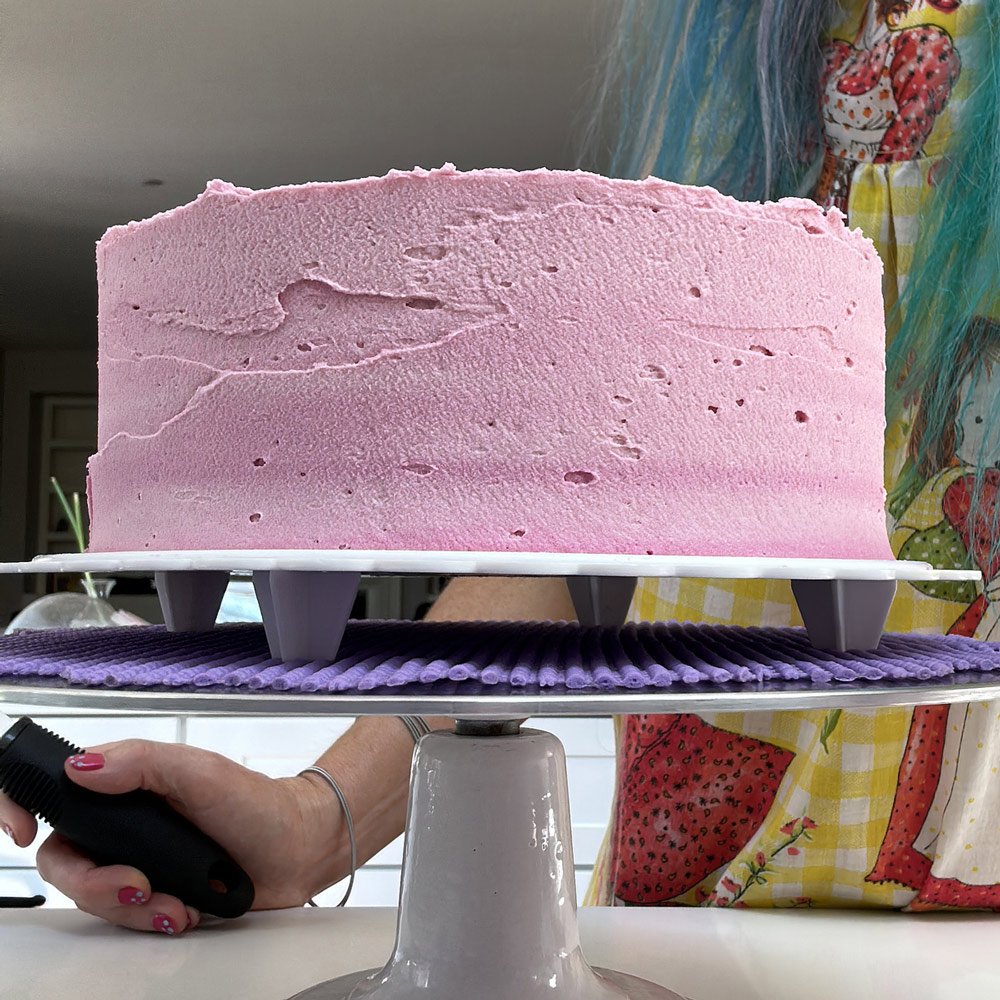
Smooth out the frosting as much or as little as you want. This step took me about 8 minutes because I spent extra time using an offset spatula on the top and a bench scraper/chopper on the sides.
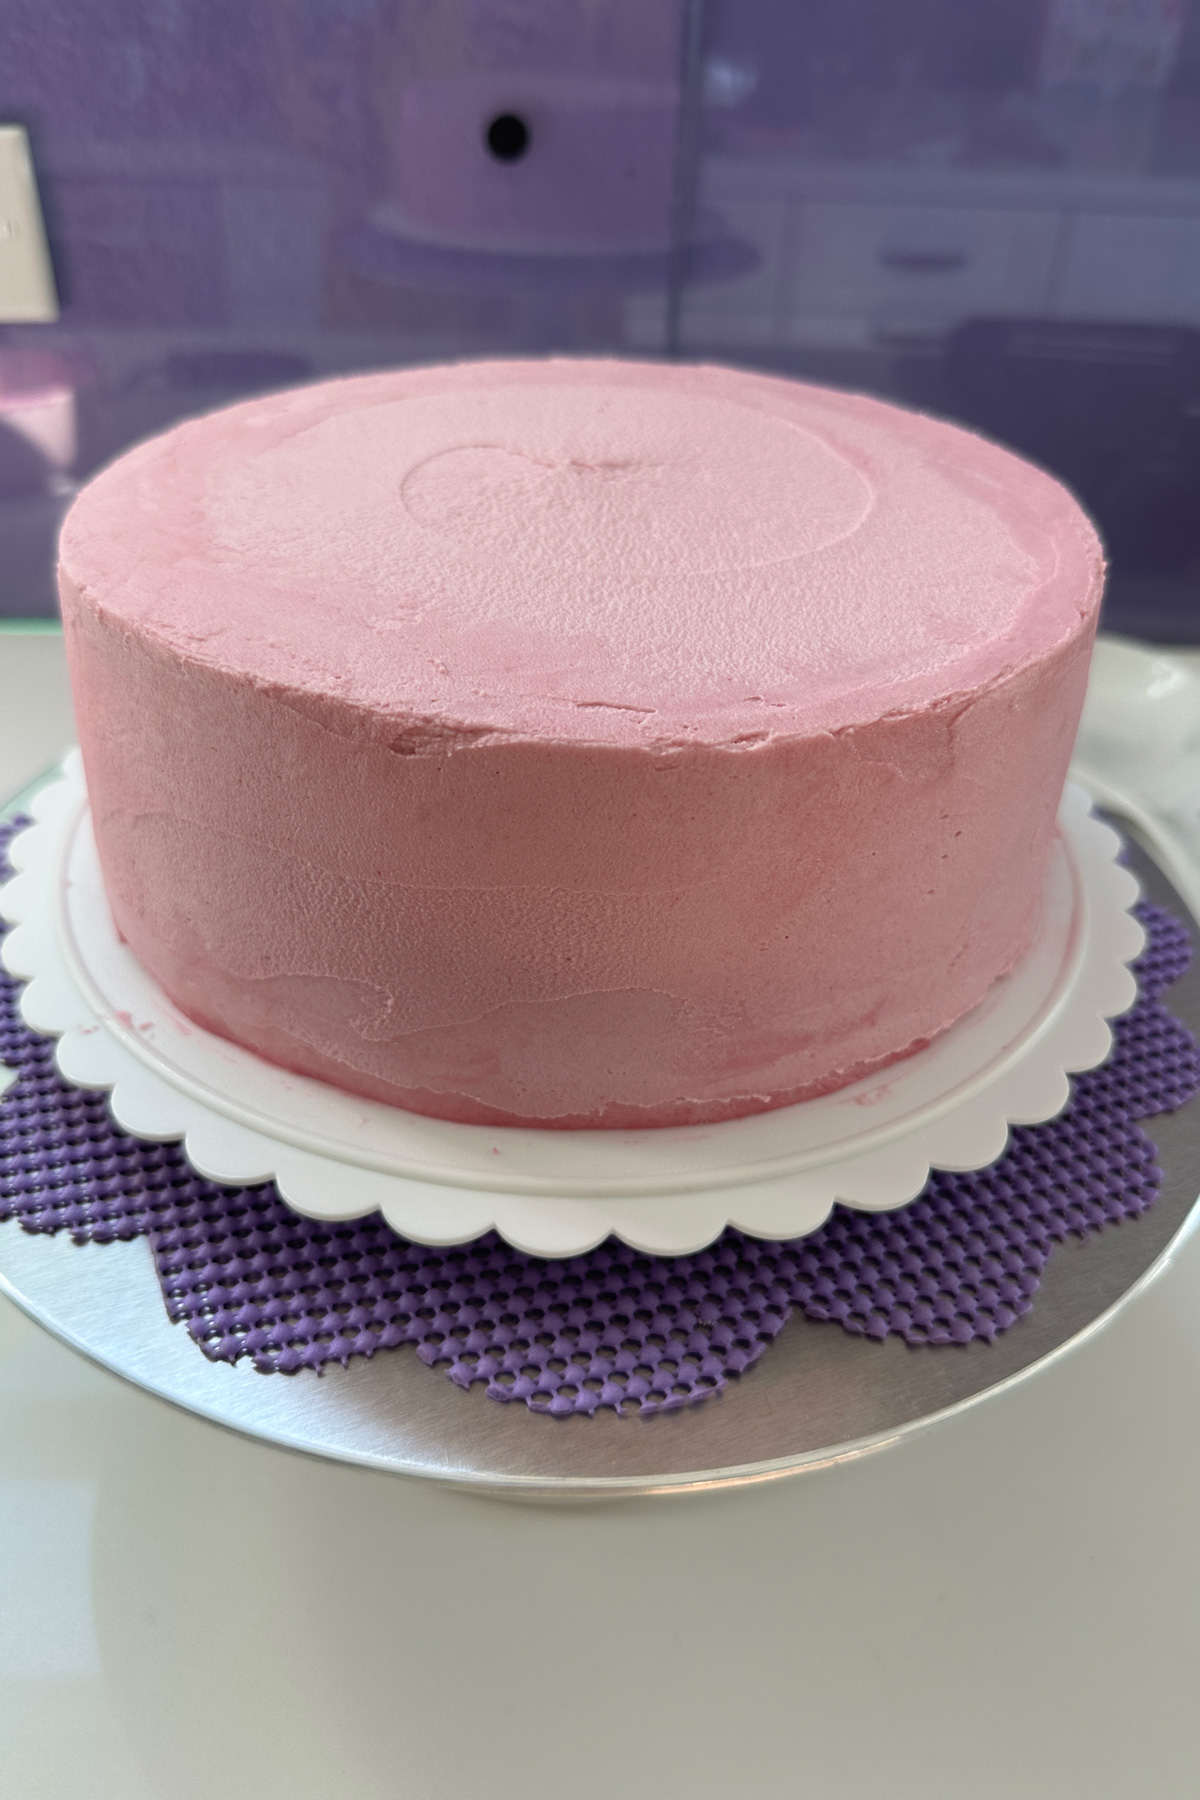
Chill the cake in the freezer again. This time, it only needs like 10 minutes. While you wait, you can add more of your first color of food coloring to the leftover frosting from covering the cake. For me, I added extra pink color to make a darker pink shade for decorating.
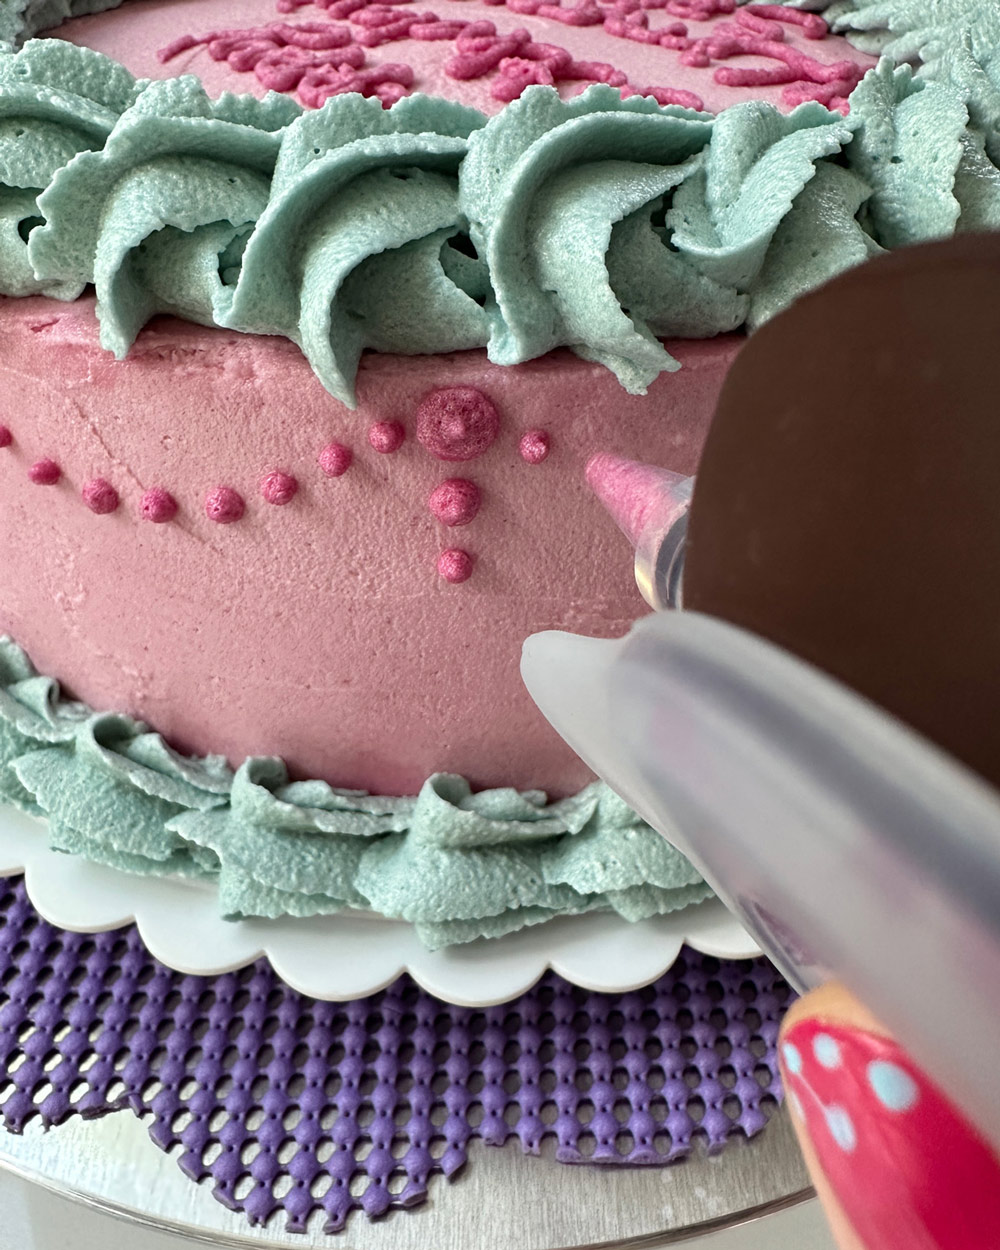
Transfer the darker color of frosting to a deco pen if you have one. If you don’t, you can use any decorating bottle you have or just a piping bag fitted with a small round tip.
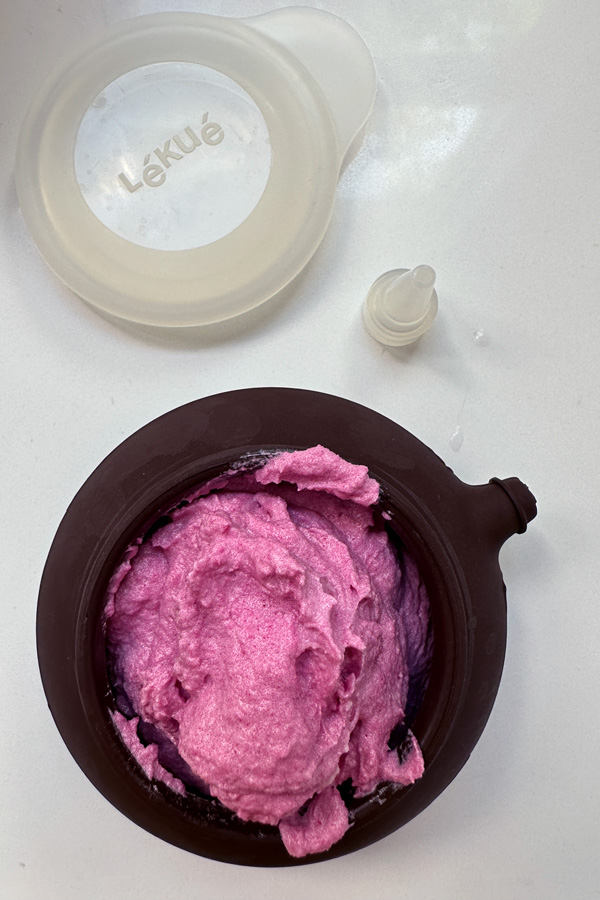
Remove the cake from the freezer and start your decorations. Plan to spend about 15-20 minutes decorating. You can also add sprinkles if you want, but I chose not to. I used a Lékué deco pen filled with dark pink frosting and a piping bag filled with light teal frosting to do my decorations. If you aren’t planning to decorate the sides, you can also use the decopen for writing a message on top of the cake. I wrote Happy Birthday to my friend Kimmy because I made this cake for her birthday.
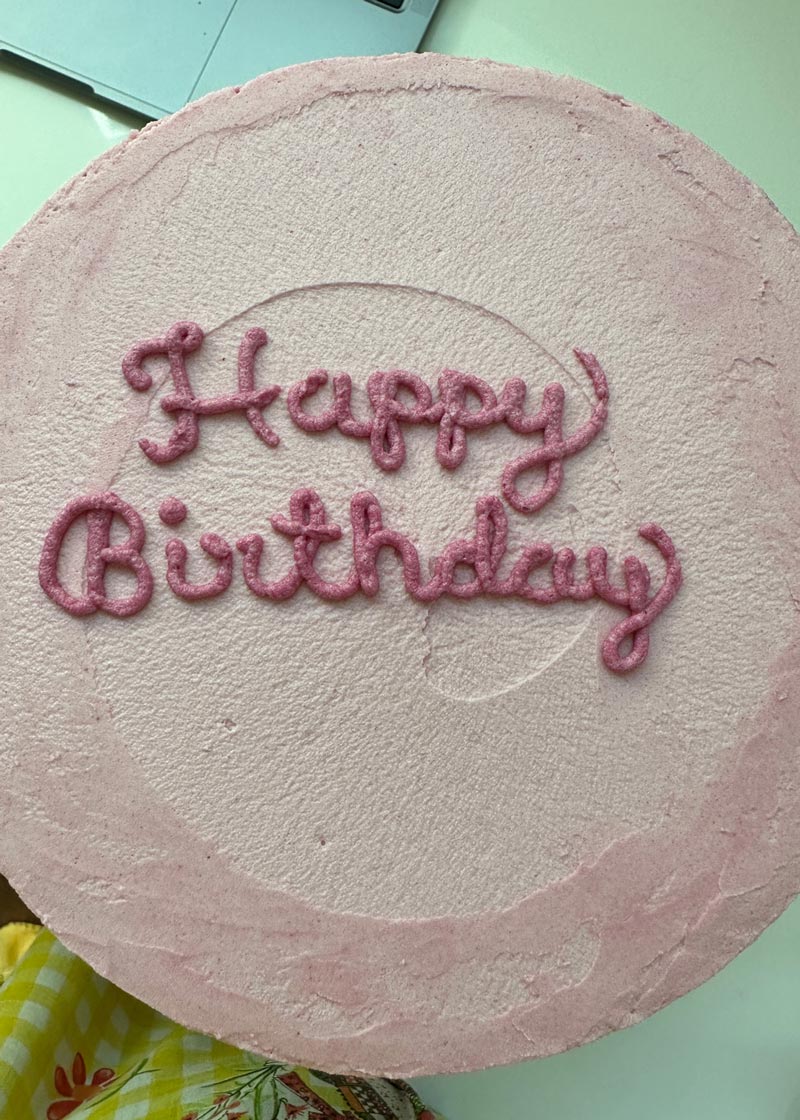
You want to write your message before adding your rope border, or else you have to try not to bump the border while you write your message.
Pipe your borders using the piping bag with the Wilton star tip 1M or your piping tip of choice.
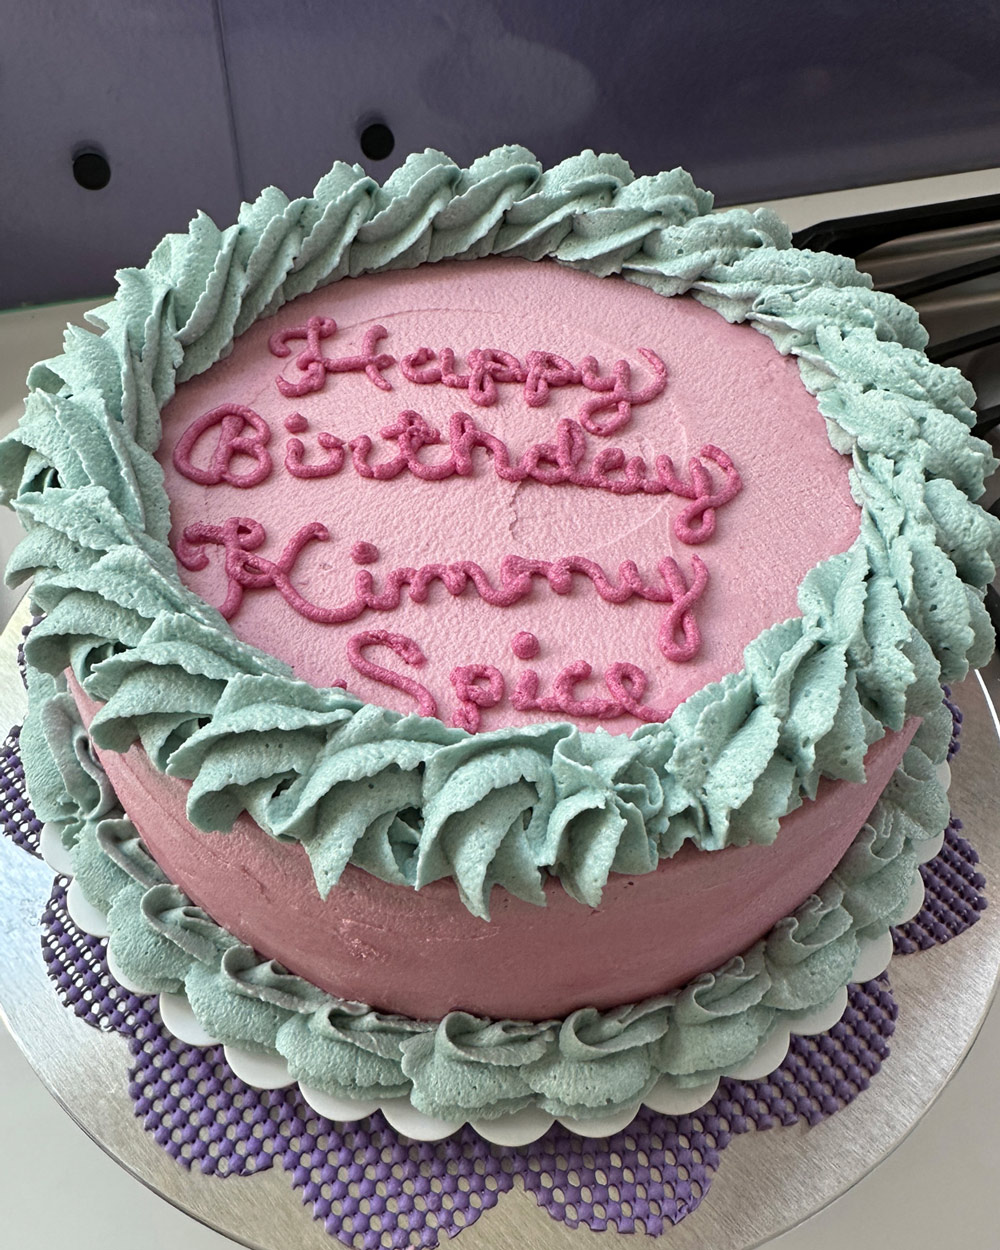
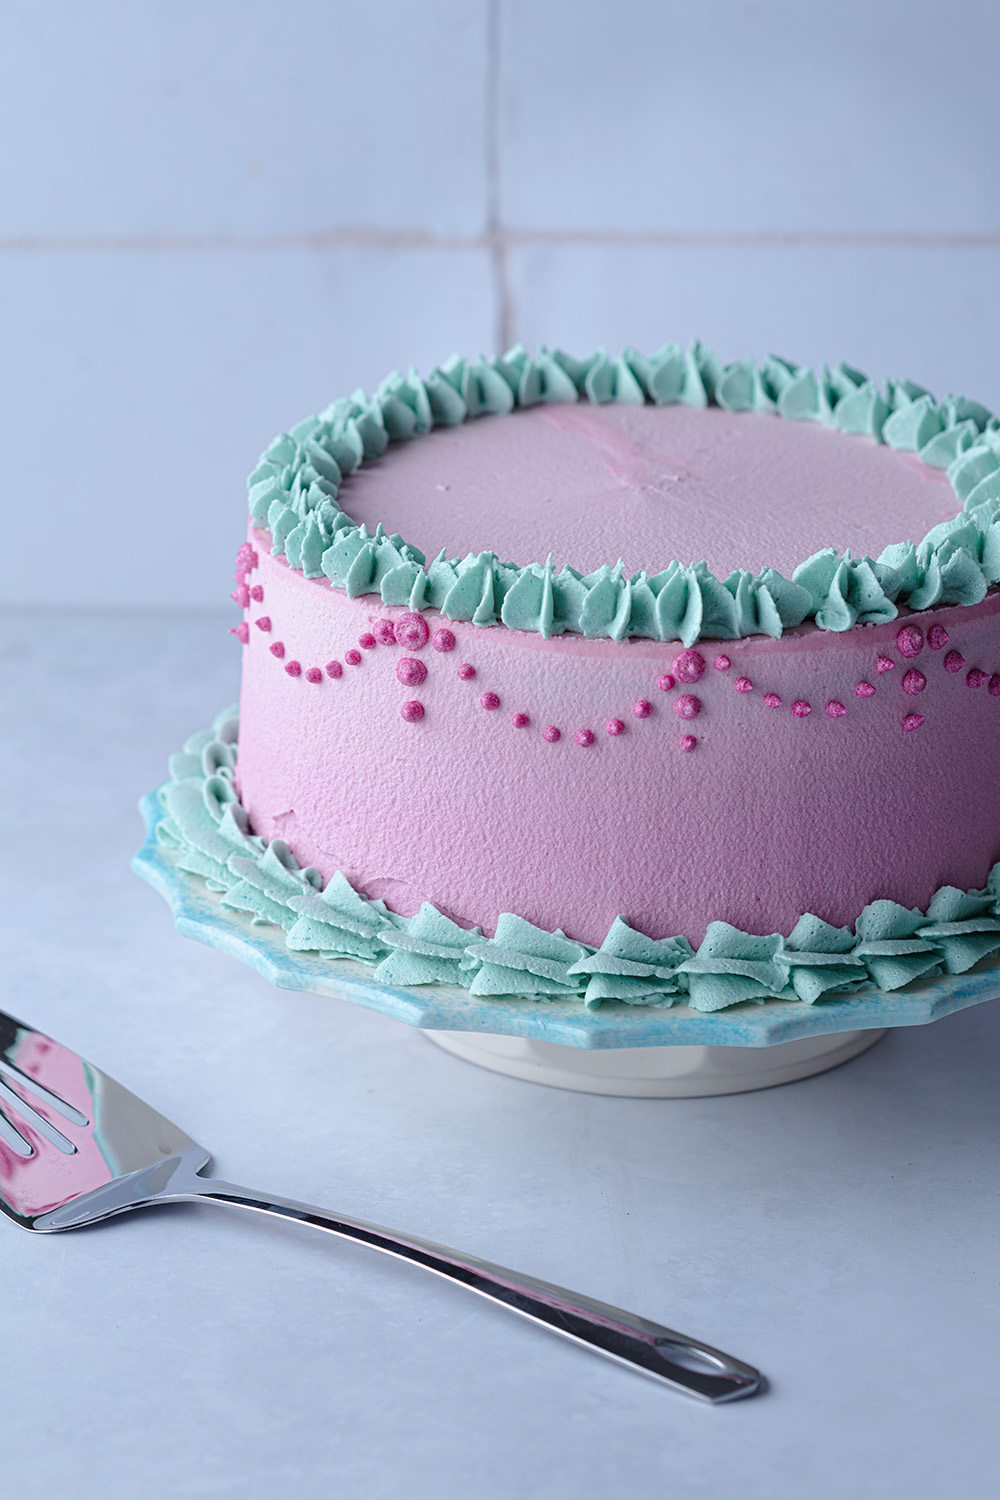
Decorate the sides of the cake. I used the same frosting in the deco pen from when I wrote the message on top to make a vintage Victorian beaded pattern around the perimeter.
Chill the decorated cake in the fridge or freezer until you’re ready to serve it. I took my cake on a 100-minute car ride to a birthday party, so I froze it overnight. The filling in this cake isn’t stable at room temperature so it needs to be chilled whenever you’re not serving it.
Frequently Asked Questions
Can I make this cake in a 9x13 baking pan?
If you’re looking for an easier and quicker sheet pan nutella cake recipe, just pour the batter into a 9x13 baking pan instead of 2 round cake pans. You can skip the frosting altogether and spread the nutella filling all over the top of the cooled cake.
Why didn’t my cakes rise?
If your cakes don’t look as tall as mine, there’s a chance they didn’t rise properly in the oven. There can be a few explanations for this. One is that you forgot to add baking soda or didn’t add enough. Baking soda also expires, so there’s a chance that your baking soda was old. The other rising agent in this recipe is lemon juice. Did you remember to add that?
One last thing that can prohibit a cake from rising is if you open the oven door while it’s baking. This is very important. You never want to open your oven door while you’re baking, especially not in the first two-thirds of the baking time. That’s why oven have windows now, so that you can check on your cakes without opening the door.
How do I store nutella cake?
Since the nutella filling only stays solid when chilled, nutella cake needs to live in the fridge. You can store the (uncut) cake in the fridge uncovered, because the frosting acts as a barrier to protect the cake from drying out. Once you’ve cut the cake, you should cover the cut part with cling wrap before storing it in the fridge. If you don’t think you’ll eat it within a week, you can cut the cake into individual slices, wrap each slice in cling wrap, and place the slices in a ziplock freezer bag. Then you can freeze them for up to 3 months.
Or bring it to my house. I’ll teach you how to eat a 12-serving cake in 5 days or less. 100% guarantee or your money back, haha.
Can I order a vegan nutella cake from you instead of making it myself?
I might be willing to make you a custom nutella cake if you live in northern California. Reach out to me if you’d like a quote. But I miiiiight take a slice for myself. Kiddinnnnnng. (or am I?)
Ingredient Substitutions
- Parchment Paper: I know parchment paper isn’t an ingredient, but I wanted to add a substitution for it. If you don’t have parchment paper, just oil the bottom and sides of both cake pans. The purpose of the parchment paper is just to help the cakes come out of the cake pans easier. Also, some parchment paper isn’t vegan, so make sure you buy the kind I link to here.
- Cocoa: I use fair trade, organic cocoa powder, but you can use whatever kind you have. If you don’t have cocoa powder, but you do have vegan chocolate chips, you can replace the bloomed cocoa (¾ cup cocoa powder mixed with ½ cup hot coffee or water) in this recipe with 1 cup (6oz/170g) of melted chocolate chips. This will produce a less moist cake, but it still tastes good.
- Oil: I recommend safflower, sunflower, avocado, or coconut oil for baking cakes. These oils are good for high heat, which helps you avoid transfats. However, you can use any other oil such as vegetable oil, canola oil, grapeseed oil, etc. People even make cakes with olive oil, but I don’t recommend it.
- Nondairy Milk: You can use any kind of milk in the cake and filling. I used chocolate oatly milk because that’s what I had in my fridge, and because you can never have too much chocolate. If you have access to hazelnut milk, that would be a fun addition. Otherwise, just buy the cheapest vegan milk you can find. If you don’t have the full amount of nondairy milk that the cake recipe requires, you can substitute any amount with water, coffee, or nondairy creamer. You can also mix and match different nondairy milks. I do this a lot when my macadamia milk only has a little bit left at the bottom and I use it up, and then I open a new container of almond, oat, or soymilk. If you use soymilk, I recommend buying organic or non-GMO since soy is commonly a transgenic crop.
- Sugar: In the cake and filling recipes, you can use any number of vegan sugars: sucanat, coconut sugar, raw sugar, organic sugar, or demerara. If you’re not sure if your sugar is vegan, you can contact the company and ask. Or just avoid conventional white sugar or granulated sugar, and you should be ok.
- Vanilla Extract: If you don’t have vanilla extract, you can omit it, but the cake will taste much better if you include it. Make sure you use 100% pure vanilla extract or flavor. If the ingredients don’t specifically say vanilla bean, then it may not be vegan or it may be chemicals.
- Flour: I used unbleached, all-purpose flour when I made this cake. If you prefer to use whole grain flours, replace the white flour in this recipe with cake flour, wheat flour, spelt flour, or whole wheat pastry flour. It will taste healthier with some of these flours though. You can also replace the flour in this recipe with your favorite gluten-free flour blend if you’re making this cake for someone who avoids gluten.
- Baking Soda: If you are out of baking soda, replace the 1 ½ teaspoons (9-10g) baking soda in this recipe with an additional 1 ½ tablespoons baking powder.
- Baking Powder: If you’re out of baking powder, you can omit the ½ teaspoon (2-3g) baking powder in this recipe.
- Lemon Juice: If you don’t have lemon juice, you can replace the 3 tablespoons (45g) lemon juice in this recipe with the same amount of apple cider vinegar, white vinegar, or lime juice. You just need some sort of acid to interact with the alkalinity of the baking soda to make the cake rise.
- Vegan Butter: I usually use organic whipped earth balance because I like the flavor and the consistency. It always works great in every recipe. If you avoid soy, they make a soy-free version too. You can use any brand of vegan butter or margarine that you prefer.
- Vegan Shortening: If you don’t have access to vegan shortening, you can replace it with additional vegan butter or margarine.
- Powdered Sugar: If you’re not sure if your powdered sugar is vegan, read my list of vegan powdered sugar brands.
- Silken Tofu: I buy the organic shelf stable silken tofu, and it comes in packages that are 12 oz (340g). I know this recipe only uses half that amount, so you can either double the filling recipe and chill the rest to have mousse for desserts this week. Or you can make my ravioli with the rest of the silken tofu. There are other kinds of silken tofu you can buy that come in bigger packages too I think.
- Vegan Nutella: For the ⅓ cup (92g) chocolate hazelnut butter in this recipe, I used Justin’s chocolate hazelnut butter because it tastes just like nutella. Other brands make vegan nutella too, such as Endangered Species, Nutiva, and Artisana. I know these products can be kind of expensive, so if you can find hazelnut butter for cheaper, you could always make your own.
- Chocolate Chips: For the ½ cup (3oz/85g) of vegan chocolate chips in this recipe, you can substitute any vegan chocolate. I like to use fair trade and organic chocolate, but I know that can get pricey. If you’re trying to save money, Trader Joe’s sells cheap vegan chocolate chips. Guittard makes less expensive fair trade vegan chocolate chips that are sold in a lot of grocery stores.
I made this cake a couple times while I was recipe testing it, so I got to eat an entire cake myself which was amazing! Well, I shared it with my partner because I’m nice like that, but the 2 of us managed to eat it in 4 days because we’ve got mad cake skills.
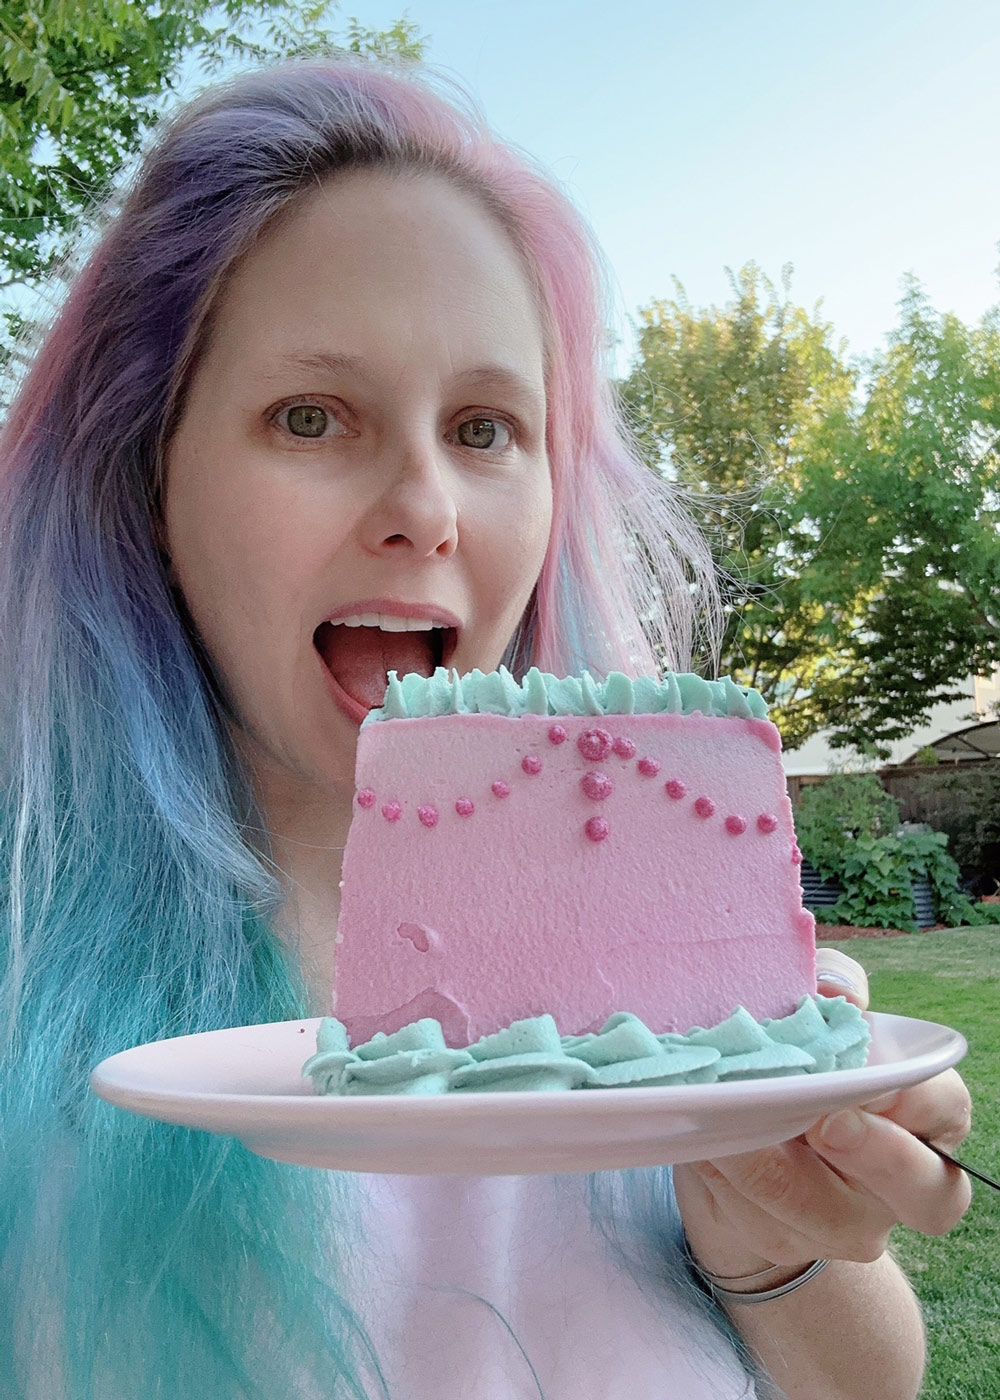
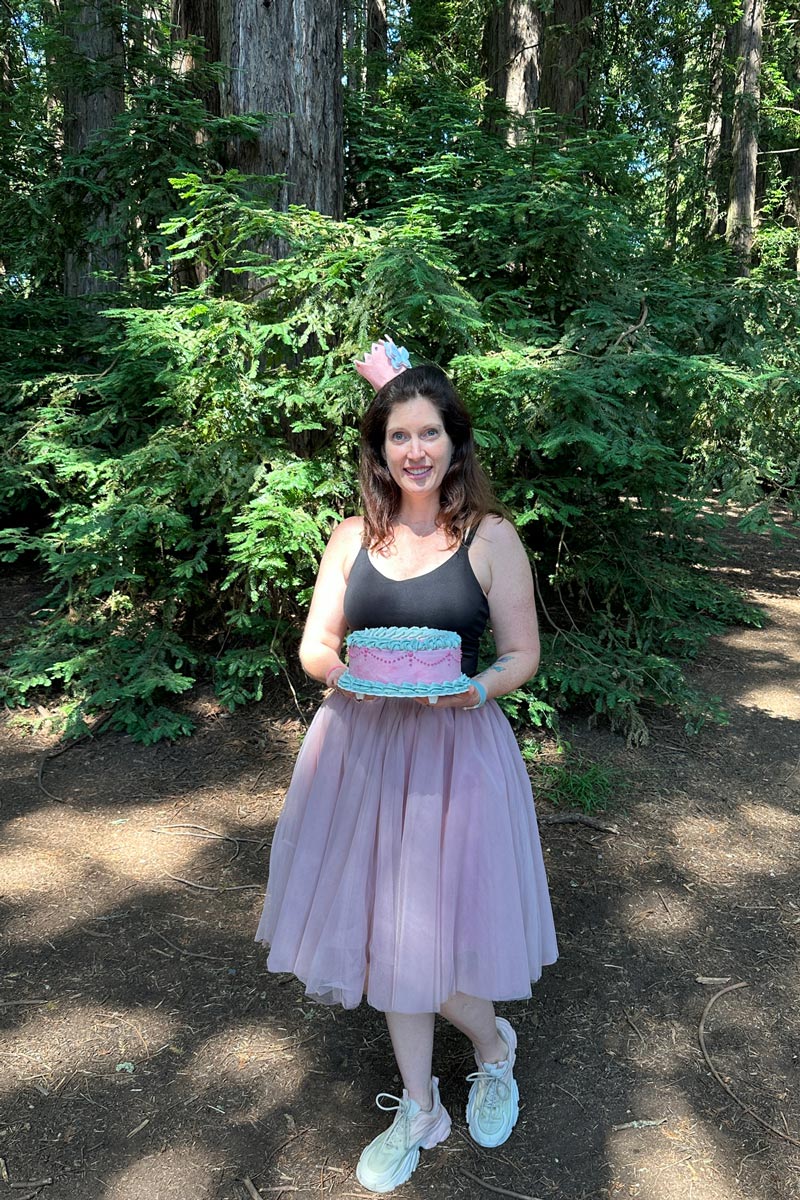
One of the cakes was for my friend’s birthday, so here she is holding it, like the princess that she is.
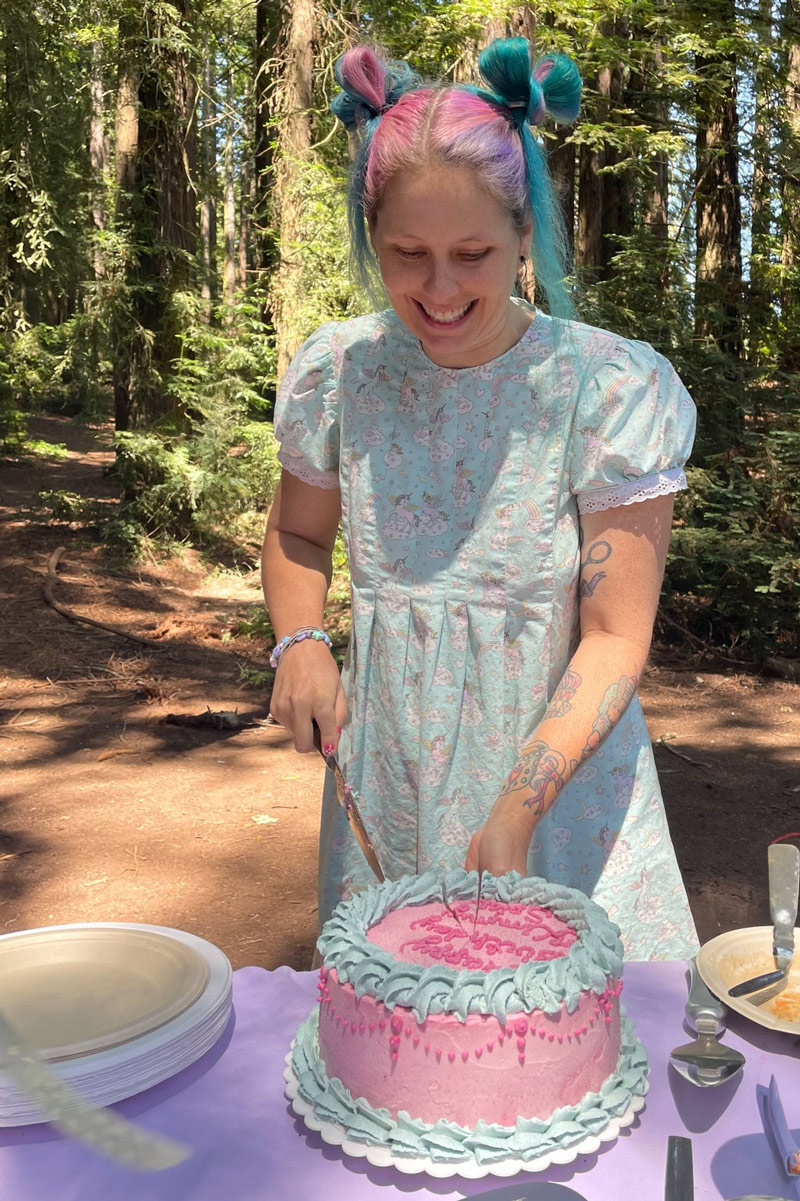
And someone snapped a pic of me cutting her cake, because birthdays are for being waited on.
Video
Here’s a 4-minute video of me making and decorating this nutella cake.
Comments or Questions?
If you make this nutella cake recipe, I would love it if you’d snap a pic, post to instagram, and tag me @vegandollhouse. It seriously makes my day/week/month!
Please message me (instagram or email) if you have any questions or feedback about the recipe.
Similar Recipes
If you like this nutella cake recipe, you might also like my other nutella dessert recipes.
- This raspberry nutella cake is am easier mini gluten-free version of this nutella cake.
- My no bake nutella pie has a filling that is very similar to the filling in this cake recipe.
☆☆☆☆☆☆☆☆☆☆
This post links to items I mention. If you click on one, you will go to a website (like Amazon) where you can buy the product. Sometimes, the store you purchase from (Amazon, Etsy, etc.) will pay me for referring you. This costs you nothing extra, and I would never recommend a product that I don’t use. These affiliate programs help me buy ingredients to create recipes for you. Read more about this in my privacy policy.
I mostly cook with organic ingredients, but only specify organic when it’s necessary to ensure the item is vegan.
☆☆☆☆☆☆☆☆☆☆



Rating:⭐⭐⭐⭐⭐
thesimplesprinkle -⭐⭐⭐⭐⭐ dllimport -⭐⭐⭐⭐⭐