4-Ingredient Peanut Butter Cups
published on
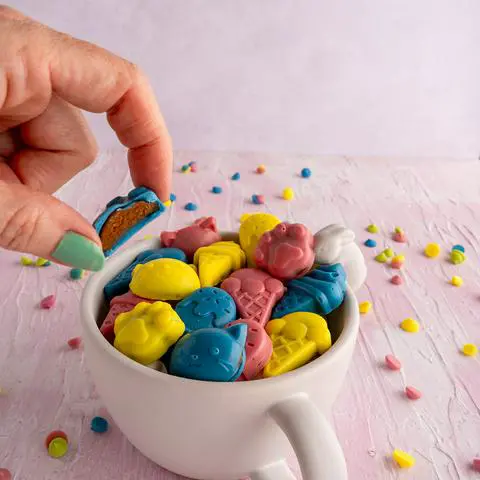
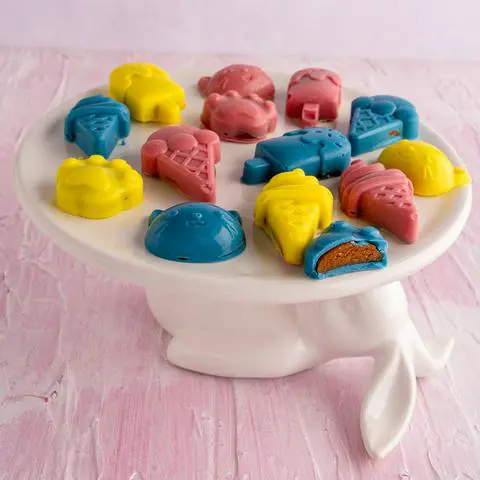
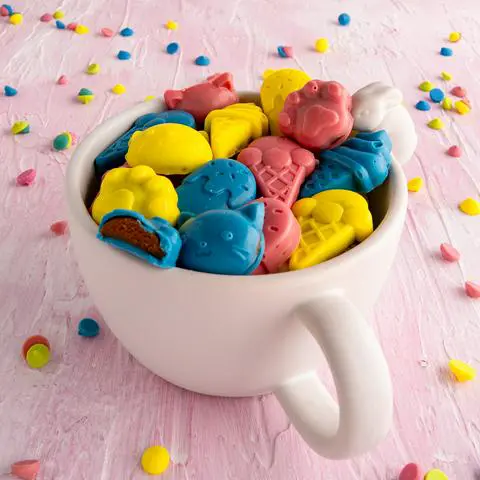
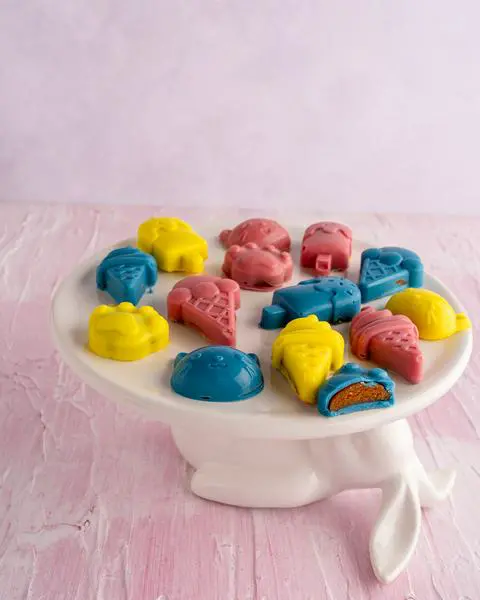
Make easy chocolatey 4-ingredient peanut butter cups at home. It’s super easy, vegan, and way healthier than store-bought treats.
This recipe makes 15-20 peanut butter cups, depending on the size of your molds.
Table of Contents
(click the links below to skip to the section you’re looking for)
- Peanut Butter Cups Recipe
- Tips and FAQ
- Ingredient Substitutions
- Video
- Nutritional Information
- Contact Me with Questions
- Similar Recipes
♫ Listening to ♫
Cuts You Up by Peter Murphy
After years of recipe testing and chocolate smudges on my apron, face, clothes, hair, necklace, sorry where were we? Oh yes, I’ve mastered the art of vegan peanut butter cups. Are you searching for a healthy peanut butter cups recipe or dreaming of high protein peanut butter cups packed with flavor and none of the guilt? I’ve got you.
This recipe covers any dietary restrictions you might have. Cutting back on sugar? These are low-sugar peanut butter cups. Avoiding gluten? They’re gluten-free peanut butter cups. Eating a high-protein diet? These chocolate protein peanut butter cups won’t compromise your health goals. They’re not just candy. They’re treats you can actually feel good about, made by someone who’s obsessed with making delicious desserts that are also cute enough to share.
The Only 4 Ingredients you need for these Peanut Butter Cups
(jump to the substitutions section to see ingredient details and suggestions for substitutions)
- 1 cup (165g) vegan chocolate chips (I used ⅓ cup of each of 3 colors)
- ⅓ cup (30g) peanut butter powder
- 3 tablespoons (30g) date sugar, sifted
- Up to 3 tablespoons (45g/mL) of water
How to make 4-Ingredient Peanut Butter Cups
prep time: 30 min | cook time: 5 min | wait time: 10 min
Dollhouse Shortcut
Make these ahead of time and store them in the freezer until you’re ready to serve them.
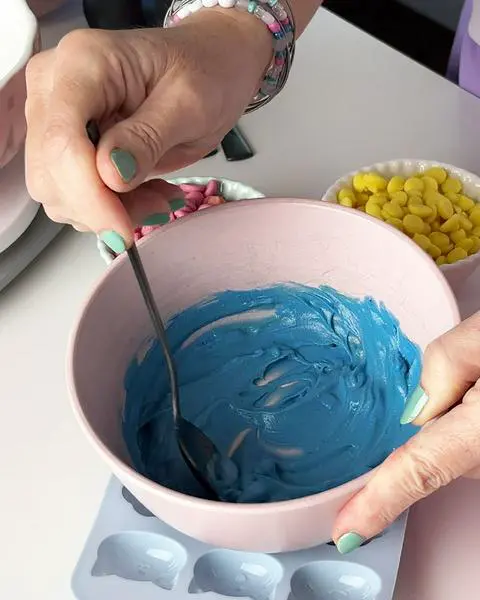
Melt vegan chocolate. If you use a microwave, cover the bowl of vegan chocolate chips and only cook them for 30 second increments so it doesn’t burn. Stir it between each time. As soon as you stir it and the chocolate chips start to melt, it’s ready. Just keep stirring until the chocolate is smooth. Repeat this with as many colors of chocolate chips as you have. If you’re melting ⅓ cup at a time, it only takes two 30-second intervals. This step shouldn’t take more than 5 minutes.
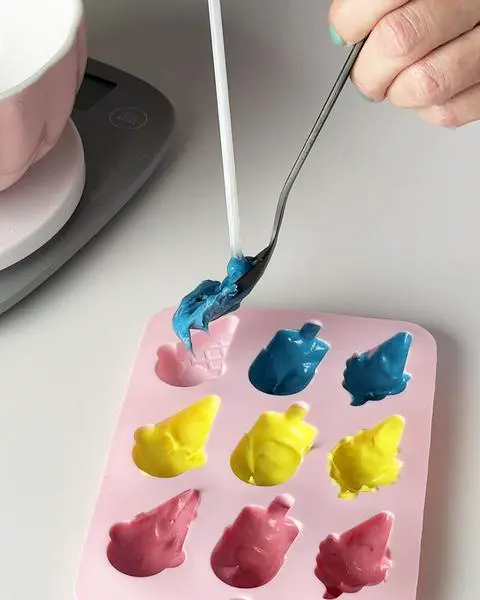
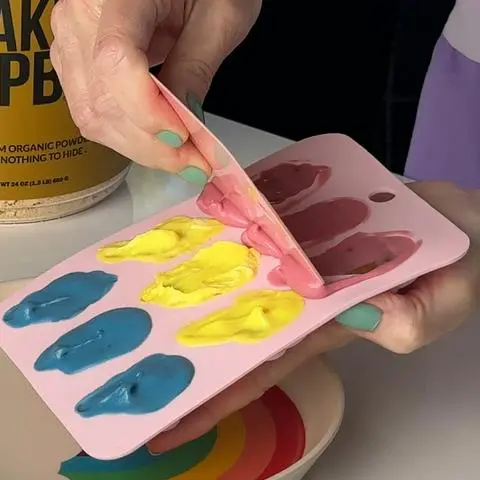
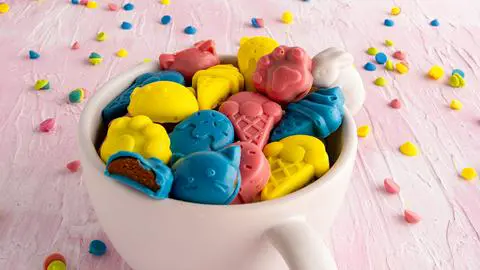
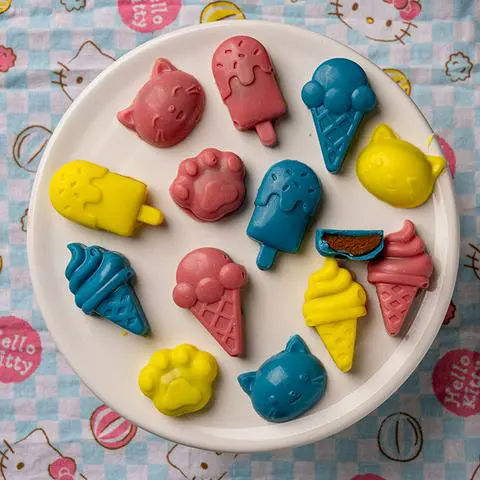
Coat the molds with chocolate. Add a dollop of chocolate to some of the cubbies of your silicone mold. You only want to use half of the chocolate so you can save the other half for the bottoms. Use your finger or whatever tool you have to spread the chocolate on the bottom and sides of each cubby. I used an ice cream cone silicone mold and a kitty cat mold, but you can use whatever silicone molds you have. This step takes about 6 minutes.
Chill the molds. To speed up the wait time, set the molds in a flat spot in the freezer. This helps the chocolate harden more quickly. While they’re in the freezer, start making the peanut butter filling.
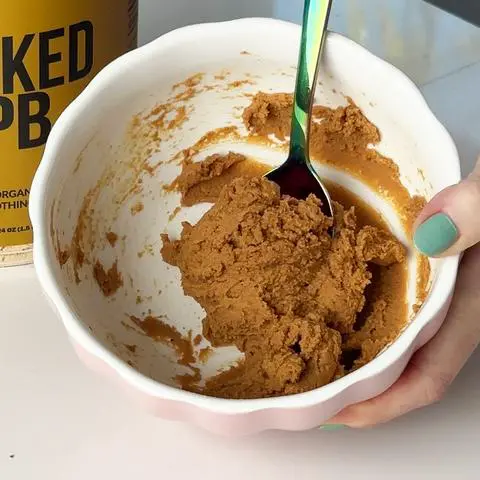
Combine the dry ingredients. Sift 3 tablespoons (30g) of date sugar if you haven’t already. Date sugar tends to clump, due to the moisture content in dates. Whisk the date sugar with ⅓ cup (30g) peanut butter powder in a cereal bowl. Whisk to combine. This step takes 2-3 minutes.
Add water to the dry ingredients. Pour 2 tablespoons (30g/mL) of water into the dry ingredients, and mix it in. When you realize it’s still too dry, add the last tablespoon of water little by little. I ended up only using about ⅔ to ¾ of the last tablespoon. The reason you don’t want to add it all is because you want the peanut butter filling to be the consistency of cookie dough. This makes it easier to work with and to fill the peanut butter cups. This step takes 3-4 minutes.

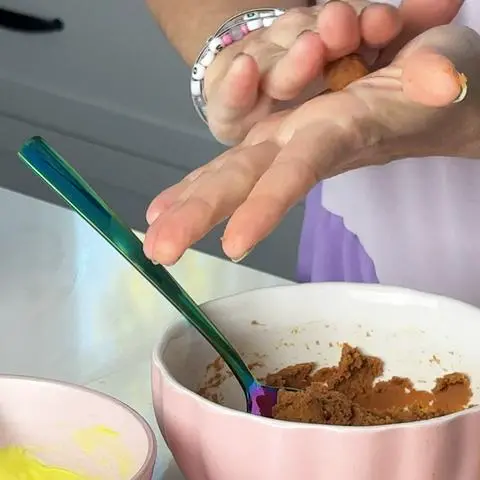
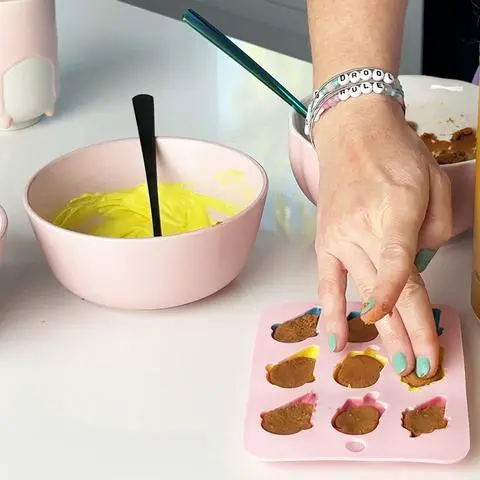
Fill the chocolate molds with peanut butter filling. Remove the chocolate molds from the freezer. Grab a little bit of the peanut butter filling and roll it into a ball between your hands. Press it into one of the cubbies of the mold. Continue until you run out of molds to fill. You might still have some filling leftover. You can press it into any empty silicone mold cubbies and give them to your dogs as treats. This step takes around 8 minutes.
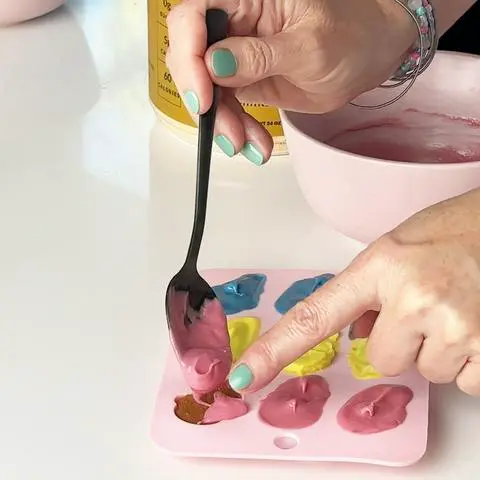
Top with remaining chocolate. Check your chocolate to see if it has hardened. Most likely, it needs to go back into the microwave for 15-30 seconds to thin out again. Once it’s a thin consistency again, top each peanut butter filling with melted chocolate until they’re all covered. This step takes 5-6 minutes.
Optional: Scrape the excess chocolate off. It’s not necessary, but if you want your peanut butter cups to be flat on the bottom, use a bench scraper/chopper or offset spatula to scrape the top of the molds. I scraped mine lengthwise, because I don’t mind of the colors mix on the bottom. If you’re a perfectionist, try scraping to the side.
Chill the molds again. Set the molds in a flat spot in the freezer again. While they become solid, you can clean the kitchen, and wash the dishes.
Pop the peanut butter cups out of the molds. If you’ve never done this, watch my video to see the method I use. I did have one cat ear try to lacerate itself from the cat’s head. I tell you this not to give you nightmares, but to stress the importance of being careful during this step. This step should take 5 minutes.
Questions and Answers
Are peanut butter cups gluten free?
Peanut butter cups can be gluten-free, but it depends on the brand and variety. Classic Reese’s Peanut Butter Cups are considered gluten-free because they don’t contain any gluten ingredients. However, they aren’t certified gluten-free. And some seasonal varieties are made in facilities that may cause cross-contamination.
For those with celiac disease or severe gluten sensitivity, it’s safest to make your own. These homemade peanut butter cups are not only easy to make, but they let you control every ingredient. That means no hidden gluten, no mystery processing, and all the peanut buttery goodness you crave—without the worry.
Can I use this recipe to make peanut butter marshmallow cups?
You can easily convert this recipe to a peanut butter marshmallow cups recipe. Just stir some vegan marshmallow fluff into the peanut butter filling before adding the last tablespoon of water.
Does it matter what kind of molds I use?
I’ve used a wide variety of silicone molds to make peanut butter cups. For this recipe, I used an ice cream cone mold and a kitty cat mold that I got at Daiso. In the past, I’ve used hello kitty molds and traditional peanut butter cup shaped molds (boorrrinnng).
The only difference the mold will make is how many pb cups you’ll get out of a single recipe. If your molds are larger than mine, you can always double the recipe to make more.
Ingredient Substitutions
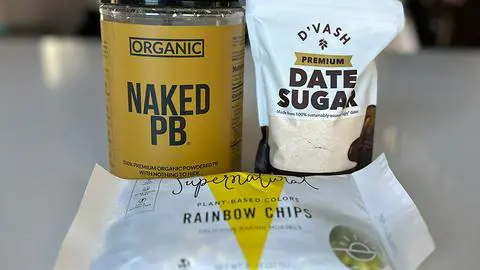
- Vegan Chocolate Chips: I bought a single bag of rainbow chips from Supernatural and separated the colors by hand. I used ⅓ cup of each of the 3 colors I liked best: pink, blue, and yellow. They sell bags of single colors if you want to save time. You can also make this recipe with regular vegan chocolate chips if white chocolate isn’t your thing. Just make sure your chocolate chips say gluten-free on the package if you’re making these for someone who is gluten-free.
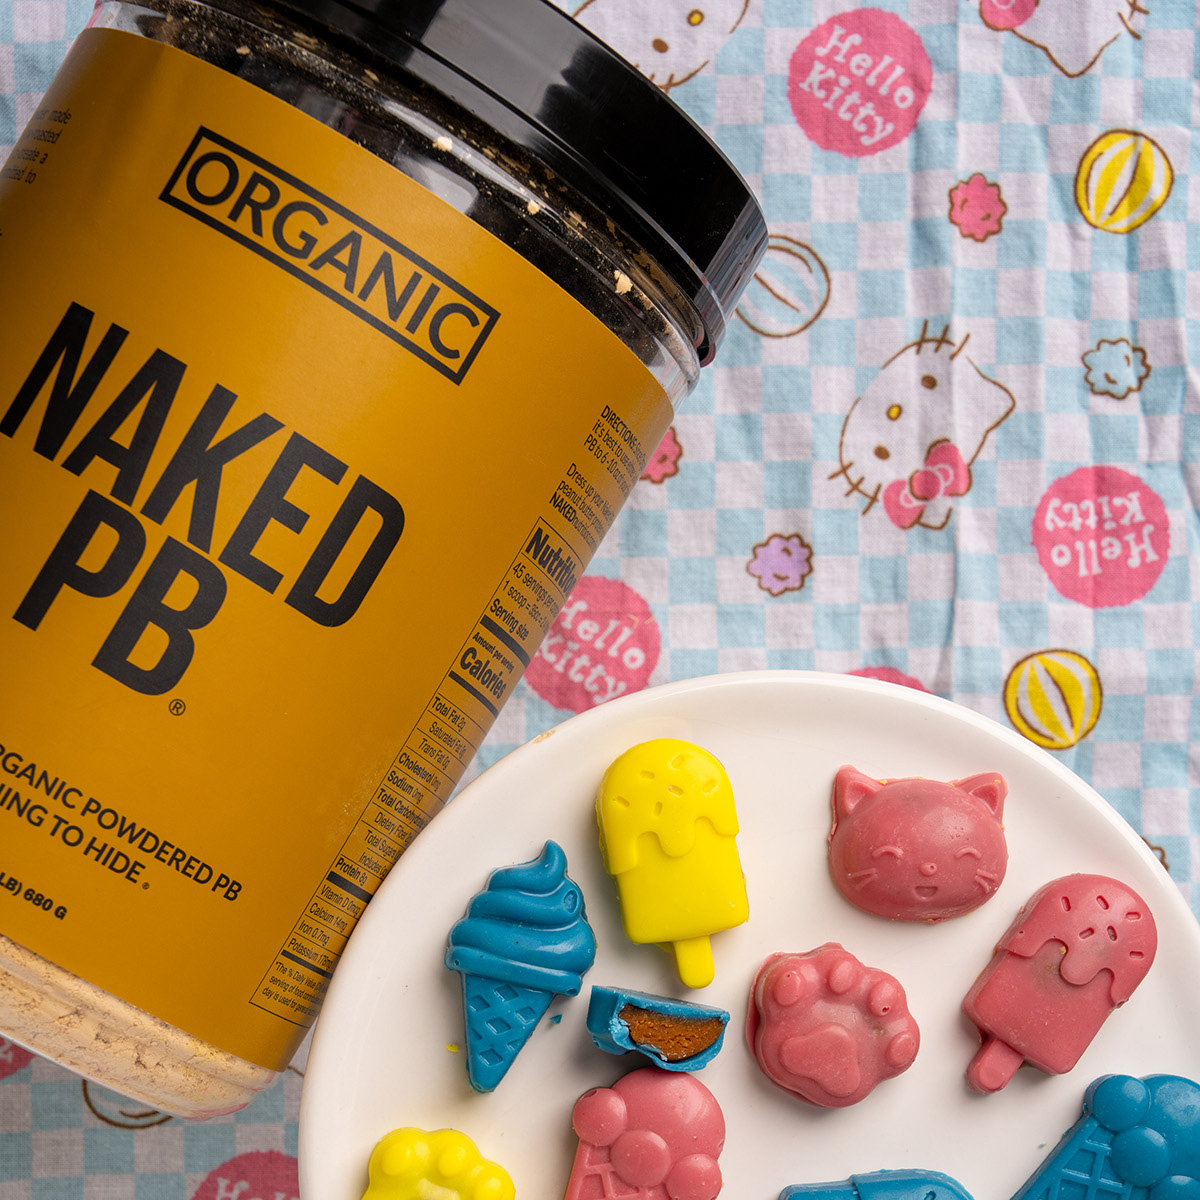
- Peanut Butter Powder: I used Naked Nutrition organic peanut butter powder because they gave me a large container of it for free. In the past, I’ve used the organic PB2 powder. When you’re shopping for yours, just make sure it’s gluten-free if you’re making these for someone who avoids gluten. You can replace the peanut butter powder in this recipe with peanut butter. If you do, omit the water.
- Date Sugar: I used D’Vash date sugar because I wanted to make a low-sugar peanut butter cup recipe. You can use organic powdered sugar in place of the date sugar if you’d like a sweeter peanut butter cup. If you like an even less sweet peanut butter cup, replace the date sugar with more peanut butter powder. If you make either of these substitutions, it will likely change the amount of liquid you need to get the right consistency.
- Water: You can replace the water in this recipe with any non-dairy plant milk if you’d like. Just make sure you add the third tablespoon little by little to keep the consistency like cookie dough.
Video
Here’s a video of me making them.
Nutrition Facts
This nutritional information is for one serving. I’m assuming that a serving is a single chocolate peanut butter cup.
- Servings: 16
- Calories: 83
- Fiber: < 1g
- Saturated fat: 3g
- Total fat: 5g
- Cholesterol: 0mg
- Sodium: 6mg
- Sugars: 6g
- Total Carbohydrates: 7g
- Protein: 1g
- Calcium: 3mg
- Potassium: 34mg
- Iron: < 1mg
Comments or Questions?
If you make this vegan peanut butter cups recipe, I would love it if you’d snap a pic, post to instagram, and tag me @vegandollhouse. It seriously makes my day/week/month!
Please message me (instagram or email) if you have any questions or feedback about the recipe.
Similar Recipes
If you like making your own homemade chocolate candies, you might also like my diy butterfinger candies and my chocolate mint bark.
Do you like this vegan chocolate peanut butter cups recipe because it’s refined-sugar-free? Visit my homemade vegan valentine chocolate recipe. It’s sweetened with cassava syrup.
☆☆☆☆☆☆☆☆☆☆
This post links to items I mention. If you click on one, you will go to a website (like Amazon) where you can buy the product. Sometimes, the store you purchase from (Amazon, Etsy, etc.) will pay me for referring you. This costs you nothing extra, and I would never recommend a product that I don’t use. These affiliate programs help me buy ingredients to create recipes for you. Read more about this in my privacy policy.
I mostly cook with organic ingredients, but only specify organic when it’s necessary to ensure the item is vegan.
☆☆☆☆☆☆☆☆☆☆

Rating:⭐⭐⭐⭐⭐
1plaidfish -⭐⭐⭐⭐⭐ theveganfever -⭐⭐⭐⭐⭐ snack.like.me -⭐⭐⭐⭐⭐ vegan_eims -⭐⭐⭐⭐⭐