Spiral Swirl Bread
published on
♫ Listening to: Dark Again by Gold Fields ♫
Have you noticed that most of the swirl breads in this life are sweet breads? If you’ve had a chance to browse around, you’ve probably noticed that I’m obsessed with sweets. So, sweet bread just isn’t gonna cut it. I like my breads to be savory, and I like my sweets to be over the top in the indulgent sweets category. Like I want them to win at least the silver medal in the indulgence olympics.
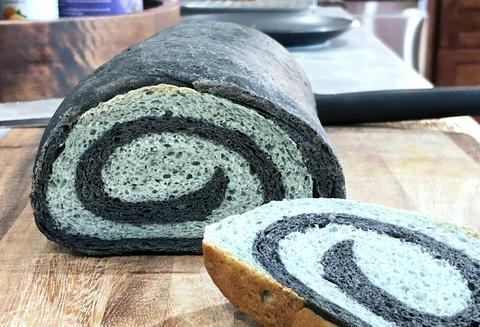
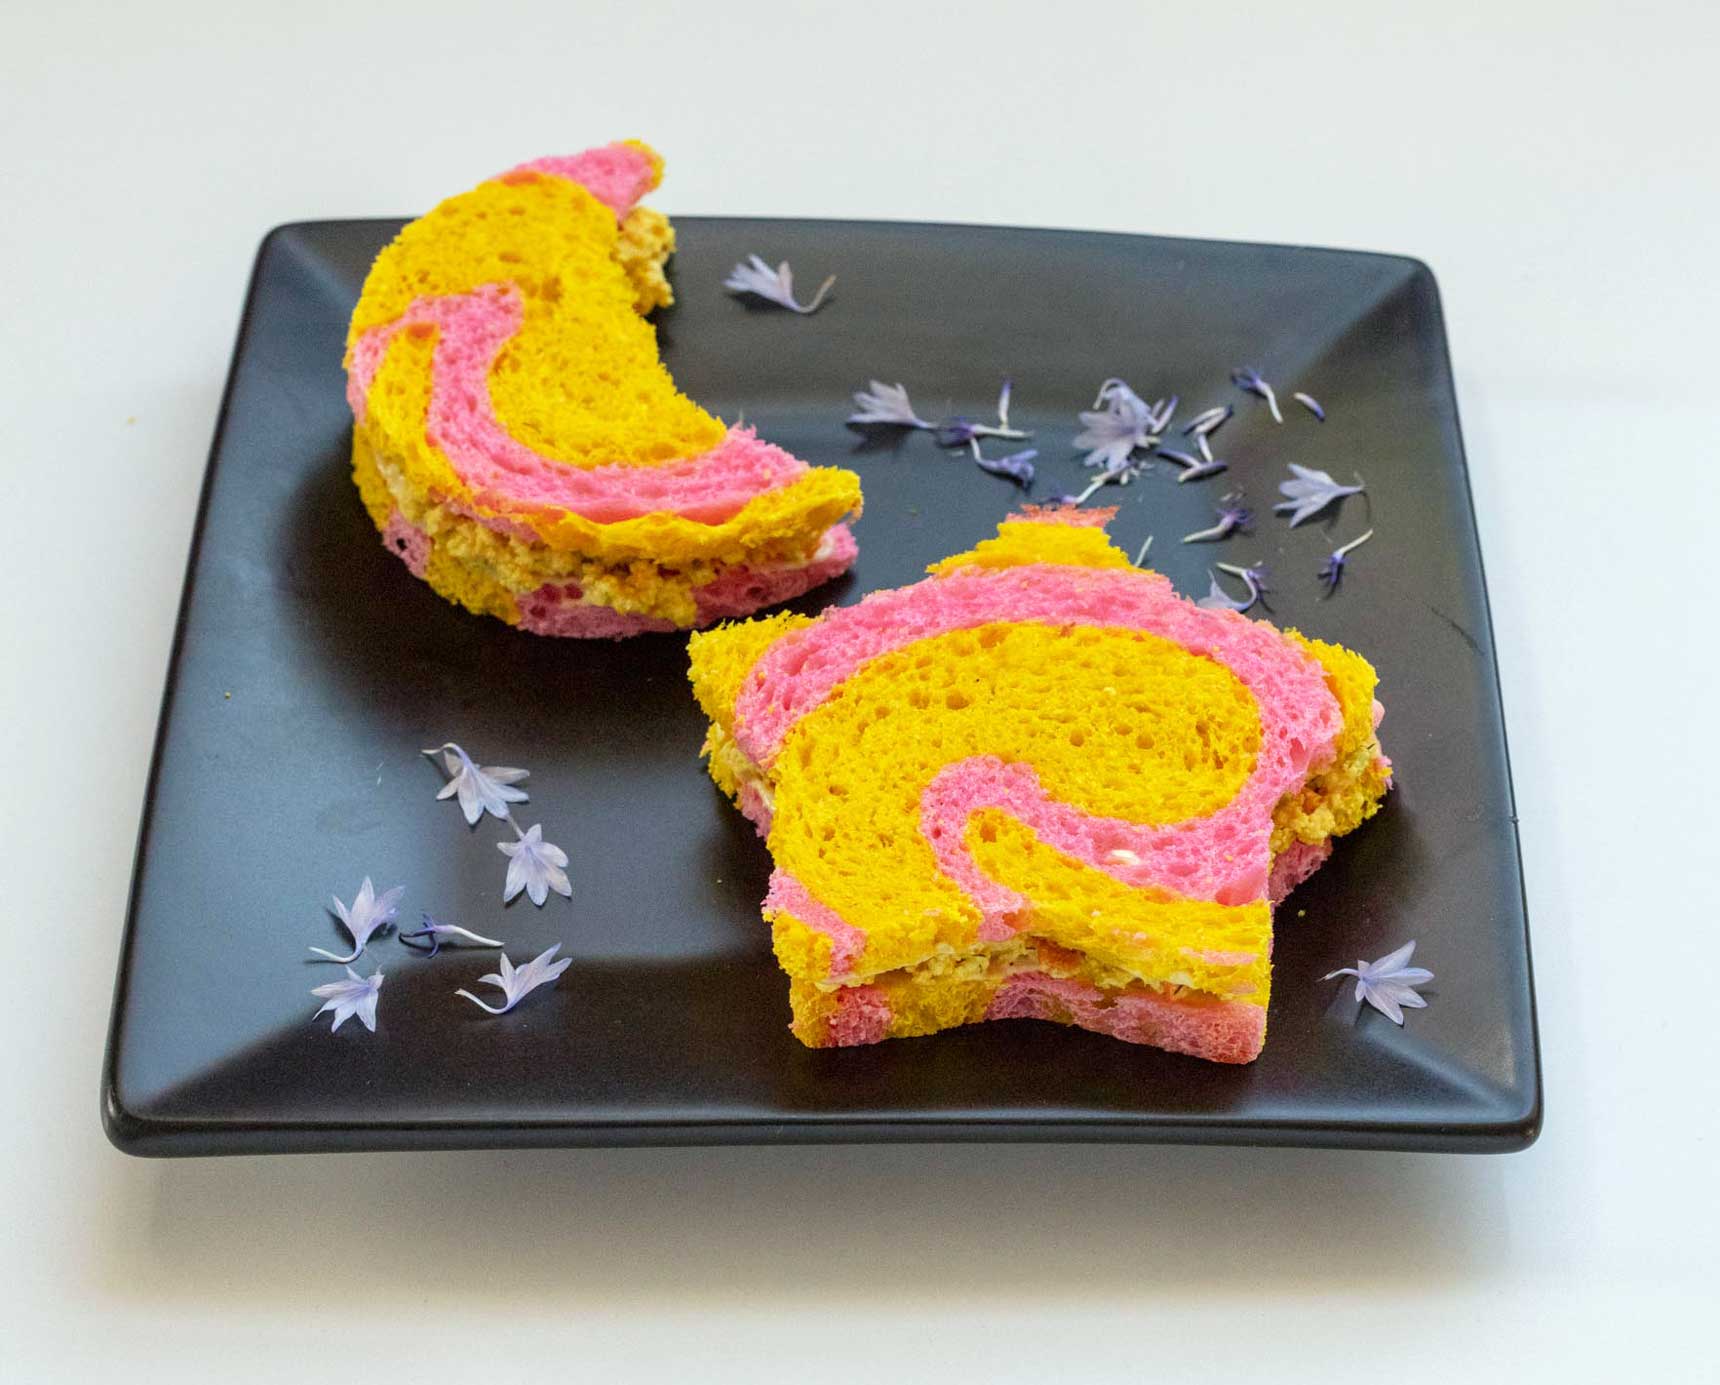
This bread is for those of you who are looking for a savory swirl bread with a colorful spiral running through the center. This bread doesn’t require an overnight rise, so you can start and finish it in the same day. However, I like to make the bread the day before I want to actually use it for making tea sandwiches. This ensures that it can cool for a proper amount of time before slicing it, and it also helps to alleviate stress (because I have a special ability to create stress in pretty much any situation). I’ve made this swirl bread using wilton pink gel color and yellow Color Kitchen natural food coloring for star and moon shaped tea sandwiches for my sailor moon birthday party, and I’ve also made it using activated charcoal and blue spirulina for an Alice in Wonderland themed tea party picnic. For other vegan food coloring ideas, check out my list of vegan food coloring.
This recipe makes 1 loaf of swirl bread.
Color 1 Dough Ingredients
Dollhouse Tip
If you don’t have bread flour, you can use all-purpose flour.
- ¾ teaspoon yeast
- 1 teaspoon raw, vegan, or organic sugar*
- 7 tablespoons (100g) warm water (105-110°F)
- 1 ¼ cups (175 grams) unbleached bread flour
- ¾ teaspoon sea salt
- 1 teaspoon activated charcoal powder or other vegan food coloring
Color 1 Dough Directions
Dollhouse Tip
You can use superfood powders to color your dough or you can use vegan gel food coloring. If you use gel colors, it’s easiest to mix them in with the water.
Whisk ¾ teaspoon yeast, 1 teaspoon sugar, and 7 tablespoons (100g) warm water (105-110°F), and let it rest for 5 minutes, while you measure out remaining ingredients.
Measure or weigh 1 ¼ cups (175 grams) flour, ¾ teaspoon pink sea salt (or any salt), and 1 teaspoon activated charcoal powder if one of your colors is black. Black is the only color that only needs a teaspoon of powder. If you’re trying to use superfood powders to make other colors, I recommend using 2-3 teaspoons, depending on the color.
If you’re using gel food coloring instead of superfood powders to color your bread, add your gel color to the yeast and water mixture now. For a list of vegan food coloring, check out this post.
Combine the dry ingredients with the wet ingredients in the bowl of a stand mixer fitted with the dough hook.
Knead on low speed (I use the second notch on my stand mixer
- the speed label says 2) until the dough is smooth (no longer than 5 minutes). If the dough is too sticky (if it sticks to your hands), add more flour, 1 tablespoon at a time, kneading in between each addition of flour to make sure it’s completely mixed in. If you don’t have a stand mixer in your kitchen arsenal, you can mix the dough in a large bowl with a silicone spatula and then knead on an oiled surface (if you avoid oil, use a floured surface).
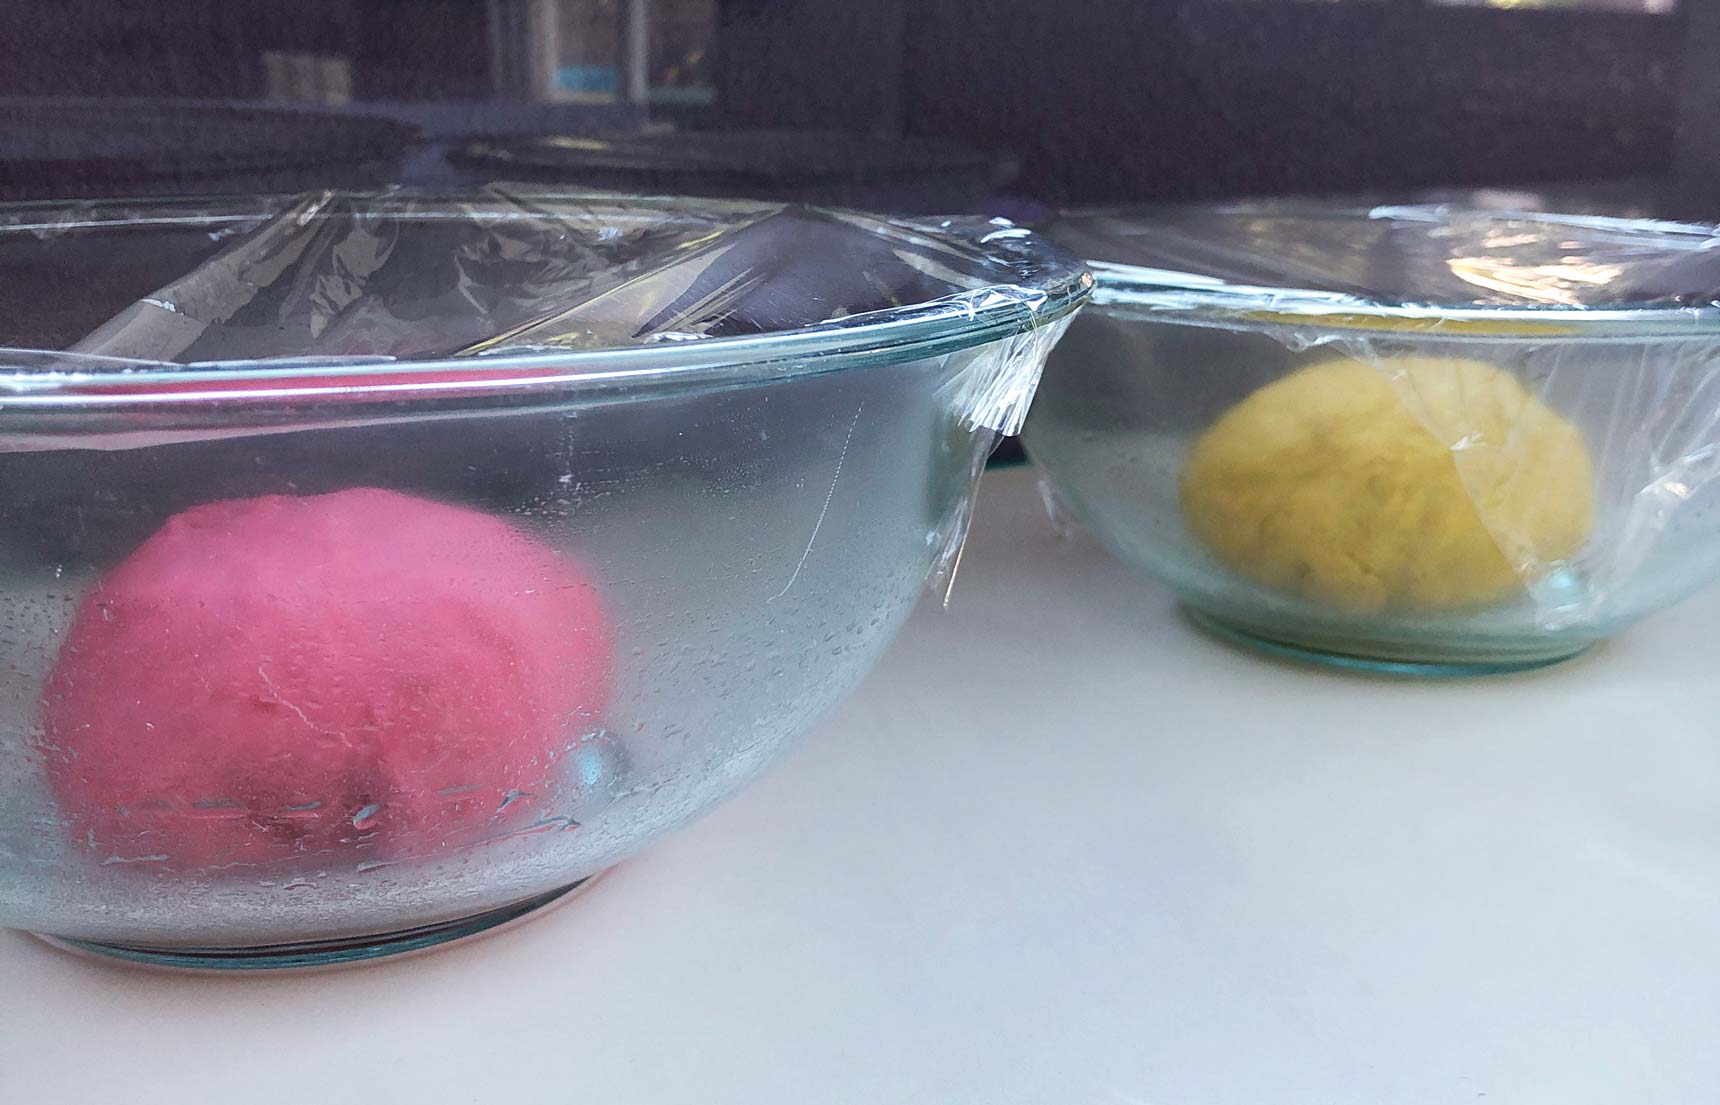
Coat a large bowl lightly with vegetable oil, and set the dough in the bowl to rise.
Cover the bowl with cling wrap or a kitchen towel.
Rise the dough for 1 to 1 ½ hours, until the size of the dough ball is twice the size that you started with.
Color 2 Dough Ingredients
- ¾ teaspoon yeast
- 1 teaspoon raw, vegan, or organic sugar*
- 7 tablespoons (100g) warm water (105-110°F)
- 1 ¼ cups (175 grams) unbleached bread flour
- ¾ teaspoon sea salt
- 2 teaspoons blue spirulina powder or other vegan food coloring
Color 2 Dough Directions
Whisk ¾ teaspoon yeast, 1 teaspoon sugar, and 7 tablespoons (100g) warm water (105-110°F), and let it rest for 5 minutes, while you measure out remaining ingredients.
Measure or weigh 1 ¼ cups (175 grams) flour, ¾ teaspoon pink sea salt (or any salt), and 2 teaspoons blue spirulina if one of your colors is blue. If you’re using pink, red, or purple superfood powders, I recommend using 3 teaspoons.
Combine the dry ingredients with the wet ingredients in the bowl of a stand mixer fitted with the dough hook.
Knead on low speed (I use the second notch on my stand mixer
- the speed label says 2) until the dough is smooth (no longer than 5 minutes). If the dough is too sticky (if it sticks to your hands), add more flour, 1 tablespoon at a time, kneading in between each addition of flour to make sure it’s completely mixed in. If you don’t have a stand mixer in your kitchen arsenal, you can mix the dough in a large bowl with a silicone spatula and then knead on an oiled surface (if you avoid oil, use a floured surface).
Coat a large bowl lightly with vegetable oil, and set the dough in the bowl to rise.
Cover the bowl with cling wrap or a kitchen towel.
Rise the dough for 1 to 1 ½ hours, until the size of the dough ball is twice the size that you started with.
Directions for Rolling the Swirl
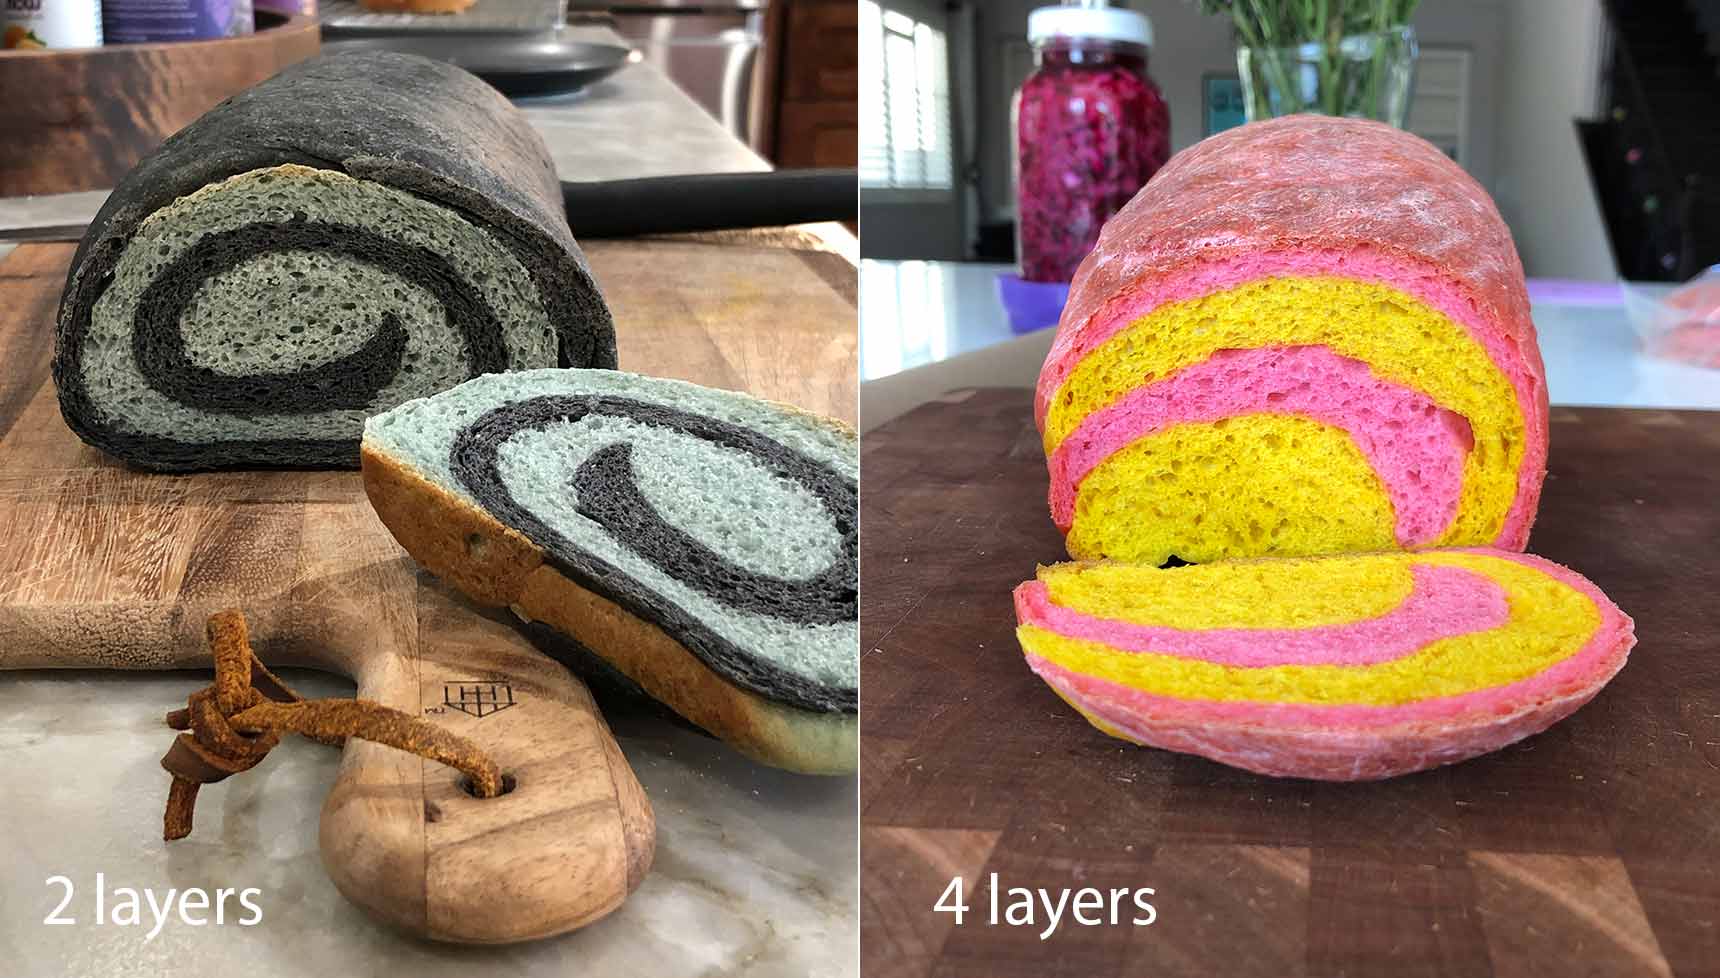
I’ve made the swirl for this bread 2 ways, and both result in a different outcome. One method is to roll 2 rectangles out of each color of dough and alternating the colors to make a stack of the 4 dough layers. The other method is to roll 1 rectangle out of each color of dough, and make a stack of just the 2 layers. The photos below illustrate the differences in how the swirls turn out with each method, so you can choose the method you prefer. I prefer the swirl in a loaf where you just roll one layer from each color, which is the method I will describe below. If you prefer the swirl in the 4-layer loaf, simply divide each color of dough in half, and roll out 4 rectangles, instead of 2.
Coat a rolling mat lightly with vegetable oil. If you avoid oil, you can skip the oiling step, but it does make the dough slightly more difficult to work with.
Roll the dough rectangles on the rolling mat using a rolling pin.
Fold the edges toward the center if your rectangle looks more like an oval than a rectangle and then roll again.
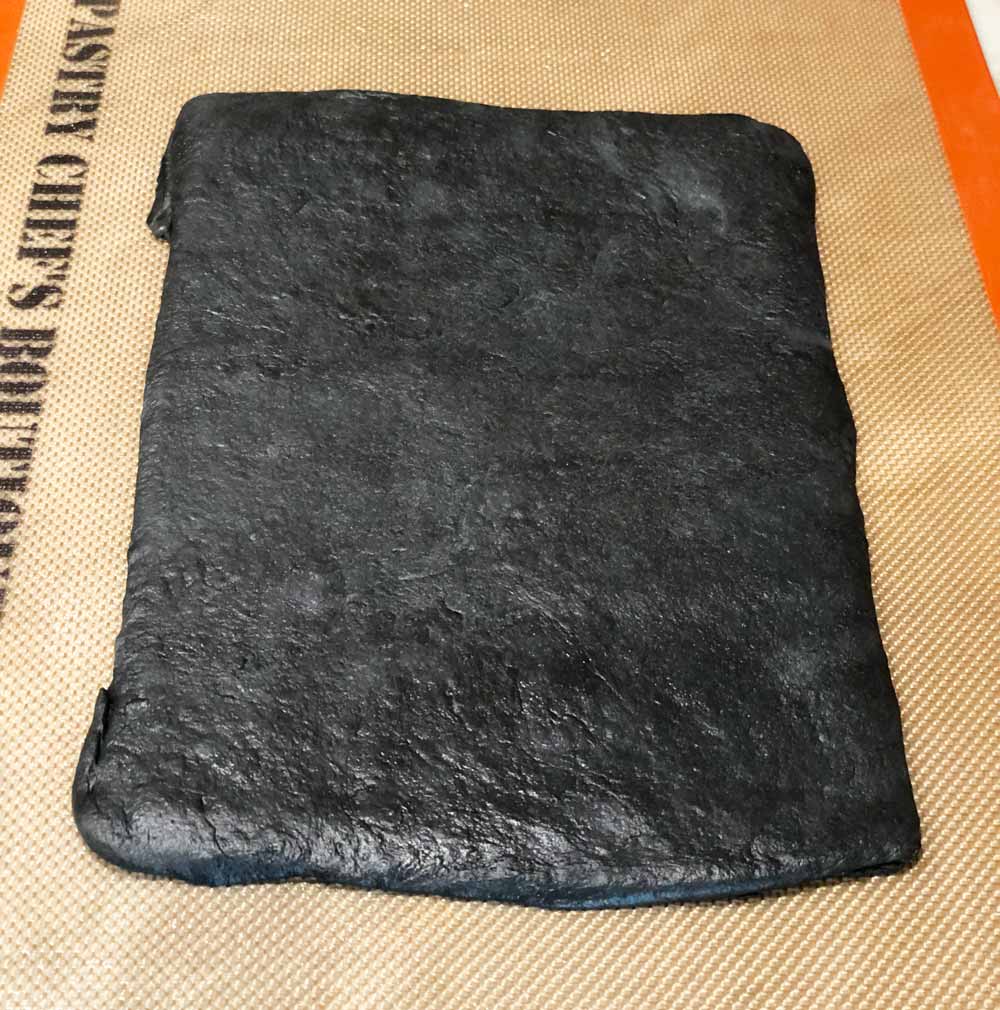
Set the finished rectangle aside while you roll the next one.
Stack the 2 rectangles on top of eachother.
Roll the dough into a cylinder using your hands, just like you’re rolling cinnamon rolls or pizza rolls.
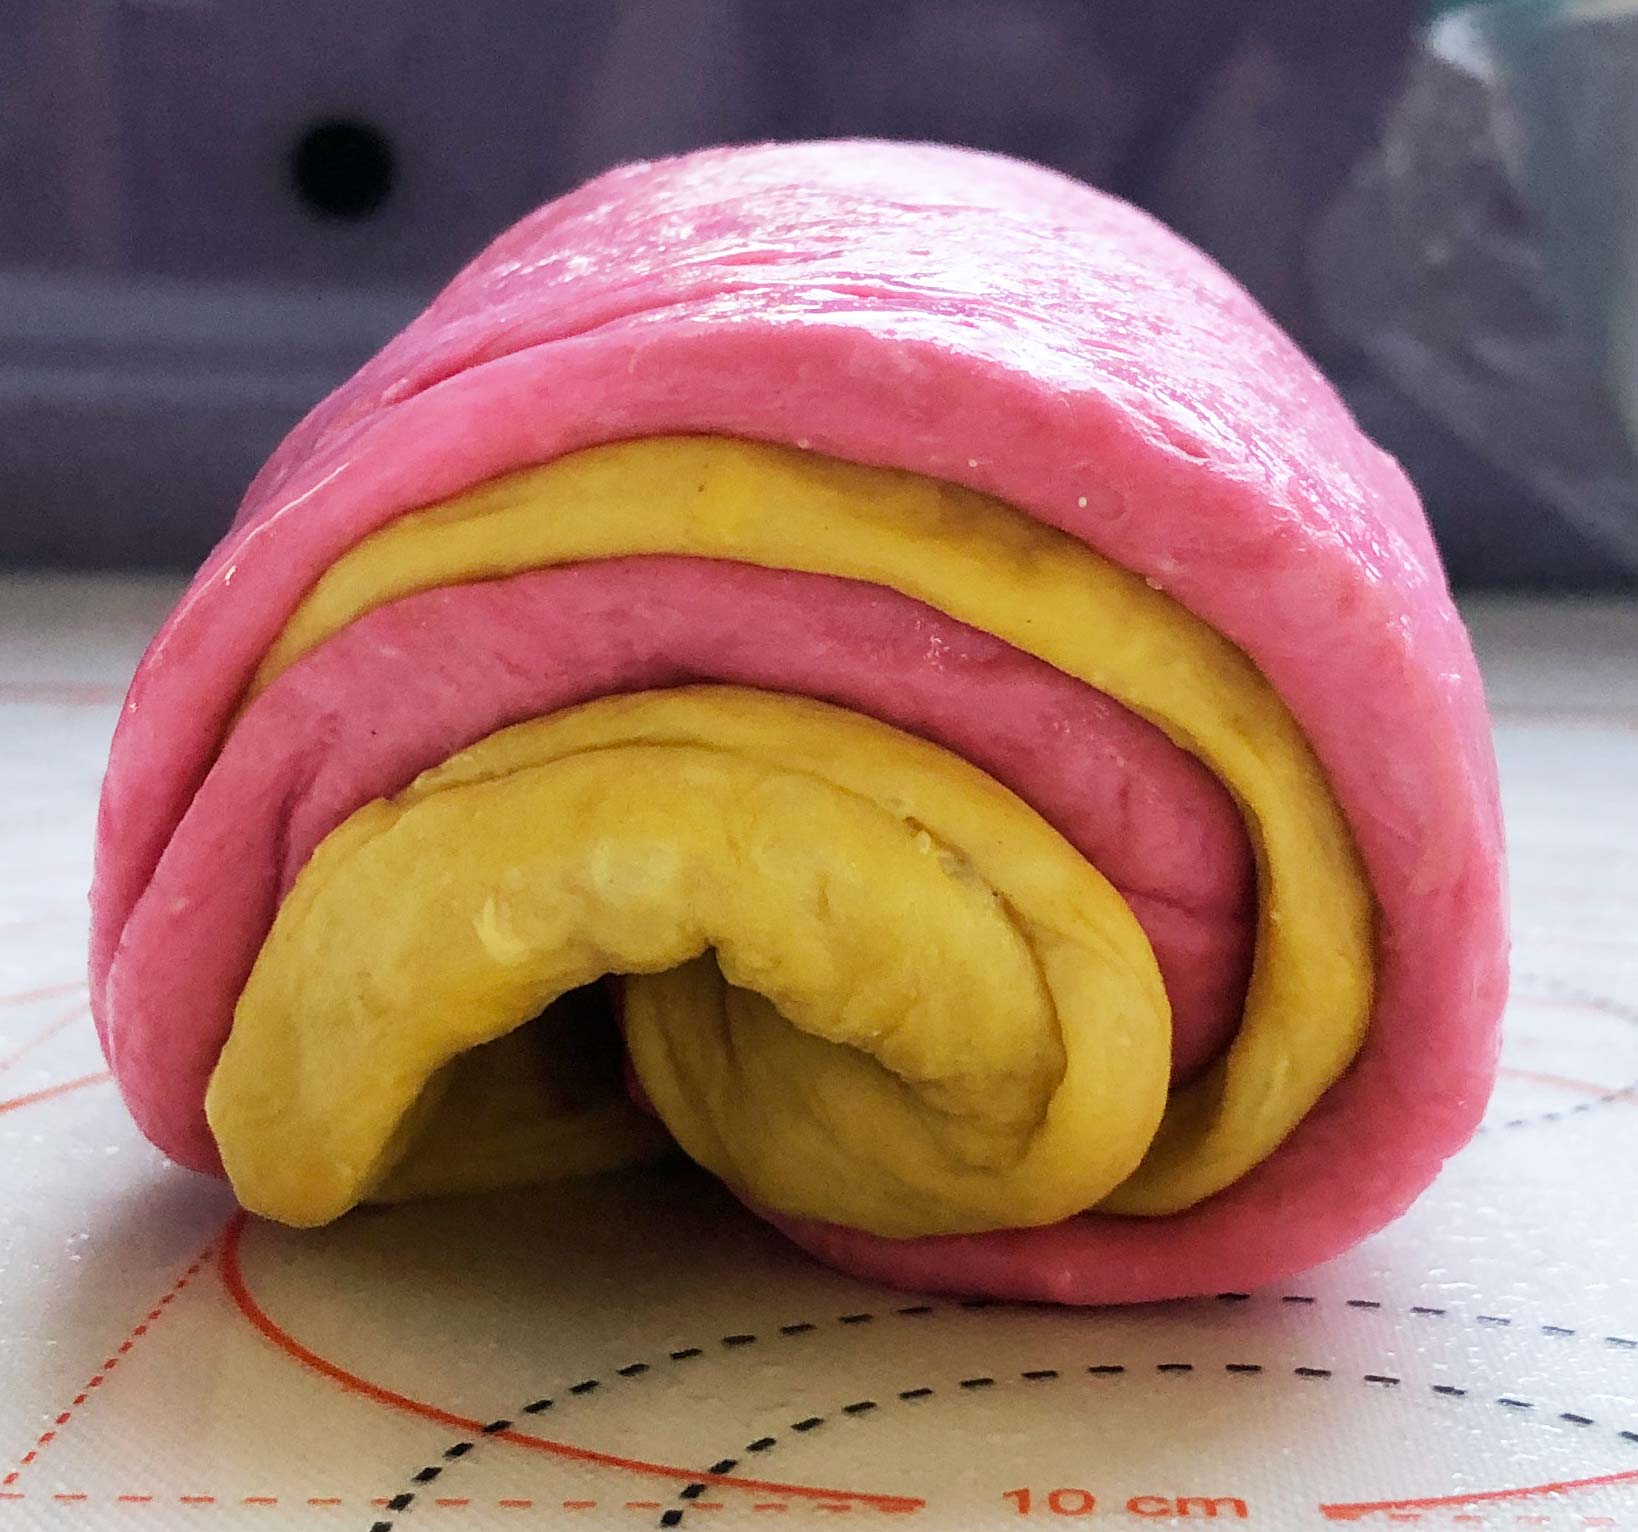
Coat a 8 ½ x 4 ½ inch loaf pan lightly with vegetable oil. If you avoid oil, you can skip the oiling step, but it will make the bread more difficult to remove from the pan once it’s baked.
Set the bread loaf into the bread pan with the seam on the bottom, and cover it with cling wrap loosely to rise for about an hour or two. You want it expand enough that it’s twice as big as it was when you set it in the pan, and the top of the roll should rise above the top of the bread pan.
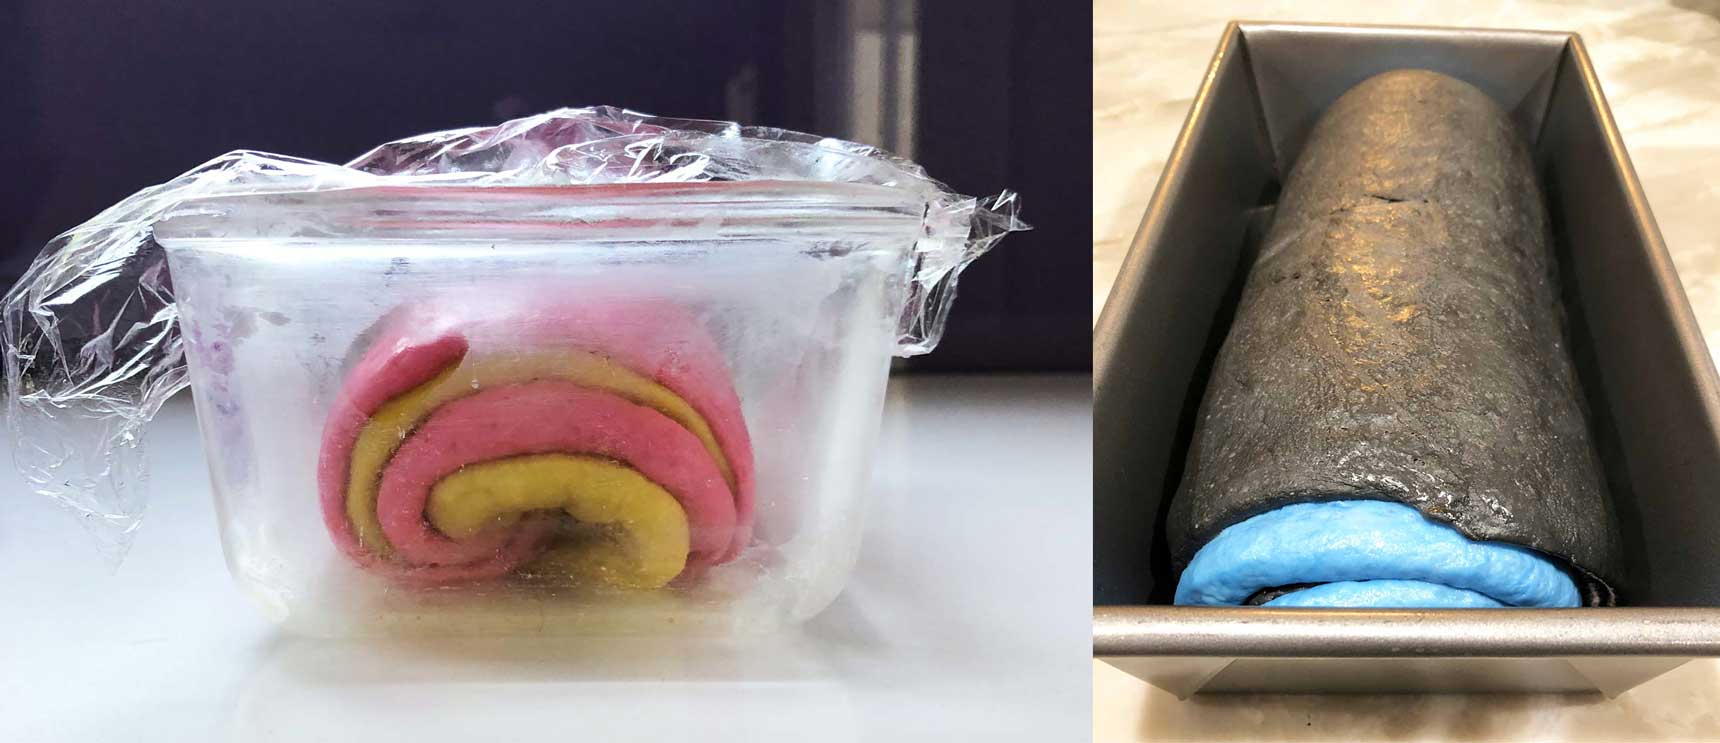
Heat the oven to 350°F (175º C) once the loaf is done rising.
Bake for 20 minutes, rotate the bread pan by 180º, and bake for another 20-25 minutes, depending on how hot your oven runs.
Set the bread pan on a cooling rack.
Cool for a few minutes before flipping over and letting the bread fall out of the pan.
Cool the rest of the way on the cooling rack before you slice it.
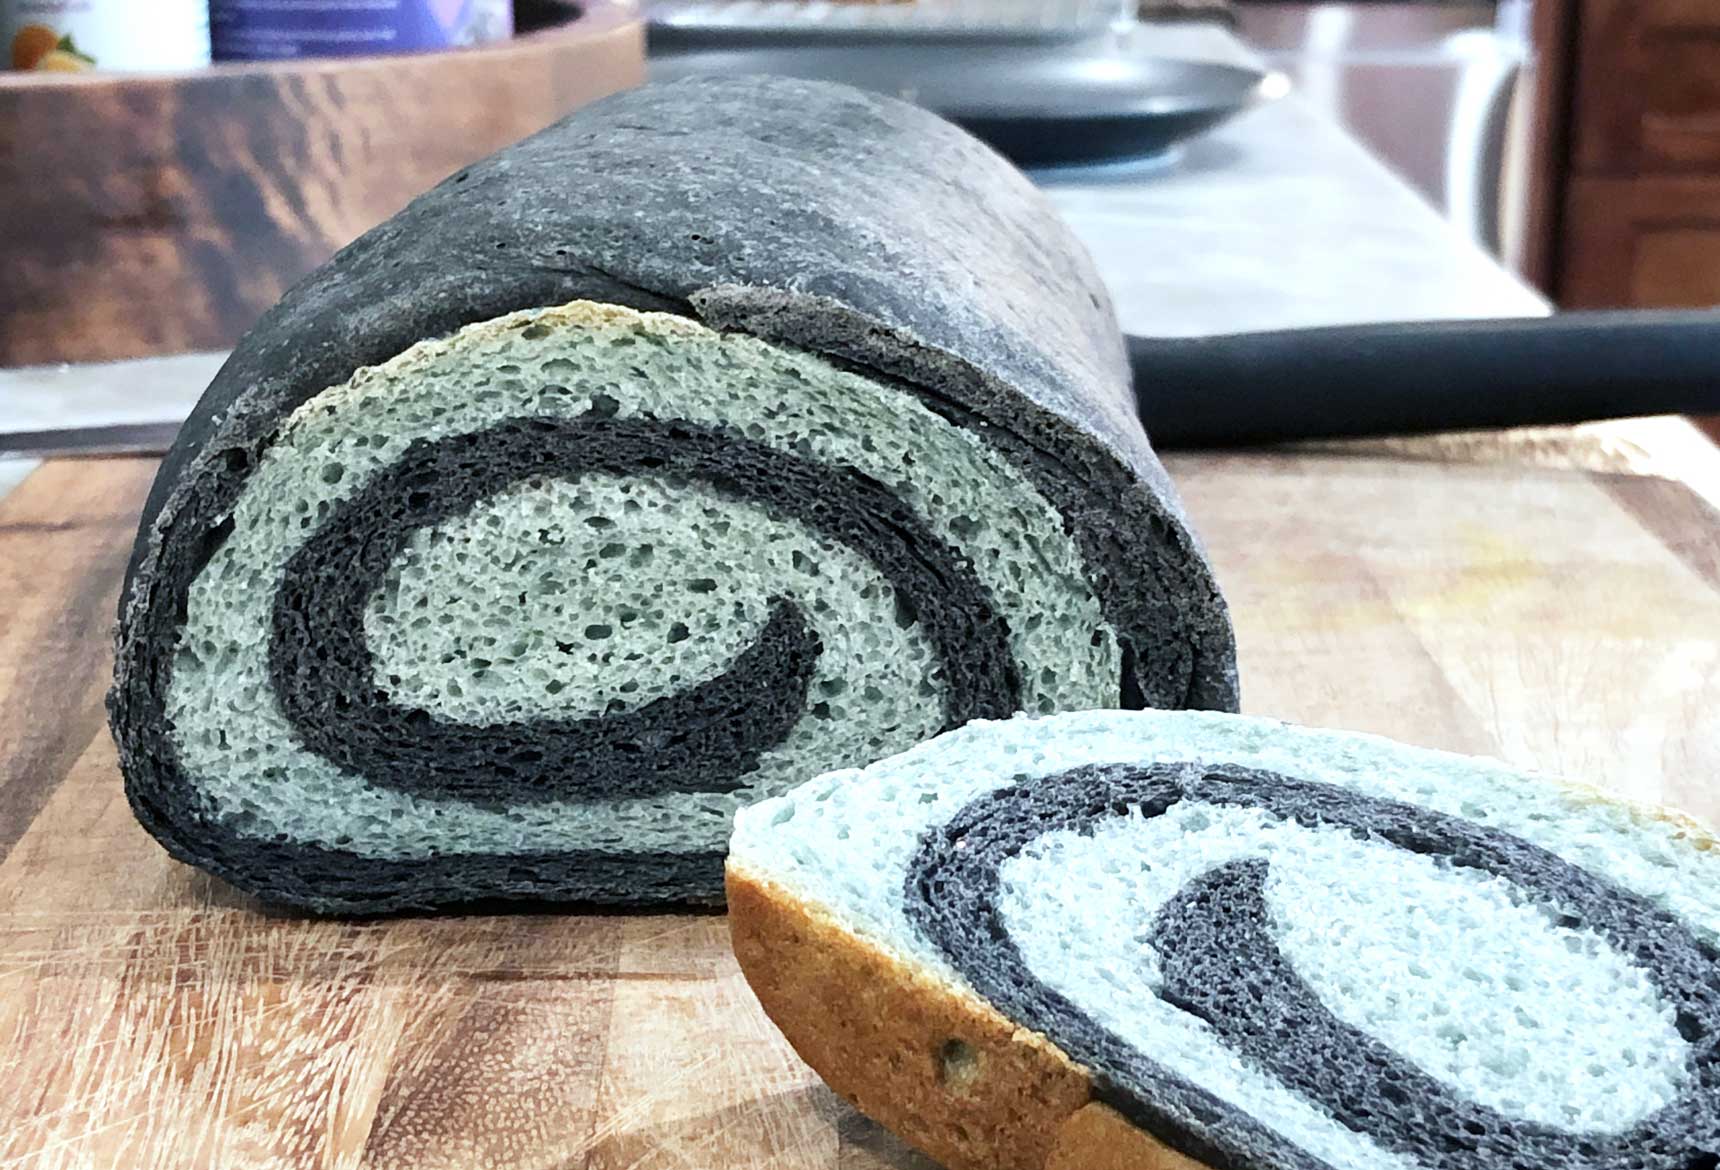
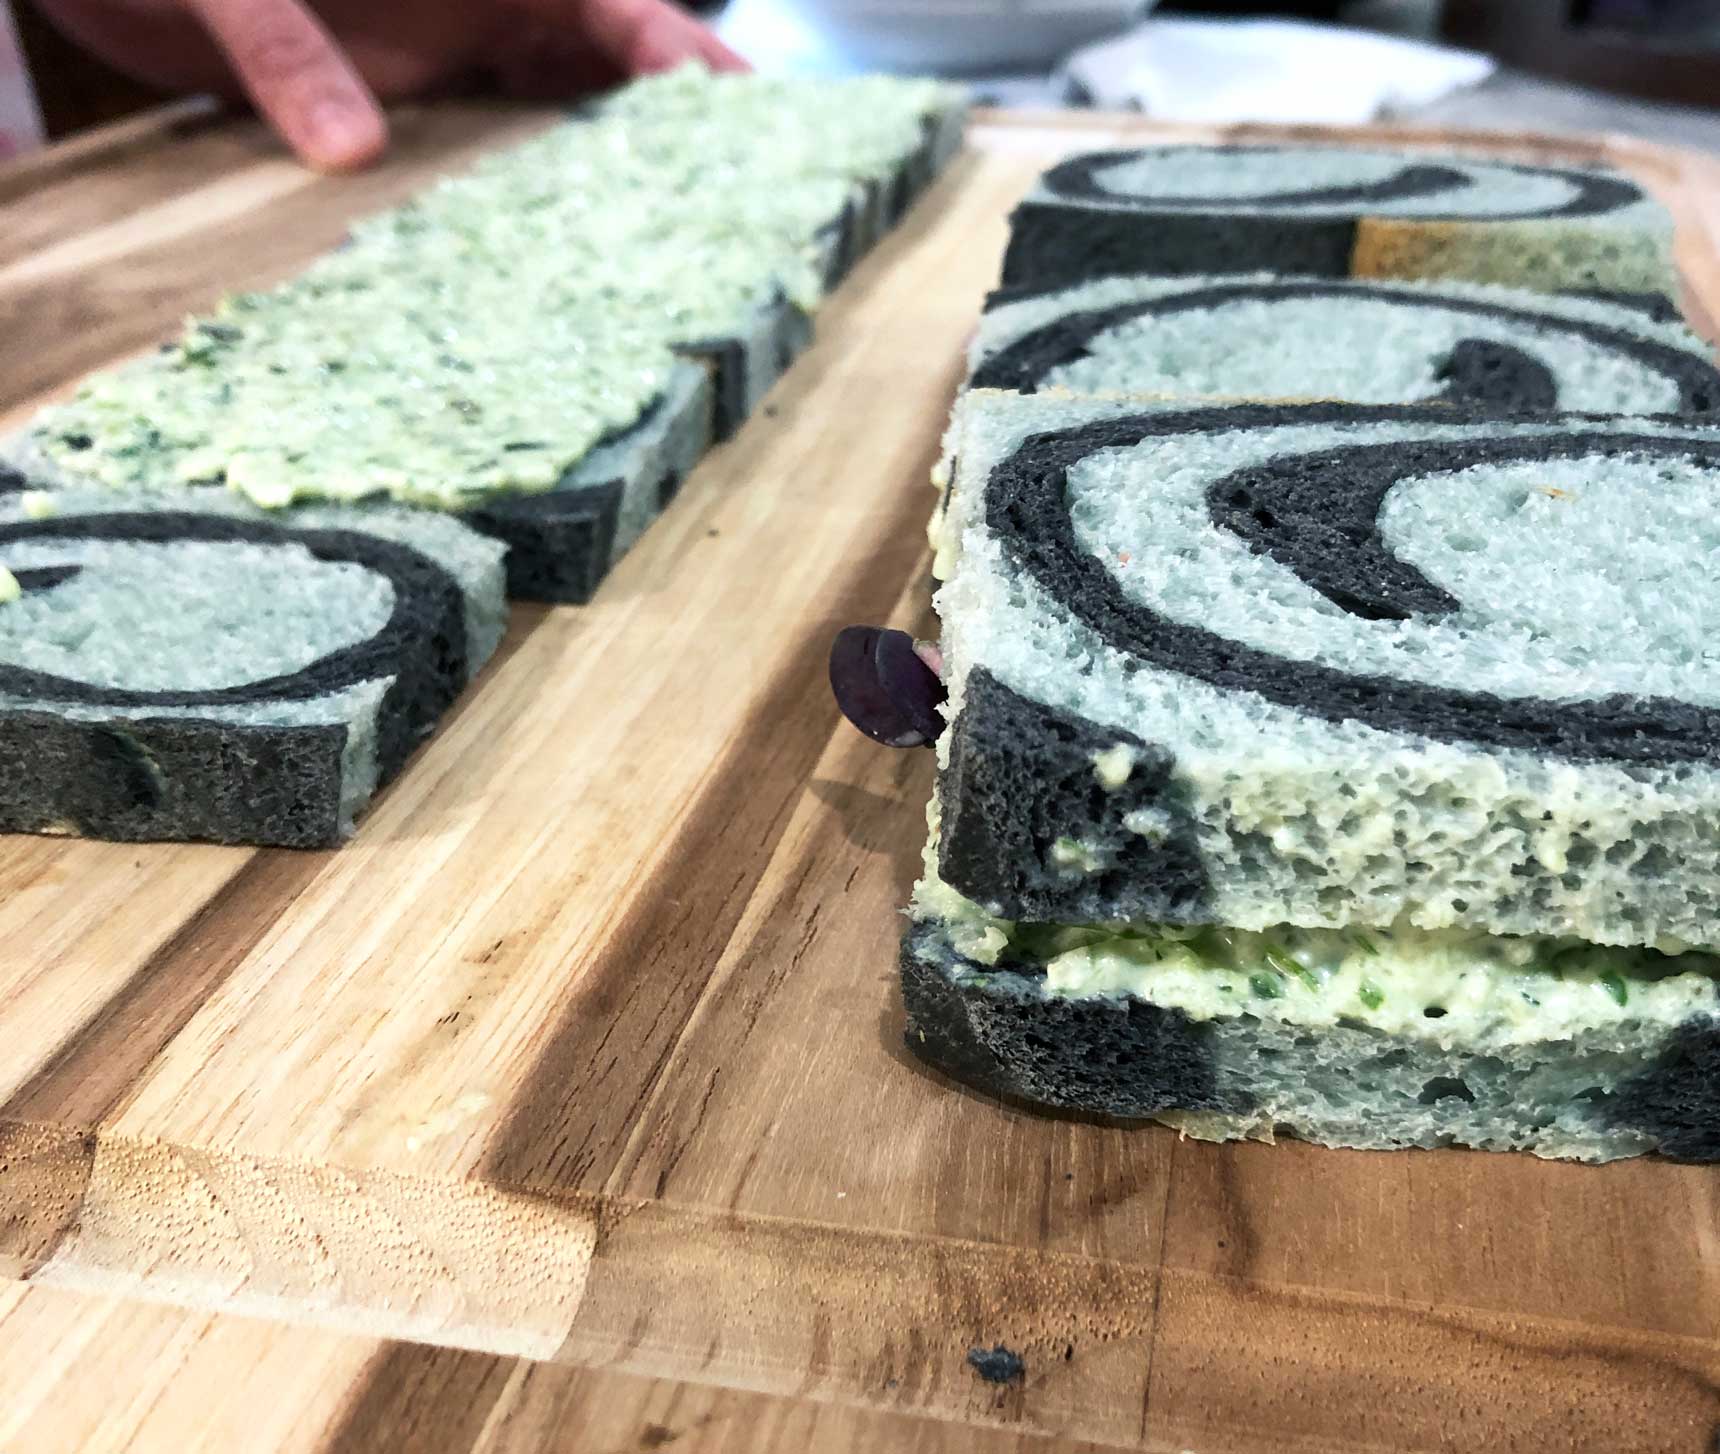
Slice the bread and make sandwiches for your next picnic, tea party, or other gathering. These were for an Alice in Wonderland themed picnic, but I think this color combo would be good for any Tim Burton themed party.
Video
Here’s a quick video showing how I roll it.
Comments or Questions?
If you make this recipe, I would love it if you’d snap a pic, post to instagram, and tag me @vegandollhouse. It seriously makes my day/week/month!
Please message me (instagram or email) if you have any questions or feedback about the recipe.
Similar Recipes
For other fun bread recipes, you might like my bite-sized burger buns made with activated charcoal, my no-knead focaccia bread decorated to look like a ouija board, and my no-knead rainbow bread that can be made any colors you like.
☆☆☆☆☆☆☆☆☆☆
This post links to items I mention. If you click on one, you will go to a website (like Amazon) where you can buy the product. Sometimes, the store you purchase from (Amazon, Etsy, etc.) will pay me for referring you. This costs you nothing extra, and I would never recommend a product that I don’t use. These affiliate programs help me buy ingredients to create recipes for you. Read more about this in my privacy policy.
I mostly cook with organic ingredients, but only specify organic when it’s necessary to ensure the item is vegan.
☆☆☆☆☆☆☆☆☆☆


Rating:⭐⭐⭐⭐⭐
HeavyDoseOfLavender -⭐⭐⭐⭐⭐ Consistent_Pea -⭐⭐⭐⭐⭐ pepperohni -⭐⭐⭐⭐⭐