Millet Tots
modified on , first published on
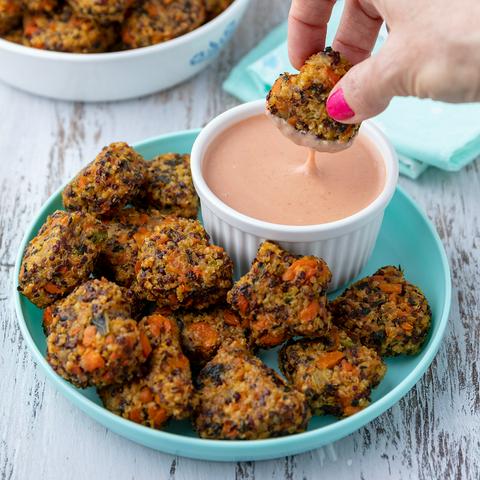
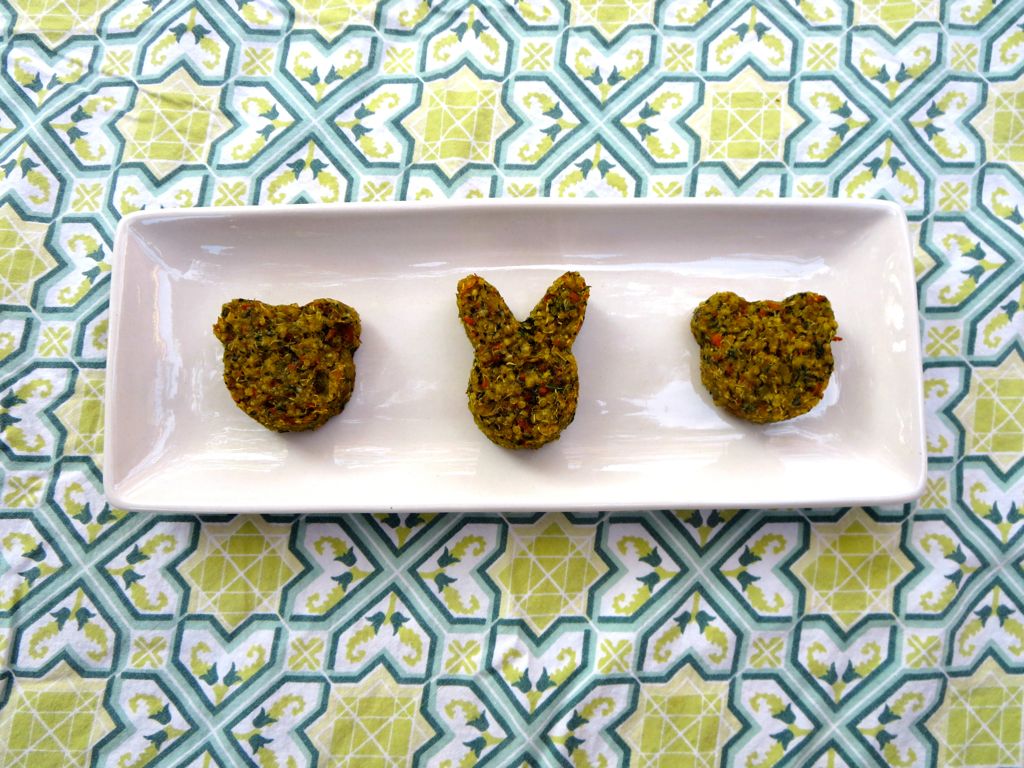
Millet tots are gluten-free, allergen-free, and vegan. The cute bear, heart, and star shapes make them fun for kids, and it’s a sneaky way to get your kiddos to eat veggies and millet without them knowing.
This recipe makes 36 veggie millet tots.
Table of Contents
(click the links below to skip to the section you’re looking for)
- Millet Tots Recipe
- Frequently Asked Questions
- Ingredient Substitutions
- Video
- Nutritional Information
- Contact Me with Questions
- Similar Recipes
♫ Listening to ♫
Heartbeats by The Knife
My inspiration for this recipe was from the vegan company Hillary’s. They make veggie burgers and other healthy frozen foods, and I used to buy their veggie millet bites for my kiddos before they stopped making them. If you were a fan of the Hillary’s Veggie Millet Bites, you’ll love this quick and fun recipe.
Ingredients for Millet Tots Recipe
(jump to the substitutions section to see ingredient details and suggestions for substitutions)
- ⅔ cup (130g) millet
- ⅓ cup (65g) quinoa
- 1 tablespoon (17g) bouillon
- 2 cups (480g) water
- 1 tablespoon (13g/15mL) olive oil
- 1 onion (110g finely diced)
- 2 stalks celery (128g finely diced)
- 2 carrots (122g finely diced)
- 2 cups spinach (85g finely diced)
- 2 cups kale (42g finely diced)
- 1 teaspoon (3g) garlic powder
- 1 teaspoon (6g) salt
- 2 tablespoons (18g) psyllium husk
- ¼ cup (60g) water

How to Make Millet Tots
Dollhouse Shortcut
To save time, cook the grains using a pressure cooker or instant pot. If you do this, reduce the amount of water to 1 ¾ cups.
Rinse ⅔ cup (130g) millet and ⅓ cup (65g) quinoa. I do this by measuring or weighing the grains into a sifter and then running water over it in the sink.
Cook the rinsed millet and quinoa in 2 cups of water with a tablespoon of vegetable bouillon. Use the same method you would use to cook any grain. I cook mine in a medium pot on the stove on high, wait for it to start boiling, cover it with a lid, and turn down the stove heat to low. Then I just check it every 5 minutes and it’s done when all the liquid is gone. I also cook grains in an instant pot or other type of pressure cooker. If you do this, adjust the grains to liquid ratio.
Dice the onion and the rest of the veggies finely if you haven’t already. I usually do this step while my grains are cooking. I like to use my food processor to make sure all the veggies are diced as finely as possible with minimal effort on my part, but you can dice them by hand if you don’t have one.
Sauté the finely diced onion celery in a tablespoon of olive oil for 5-10 minutes. If you’re not sure what sautéing means, you’re kind of simmering it in a cast iron pan or a large pot over medium heat on the stove, while you stir it periodically to make sure the ingredients don’t stick.
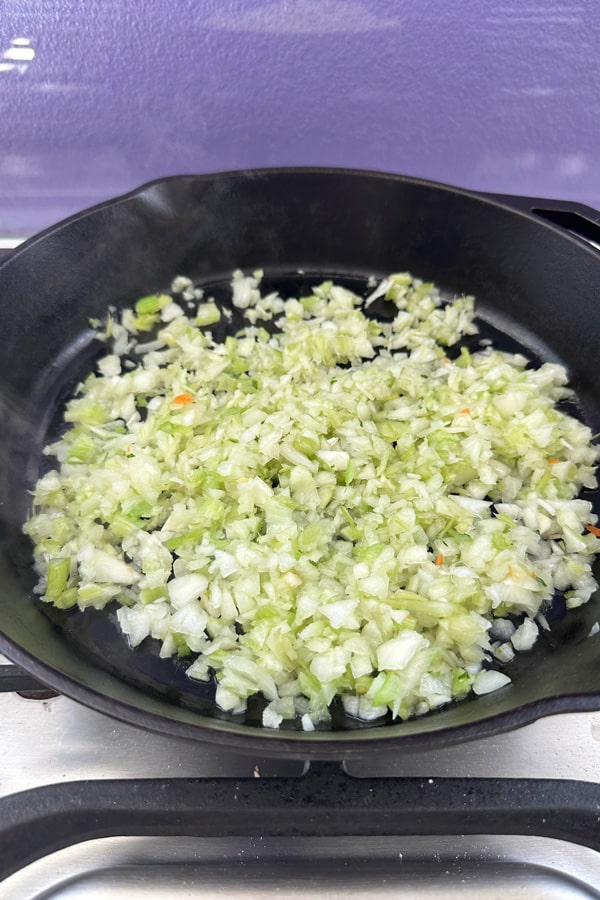
If you prefer, you can use an instant pot with the sauté button. Sometimes the sauté setting on the instant pot can get a bit hot, so if you use it, press the off button if you notice the ingredients sticking to the bottom. Then, after a few minutes, press sauté again. This helps to regulate the temperature.
Add the finely diced carrot, 1 teaspoon garlic powder, and 1 teaspoon salt. Continue to sauté for 5 minutes.
Add the diced spinach and kale. Continue to sauté for 5 minutes or until everything is soft. Turn off the stove and cover the veggies with a lid so they can steam while you wait for the millet and quinoa to be ready.

Add the cooked millet and quinoa to the veggies and mix thoroughly.
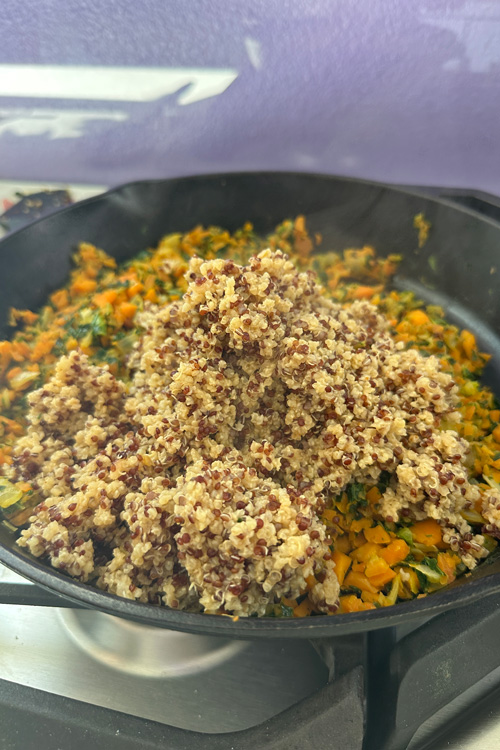
Mix the psyllium husk with 4 tablespoons of water.
Add the psyllium mixture to the veggie millet mixture and mix evenly. It usually takes me 25 minutes up to this point.
Preheat the oven to 375°.
Line 1-2 baking sheets with parchment paper.
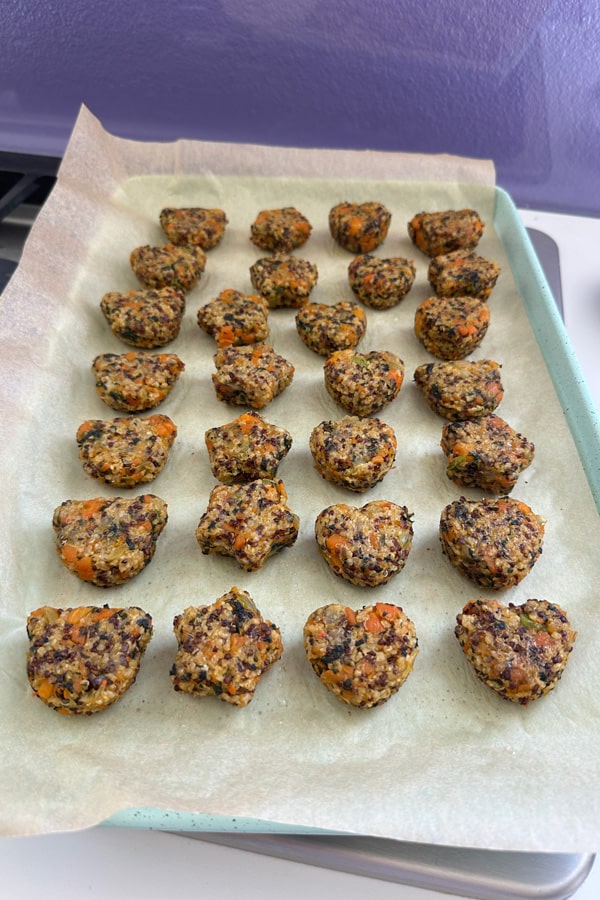
Form the veggie millet mixture into balls or other shapes using any cute bento molds you have. I made mine into stars, hearts, and bears.
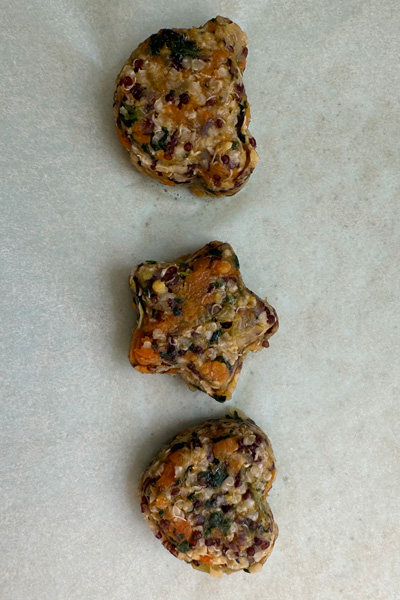
Place the millet tots onto a baking sheet covered in parchment paper for easy cleanup. If you don’t mind doing dishes, you can use a baking stone or a lightly oiled baking pan. It takes me about 15 minutes to make all my millet tot shapes.
Optional: Spray the tots with oil before baking them.
Bake the millet tots for 25 minutes. You can set a timer for 15 minutes, and when the timer goes off, remove the tray from the oven to flip the tots. This isn’t necessary, but it helps the crispy outer edges bake more evenly. Then bake for the last 10 minutes.
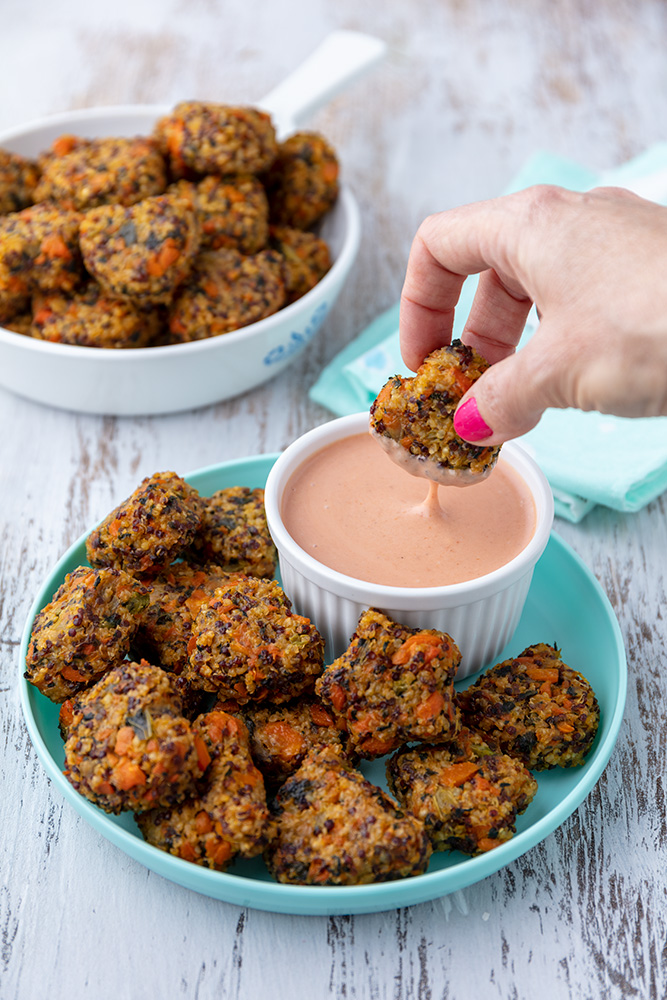
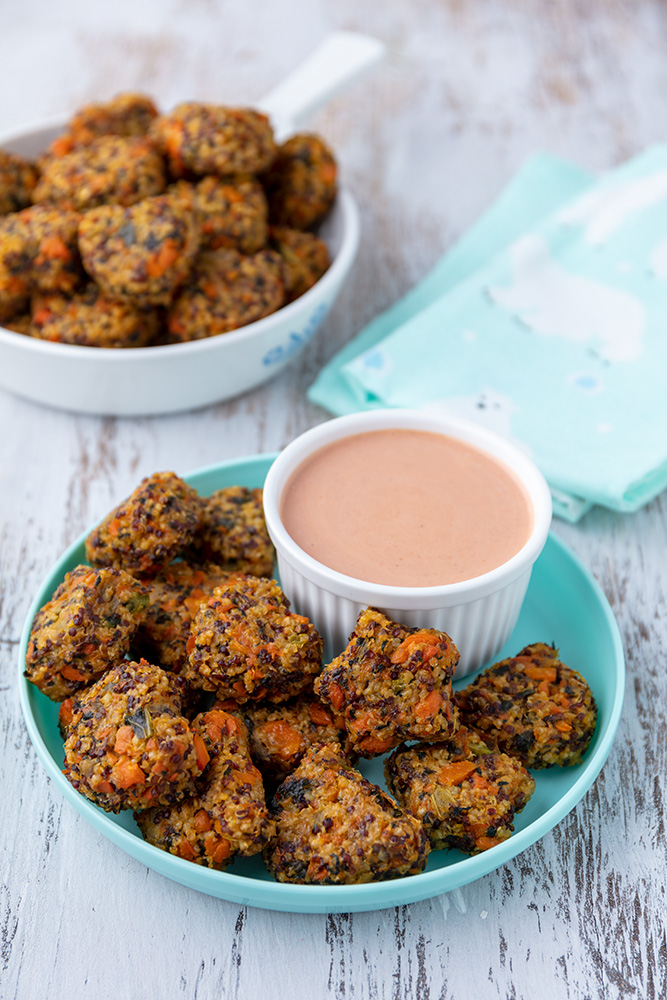
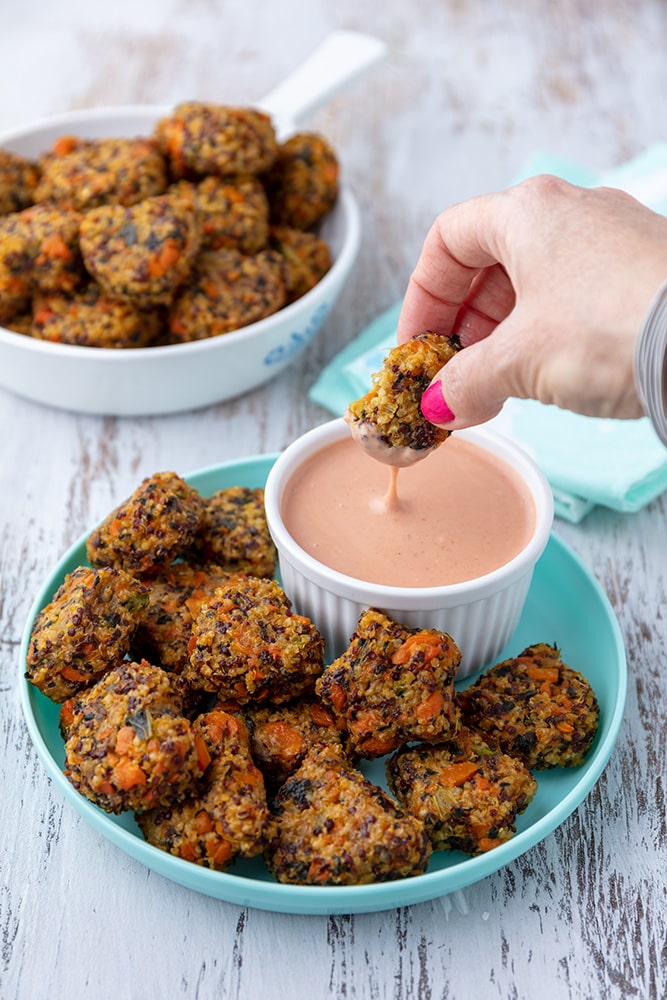
Serve with any dips you like. I’ve had mine with vegan steak sauce and this dip pictured here, which is vegan mayo mixed with ketchup.
Frequently Asked Questions About Millet Tots
How do you cook millet?
To cook millet, use the same method you use to cook other grains, like rice. For every cup of millet, use 2 cups of water. Bring to a boil, reduce the heat, cover, and cook until all the liquid is gone.
Is millet gluten-free?
Yes, millet is gluten-free. Every ingredient in this recipe is gluten-free.
What should you do with leftover millet tots?
Store leftover millet tots in an airtight container in the fridge. When you’re ready to eat them, reheat them in an air fryer for 4 minutes at 350ºF (175ºC) or in an oven or toaster oven for 6 minutes at 375ºF (190ºC). If you don’t think you’ll eat them within a week, you can also freeze them.
Ingredient Substitutions for Millet Tots
- Quinoa: If you don’t have quinoa, you can use a full cup of millet and omit the quinoa in this recipe. You can also substitute rice or other grains in place of the quinoa.
- Bouillon: I like the Better than Bouillon brand of vegetable bouillon, but you can use any kind you prefer. Just use the amount the instructions would recommend for 3 cups of broth.
- Oil: I used olive oil to sauté the veggies and then I sprayed the tots with safflower oil before baking them. But you can use any oils including, but not limited to, sunflower, coconut, vegetable, canola, grapeseed, etc.
- Veggies: My suggestions for which veggies to use are just suggestions. If you don’t have one, you can substitute for something else. This recipe is very versatile. You can even substitute frozen or canned veggies for some of the fresh veggies.
- Garlic Powder: You can replace the teaspoon of garlic powder in this recipe with a tablespoon of fresh garlic. Just chop it in the food processor (or by hand) when you’re finely dicing your other veggies.
- Psyllium Husk: The purpose of the psyllium husk in this recipe is to hold everything together in that millet tot shape. If you don’t have psyllium husk, you can replace it with flax egg or chia egg, but it may make your tots a little more crumbly.
Video Showing How I Made Millet Tots
Here’s a quick video of me making these millet tots.
Nutrition Facts
This information assumes that 3 millet tots is 1 serving.
- Servings: 12
- Calories per serving: 92
- Calcium per serving: 30mg
- Cholesterol per serving: 0mg
- Dietary Fiber per serving: 3g
- Folate per serving: 29mcg
- Iron per serving: 1mg
- Potassium per serving: 182mg
- Protein per serving: 3g
- Total Carbohydrate per serving: 16g
- Total Fat per serving: 2g
- Total Sugars per serving: 2g
- Sodium per serving: 323mg
- Vitamin C: 7mg
Comments or Questions?
If you make this recipe, I would love it if you’d snap a pic, post to instagram, and tag me @vegandollhouse. It seriously makes my day/week/month!
Please message me (instagram or email) if you have any questions or feedback about the recipe.
Similar Recipes
Other Finger Foods
If you like these millet tots, I also have sweet potato tots recipe where the tots are cute shapes. Other family-friendly finger foods that I’ve made are my corn dog nuggets which are healthier version of mini corn dogs (because they’re baked instead of fried). And my vegan deviled eggs are always a favorite for all ages.
If you’re looking for other healthy recipes that use millet, check out my millet salad recipe.
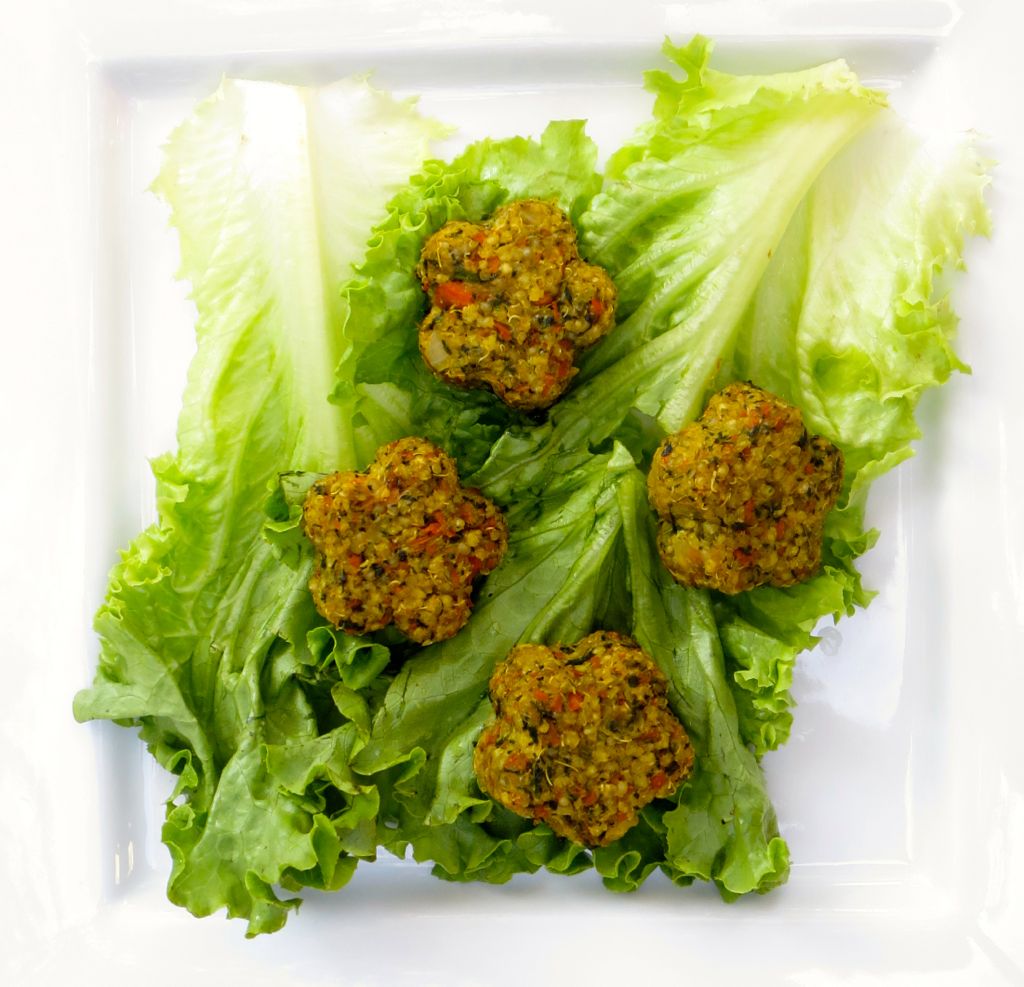
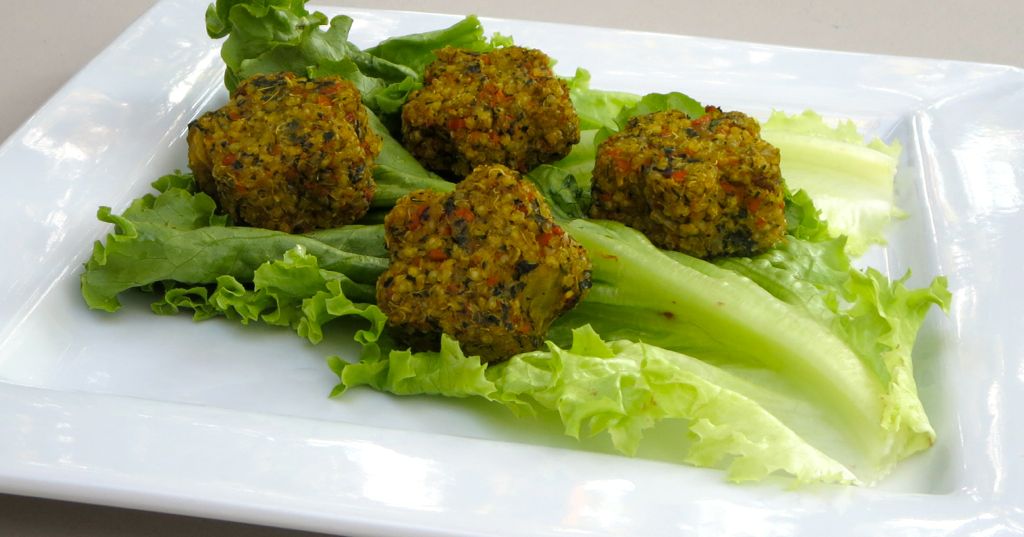
I first published this recipe in 2014 when my photography skills were…I’ll just say it…TERRIBLE. I reshot this recipe in 2023, but here are the old pictures in case you want to see how far the vegan dollhouse has come, haha.
☆☆☆☆☆☆☆☆☆☆
This post links to items I mention. If you click on one, you will go to a website (like Amazon) where you can buy the product. Sometimes, the store you purchase from (Amazon, Etsy, etc.) will pay me for referring you. This costs you nothing extra, and I would never recommend a product that I don’t use. These affiliate programs help me buy ingredients to create recipes for you. Read more about this in my privacy policy.
I mostly cook with organic ingredients, but only specify organic when it’s necessary to ensure the item is vegan.
☆☆☆☆☆☆☆☆☆☆



Rating:⭐⭐⭐⭐⭐
happyapplevegan -⭐⭐⭐⭐⭐ flouredframe -⭐⭐⭐⭐⭐ SubMetalDreamer -⭐⭐⭐⭐⭐