Homemade Savory Crackers
published on
♫ Listening to: Dreaming by Seapony♫
These easy homemade crackers are naturally seasoned with the addition of your favorite canned soup to make a delicious appetizer or after school snack. Crisp vegan crackers with that perfect snap are delicious alone or served with a spread. This kid-friendly, basic cracker recipe only requires very beginner baking skills: mix, roll, cut, and bake any ingredients you likely already have as pantry essentials. But if you’re an intermediate baker, you can make them into whole wheat crackers, gluten-free crackers, or other healthy crackers by using alternative whole grain flours like whole wheat flour, spelt flour, oat flour (to save money, blend oats in the blendtec blender to make DIY oat flour), or even almond flour. You can even make different flavors like gourmet crackers by using other varieties of your favorite soups.
Besides being inexpensive, a big advantage of making your own crackers from scratch is that you can ensure they are sugar-free, palm-oil-free, and free of preservatives or whatever else you find on the ingredients list of packaged crackers that you’d like to avoid.
I once made this vegan cracker recipe and used a mini elephant cookie cutter to make bite-sized crackers to bring to a baby shower where the baby’s name was going to be Ellie (and her room was decorated with elephants). So, using different shaped cookie cutters is yet another way you can customize this savory homemade crackers recipe to fit all special occasions. Continue reading to learn how to make crackers.
This vegan recipe makes around 60 homemade savory crackers, depending on the size.
Table of Contents
(click the links below to skip to the section you’re looking for)
Homemade Cracker Ingredients
Dollhouse Tip
These won’t be your store bought typical flaky savory crackers recipe (like saltines). If you’re looking for that consistency, add a little bit of baking powder to the dry ingredients.
- 1 ¾ cups (200g) flour (any kind)
- 2 teaspoons (14g) salt
- 2 teaspoons (5g) nutritional yeast (optional)
- ½ teaspoon garlic powder (optional)
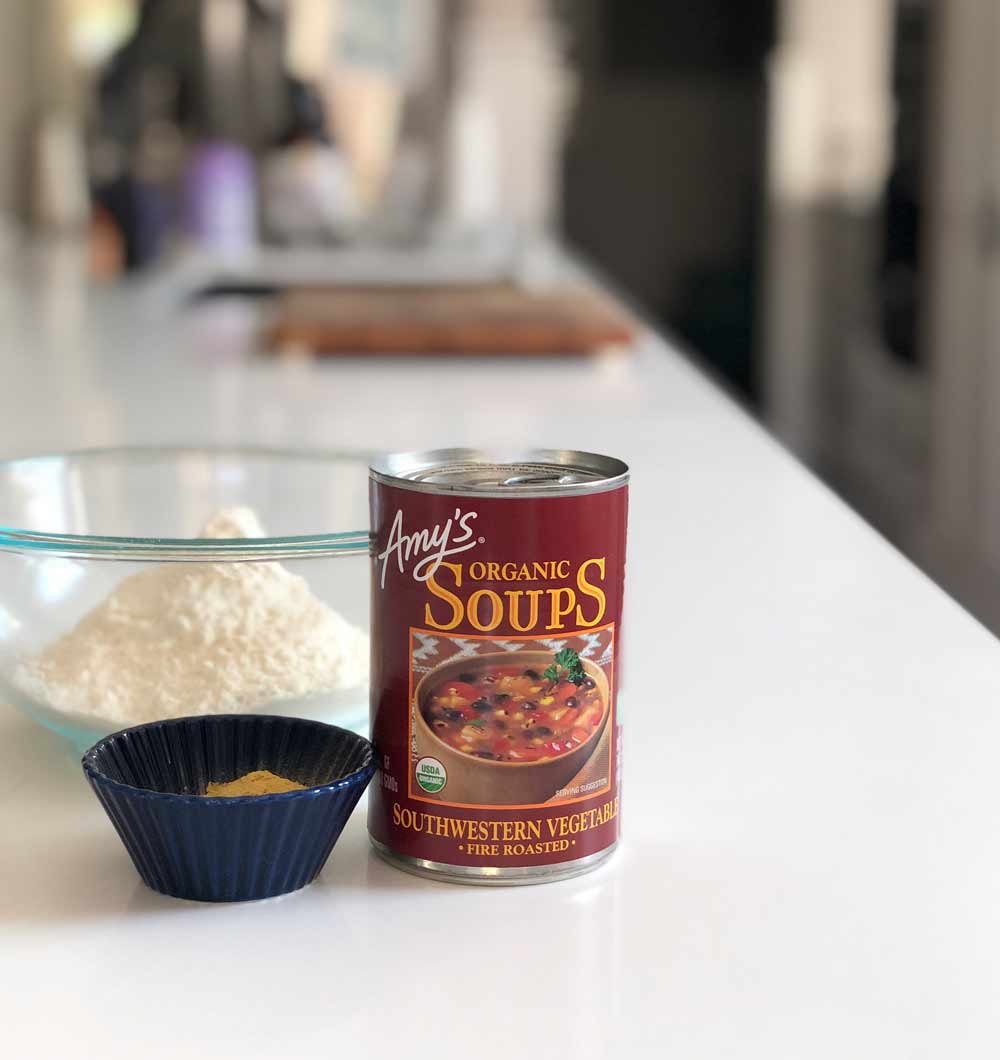
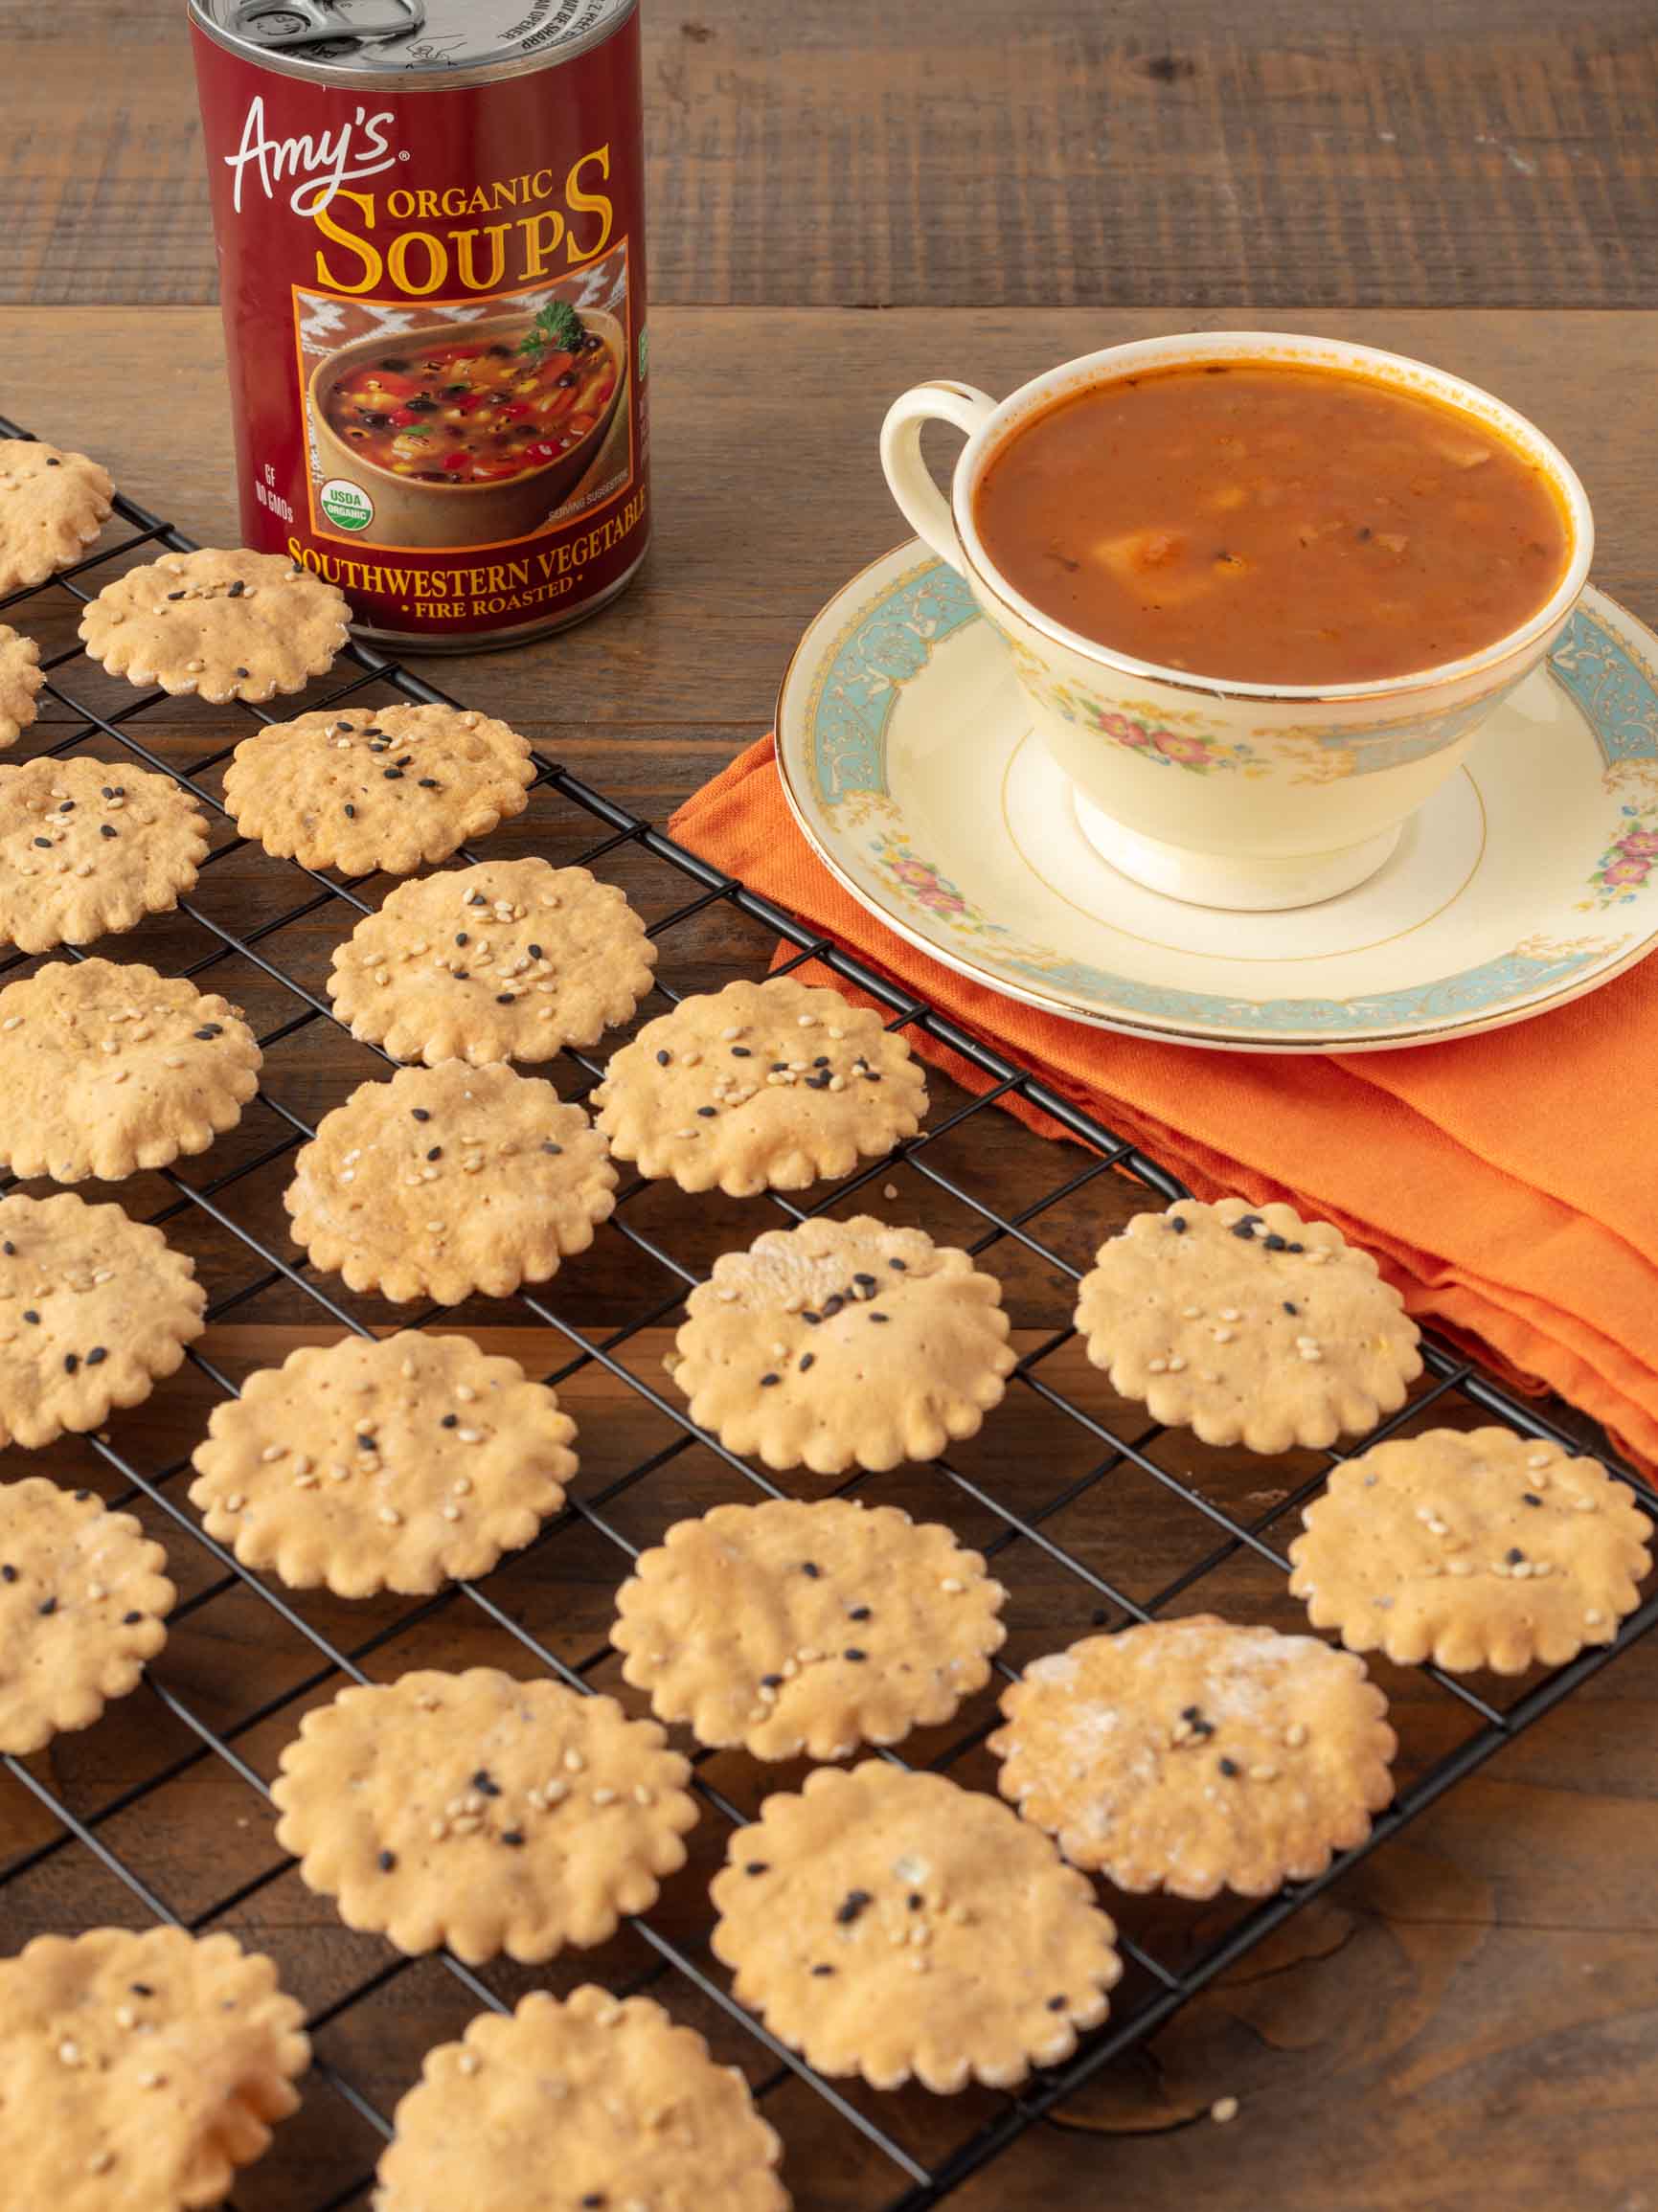
- ¾ cup Amy’s Southwestern Vegetable Soup (170g or 175ml or about a half a can)
- sesame seeds (optional)
Homemade Cracker Directions
Dollhouse Shortcut
To save time, you can either make this simple dough ahead of time and chill it in the fridge overnight (or in the freezer for up to a month), or you can skip the chilling altogether (but the snap won’t be as perfect).
Whisk the dry ingredients together in a bowl: 1 ¾ cups (200g) flour, 2 teaspoons (14g) pink sea salt (if you’re trying to cut back on salt, you can omit this ingredient or reduce it), 2 teaspoons (5g) nutritional yeast, and ½ teaspoon garlic powder. I’ve made these using gluten-free flour, as well as wheat flour and unbleached white flour, and they all taste great! The nutritional yeast (we call it nooch) and garlic powder in this recipe are optional, but I do think including them makes for a tastier cracker.
Blend ¾ cup Amy’s Southwestern Vegetable Soup (170g or 175ml or about a half a can). I used an immersion blender because I think it works better than my blendtec blender when I have a very small amount of something to blend.
Mix the blended soup into the dry ingredients. You can mix it by hand or use a stand mixer fitted with the kitchenaid paddle attachment (but don’t overmix the dough - you want to stop mixing as soon as you no longer see any dry ingredients). If it’s not a smooth ball (that doesn’t stick to your fingers), add more flour or water (just a teaspoon at a time) until it reaches the right consistency. You can also coat your hands with olive oil before mixing by hand to keep the dough from sticking to them.
Chill the dough after covering or wrapping it in cling wrap for at least 30 minutes and up to 24 hours. You can speed this step up by freezing the dough for 10 minutes if you’re in a hurry.
Preheat the oven to 400° when you take the chilled dough out of the fridge.
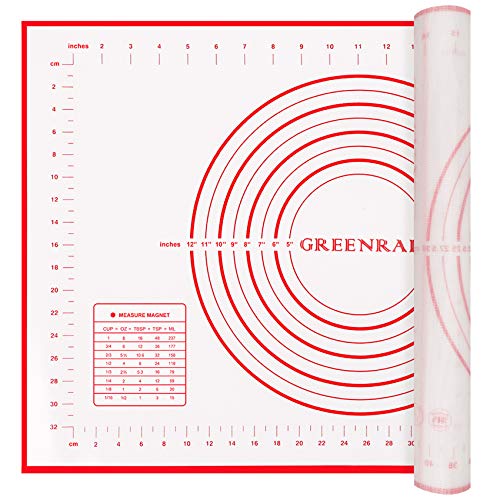
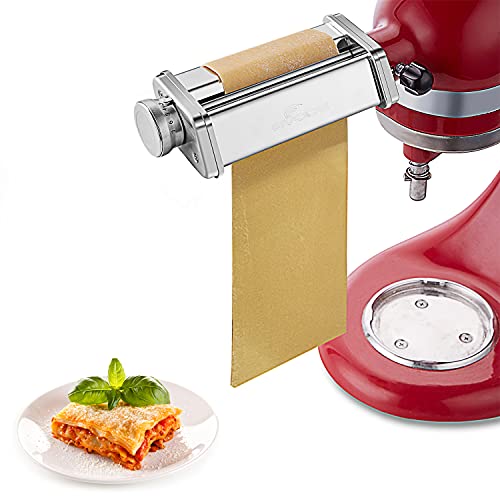
Roll half of the dough as thin as you can get it without it breaking. I recommend using a stand mixer fitted with a kitchenaid pasta roller or a pasta machine, as an easy method to roll it evenly thin with less effort, but if you don’t have one and don’t want to buy one, then you can roll the dough by hand. You want to roll the dough thinly: about 1.5mm or 1/16 of an inch. Try to roll it at an even thickness on all parts so it bakes evenly. If you’re using any varieties of gluten-free flour, the kitchenaid pasta roller won’t work because gluten-free dough is much more delicate to work with. When I use gluten-free flour, I roll the dough by hand using a rolling pin set at 1/16”. You can get away with making them thicker, but the thinner the crackers are, the crispier the crackers are, thereby creating the most delicious crackers.
Place the thinly rolled dough on a rolling mat or parchment paper that has been lightly dusted with flour. I usually sprinkle flour on the mat and use my hand to rub it all over all the way to the edges. You don’t want the dough to stick to the mat because then when you try to transfer the crackers to the baking sheet, they’ll be very difficult to pry off the rolling mat.
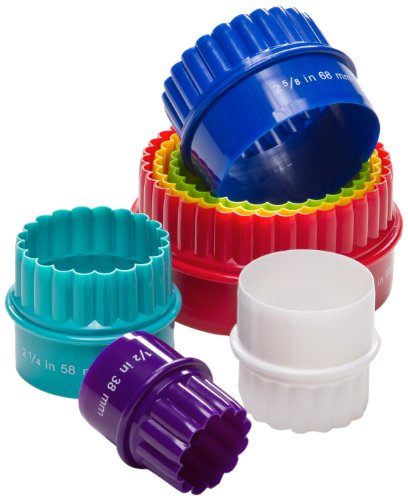
Cut out as many vegan crackers as you can from the dough, getting them as close together as possible. I used the scalloped circle side of one of my biscuit cutters for these, but I’ve also used a variety of cookie cutter shapes and all of them worked well. If your cutter sticks to the dough a lot, just dip it in flour in between every few crackers. If you want them to look more like artisan crackers (expensive fancy crackers you find at places like Sur La Table or the art and wine festival), skip the cookie cutters and just cut them with a bench scraper/chopper or a knife. I’ve also seen people use a pasta cutter or a pizza cutter to cut them, but I don’t have either of those kitchen tools.
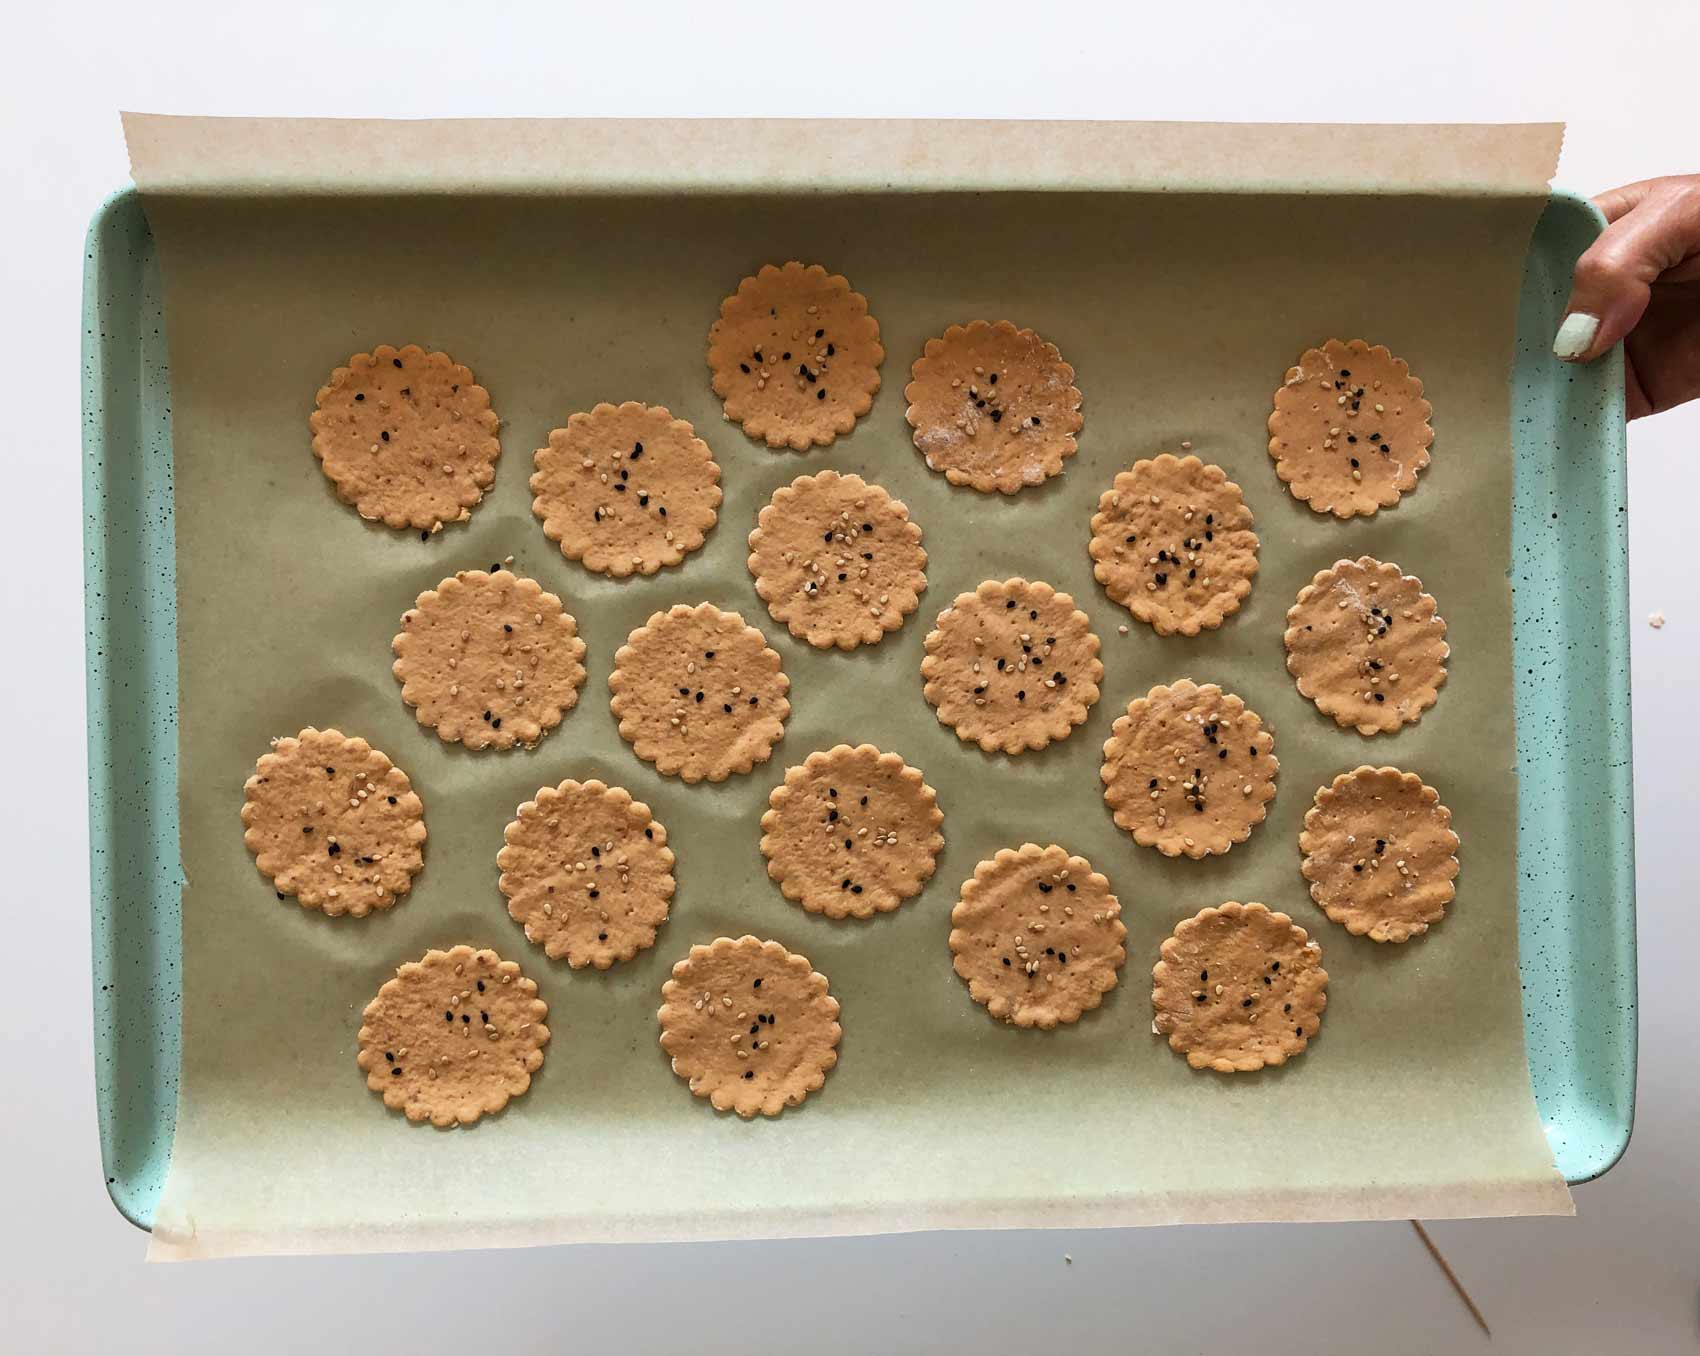
Line two baking sheets with parchment paper (or silicone mats).
Transfer the unbaked cracker shapes to the parchment paper lined baking sheets.
Poke each cracker numerous times with a toothpick, as if it’s a voodoo doll of someone you hate. People sometimes use a fork for this hole pricking part, but I prefer the way it looks when I poke the holes individually, and it doesn’t take much longer. DO NOT skip this step. I skipped it on one of my test batches because I forgot, and they won’t have that crisp snap that crackers should have. The holes give the steam a way to escape the cracker to help them get dry, which is what you want. Don’t worry, you can add pâté or cheese later if you’re worried about the crackers being too dry.

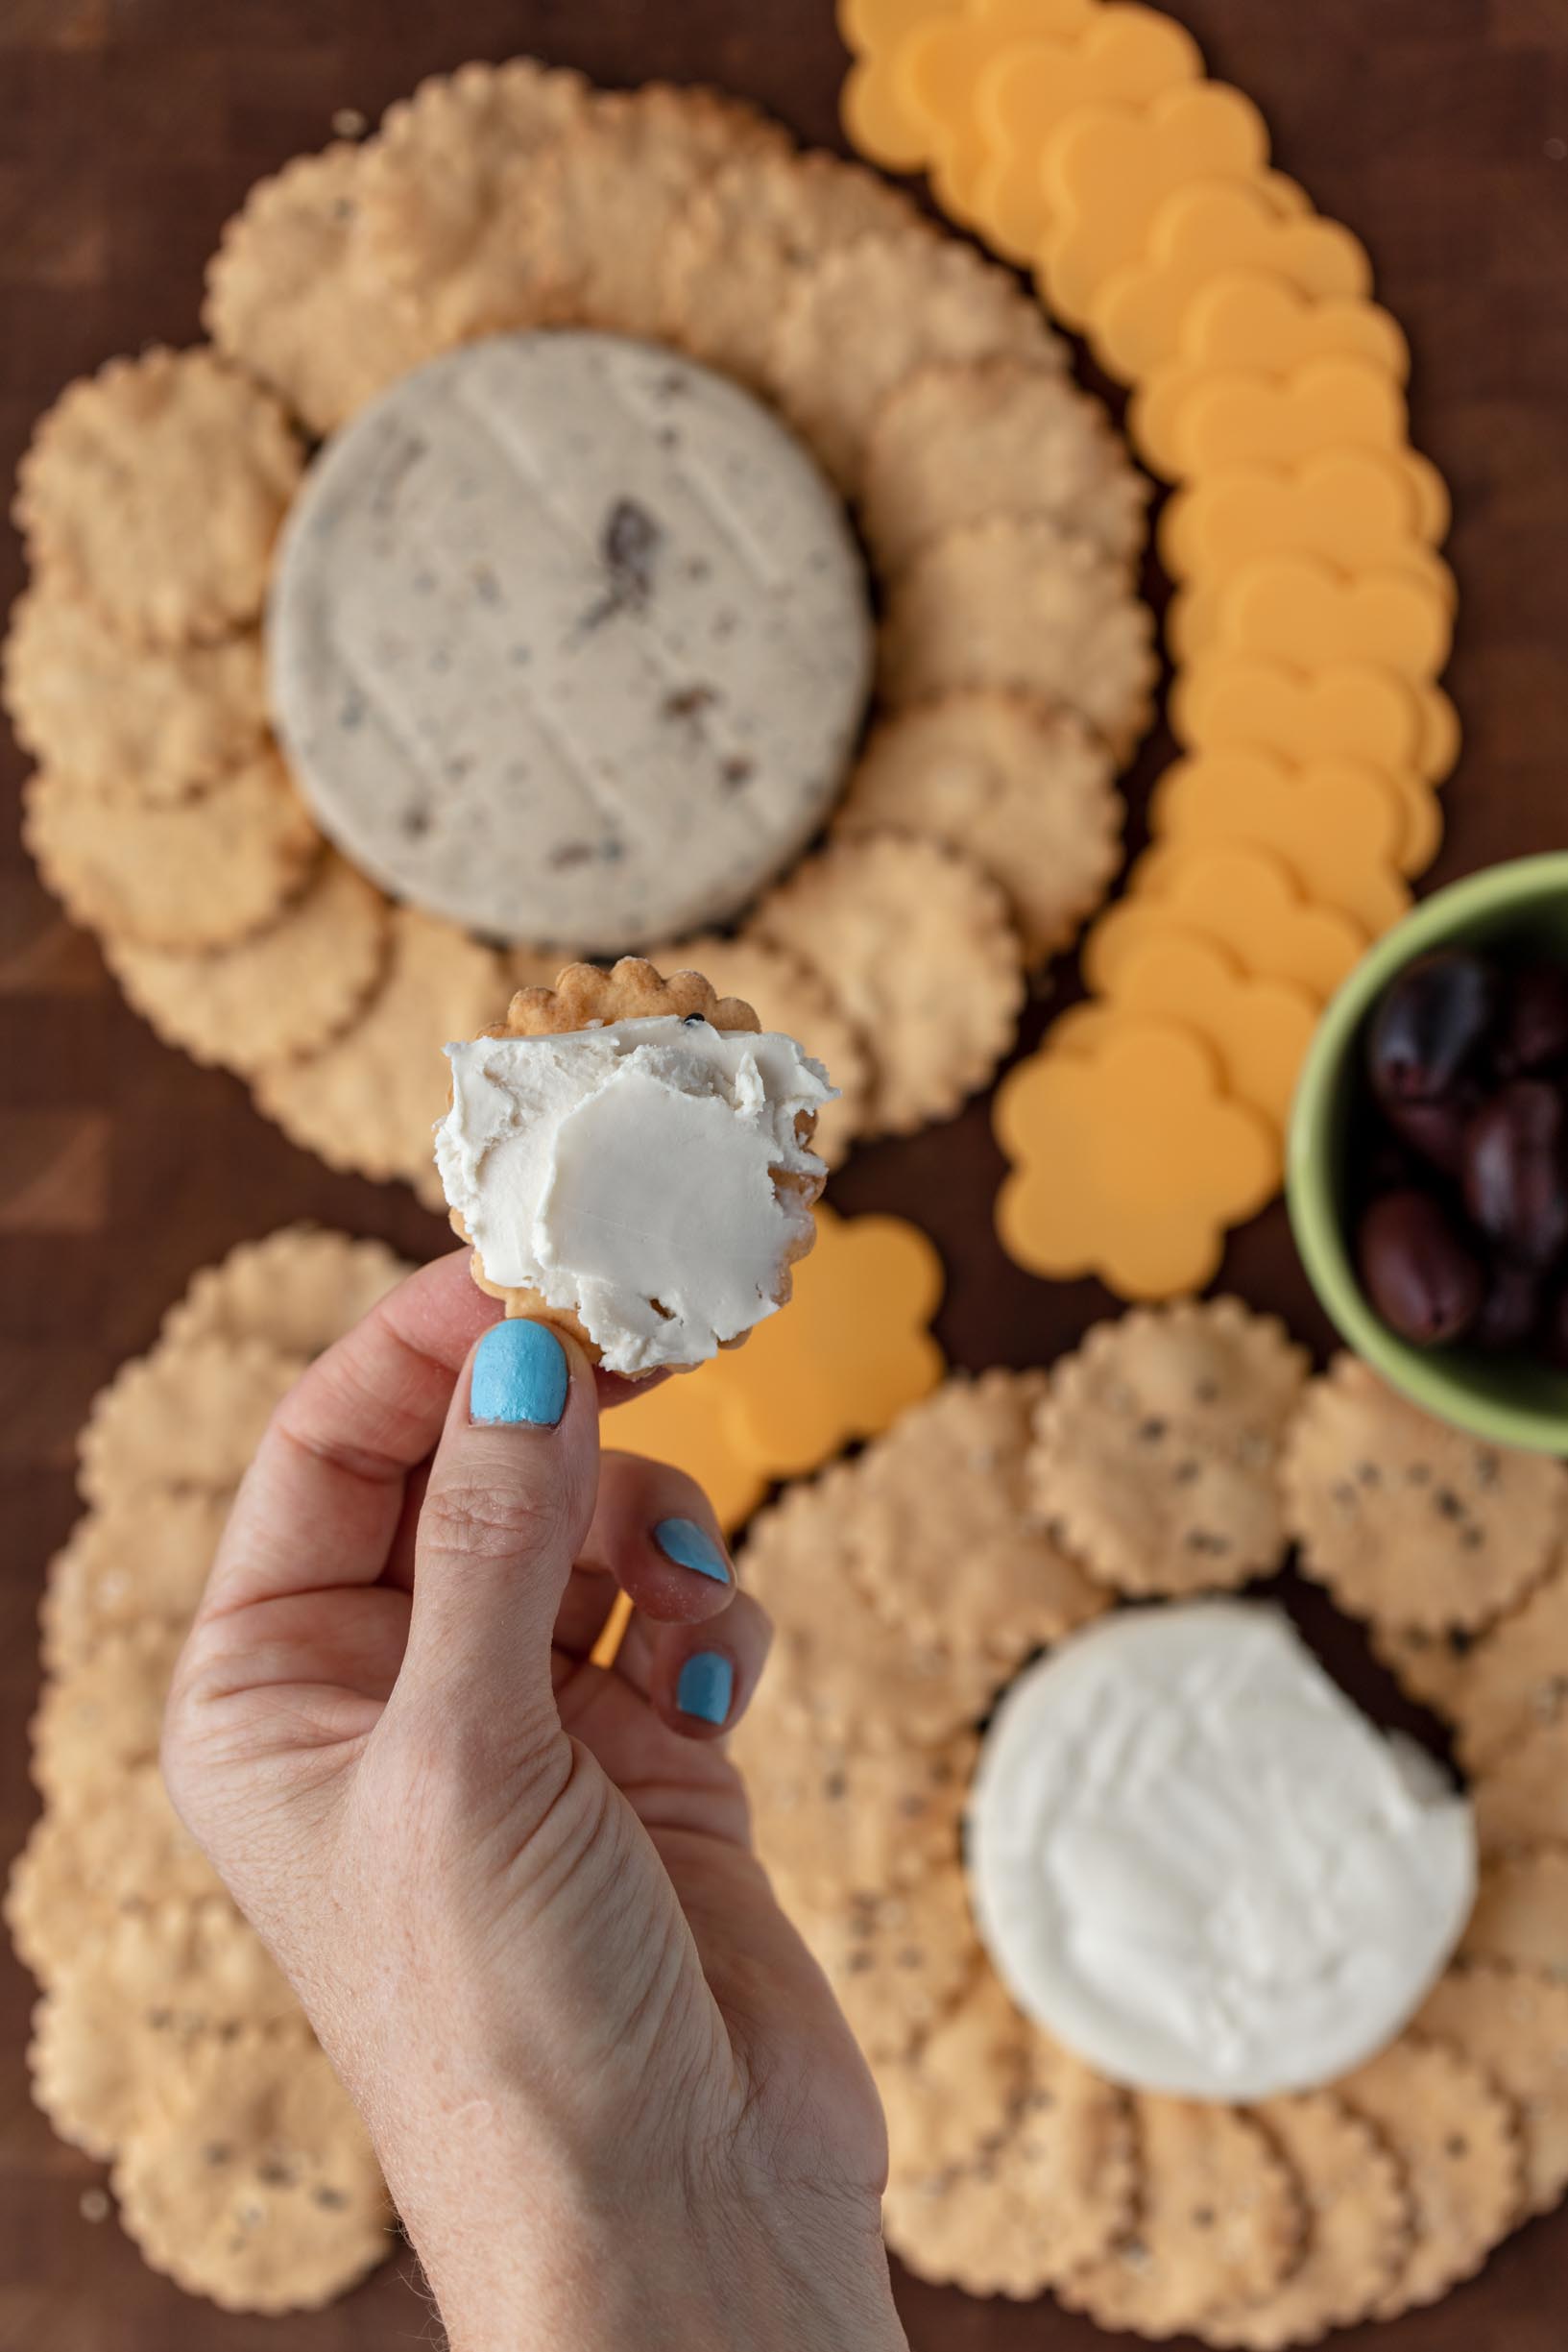
Sprinkle sesame seeds all over the crackers and press them into the crackers. You can do this with your fingers or by lightly going over them with a rolling pin. This step is optional. I make them with and without sesame seeds and they’re yummy either way. Seed crackers just look a little nicer if you’re making these for a cheese or charcuterie board.
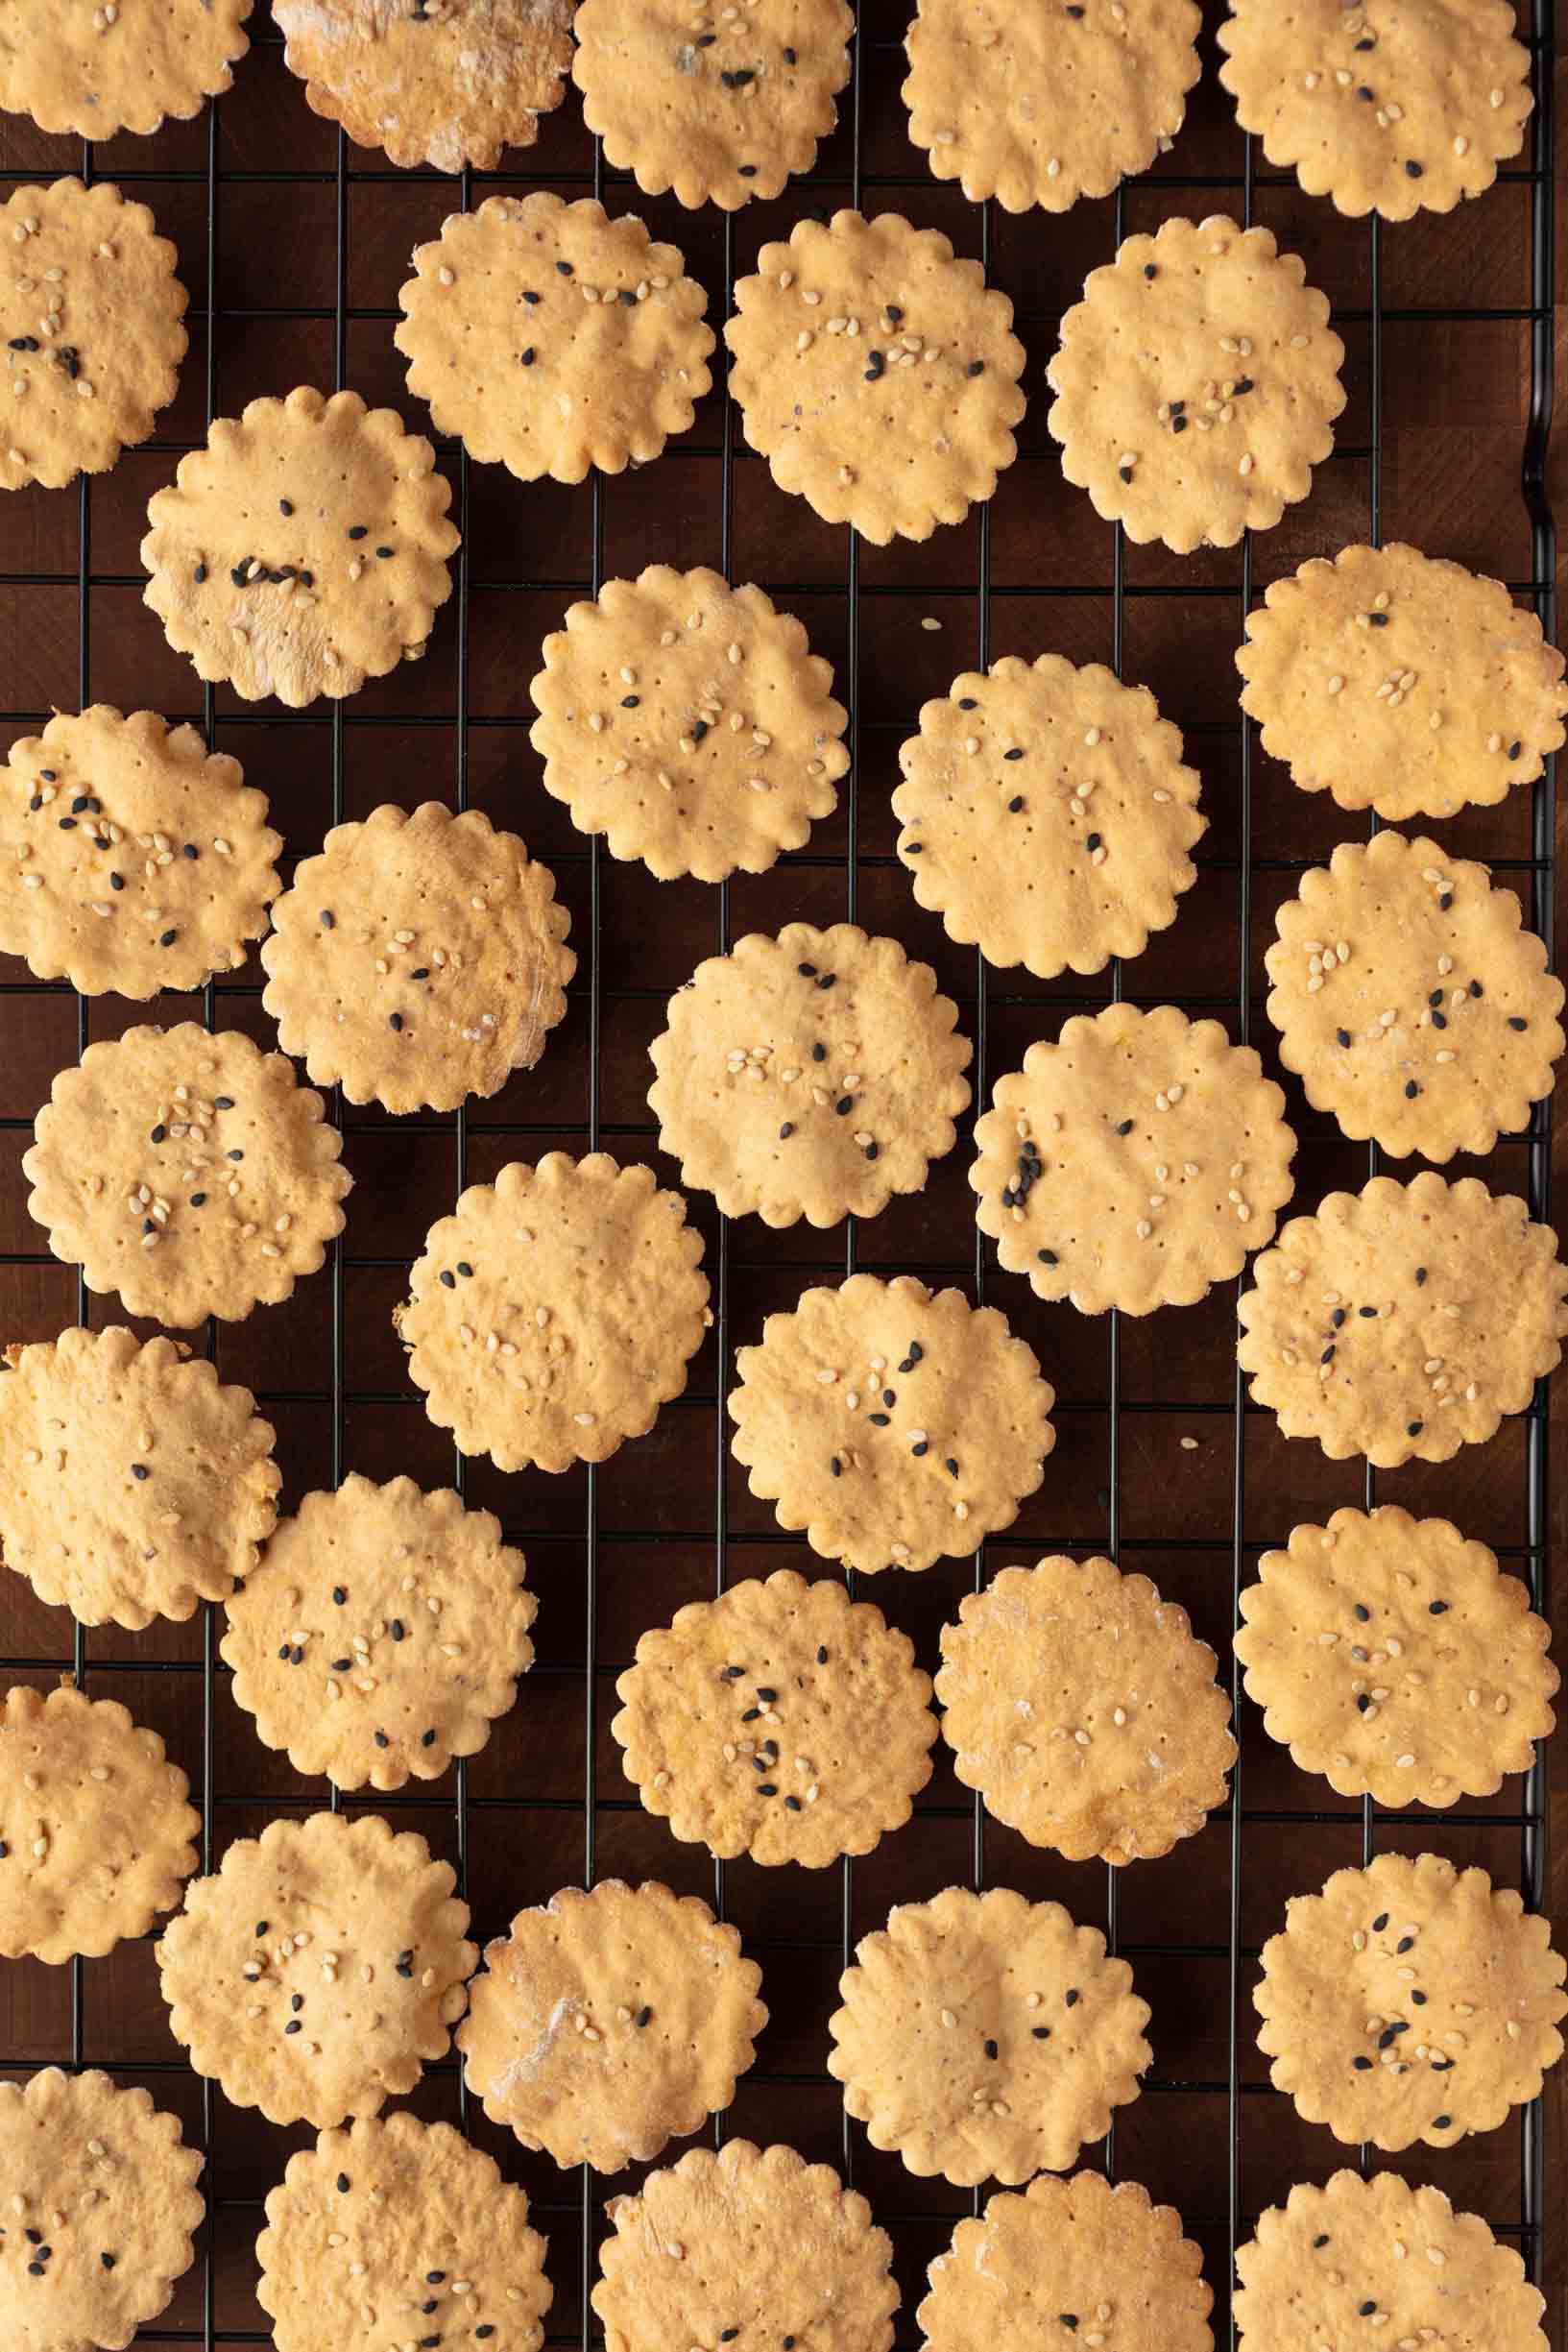
Bake for 8-10 minutes, depending on how hot your oven is. You’ll know they’re done when they start to have pale golden brown spots on them or start to turn brown at the edges. The steam from the soup creates lots of little pockets in the dough, which result in light, crispy, and puffy crackers.
Cool on the baking trays for at least 2 minutes and then transfer the crackers to wire cooling racks. I let mine cool all the way (for a few hours) before transferring them to tupperware to store, but they’re ready to eat as soon as 5 minutes after they come out of the oven.
Roll the dough remnants along with the remaining dough, and continue the same steps again while the first tray bakes.
Rotate the trays, so when the first tray comes out of the oven, put the next tray in.
Repeat until all the homemade cracker dough is used up. The last few pieces I usually just bake as blobs. You can feed them to the most naive member of your family, and call them amoebas.
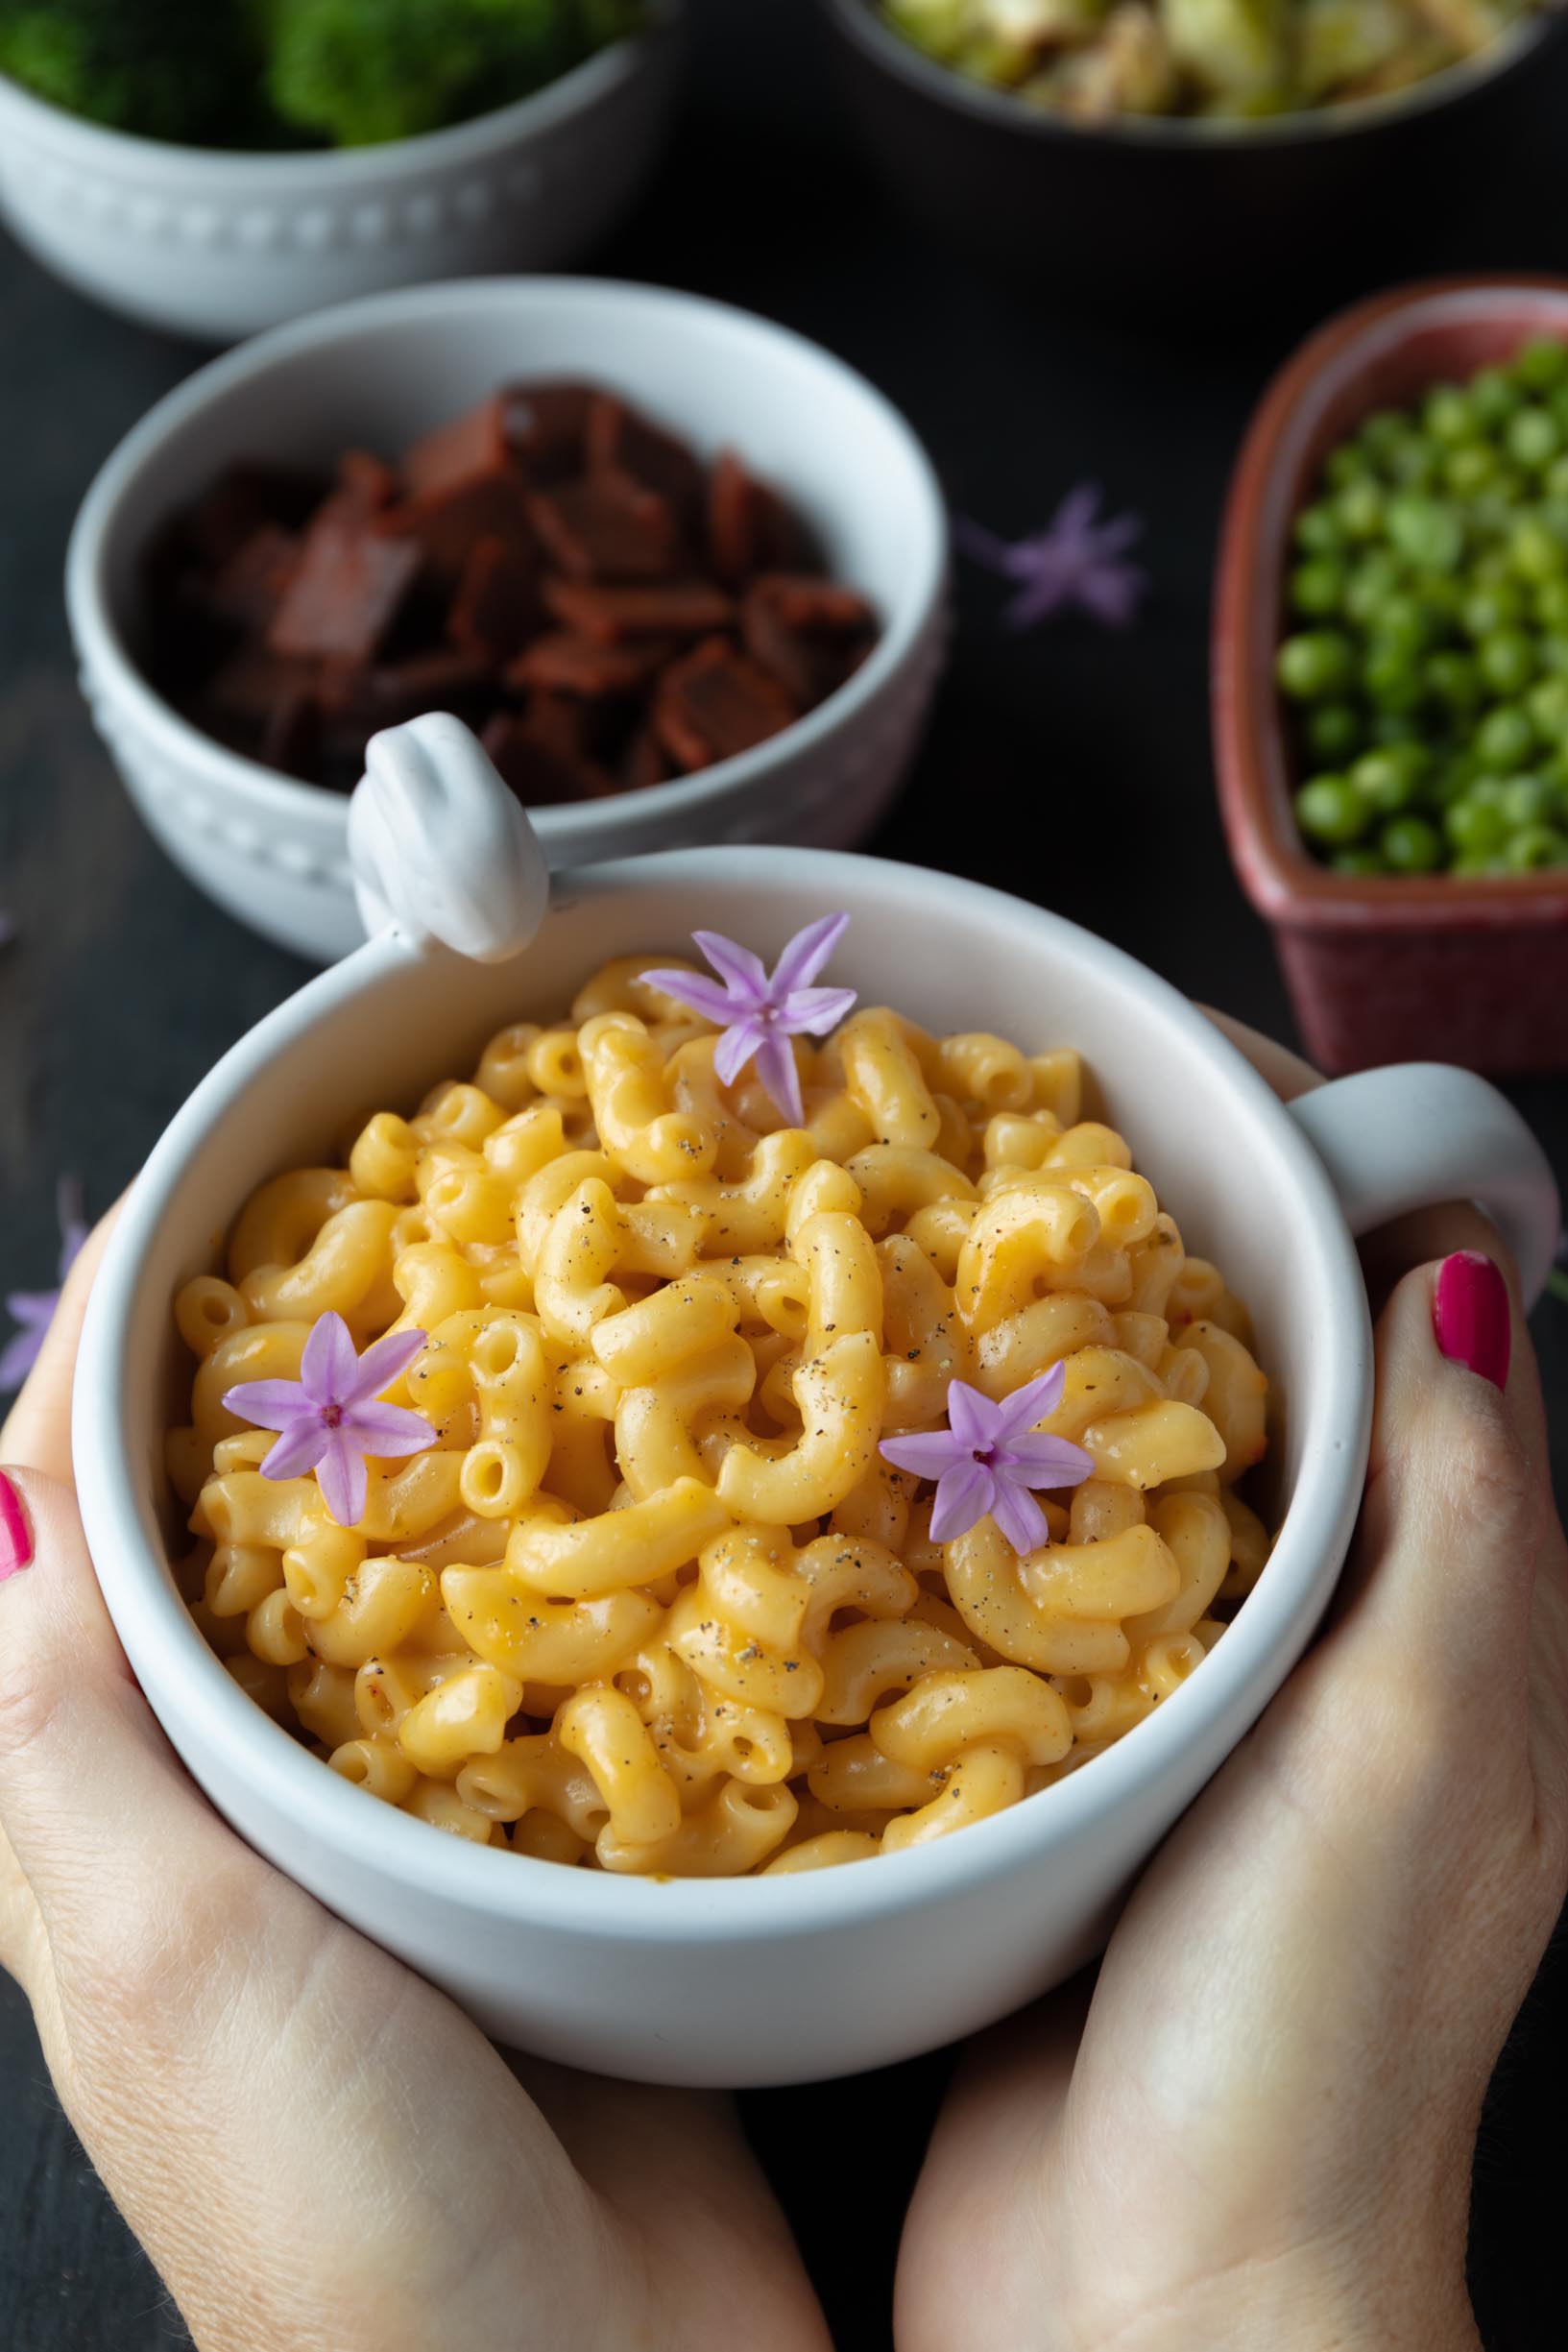
Eat some with the rest of the can of soup that you had leftover from making these (or homemade soup) or top them with (or dip them into) hummus, olive tapenade, or pâté for canapés. (Just remember that if you plan to top them with anything, you’ll want to do so right before serving/eating them, so that the toppings don’t make the crackers soggy.)
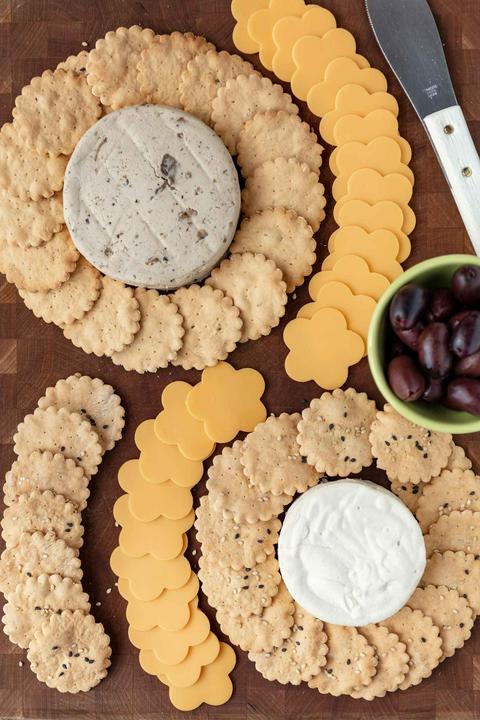
Serve as part of a cheese and cracker platter or a charcuterie board at a family gathering, happy hour, or party with friends.
These crunchy crackers usually stay good at room temperature in an air-tight container for up to a week, but they are the most brittle and crispy after baking, so I recommend sharing them with friends or neighbors (edible homemade gifts are the best kinds of gifts). People will be very impressed that you made savory crackers from scratch. You don’t have to tell them how easy they were to make. To keep them for longer than 5 days, freeze them in a well-sealed airtight container for up to one month. When you take them out of the freezer, set them on the counter and let the container come to room temperature without opening it.
If you accidentally forget about the crackers (then I admire your willpower around snacks) and more than 5 days pass, you can revive them in the oven or air fryer for a few minutes, at 350º.

Vegan Crackers Recipe Video
Comments or Questions?
If you make this homemade crackers recipe, I would love it if you’d snap a pic, post to instagram, and tag me @vegandollhouse. It seriously makes my day/week/month!
Please message me (instagram or email) if you have any questions or feedback about the recipe.
Similar Recipes
If you like the idea of making recipes with canned soup, check out my instant pot risotto recipe. If you’re looking for ways to use your homemade crackers, consider adding them to a vegan charcuterie board.
☆☆☆☆☆☆☆☆☆☆
This post links to items I mention. If you click on one, you will go to a website (like Amazon) where you can buy the product. Sometimes, the store you purchase from (Amazon, Etsy, etc.) will pay me for referring you. This costs you nothing extra, and I would never recommend a product that I don’t use. These affiliate programs help me buy ingredients to create recipes for you. Read more about this in my privacy policy.
I mostly cook with organic ingredients, but only specify organic when it’s necessary to ensure the item is vegan.
☆☆☆☆☆☆☆☆☆☆
This post was made possible thanks to the support of Amy’s Kitchen. All content and opinions are unbiased and entirely my own.


Rating:⭐⭐⭐⭐⭐
HeavyDoseOfLavender -⭐⭐⭐⭐⭐ Consistent_Pea -⭐⭐⭐⭐⭐ pepperohni -⭐⭐⭐⭐⭐